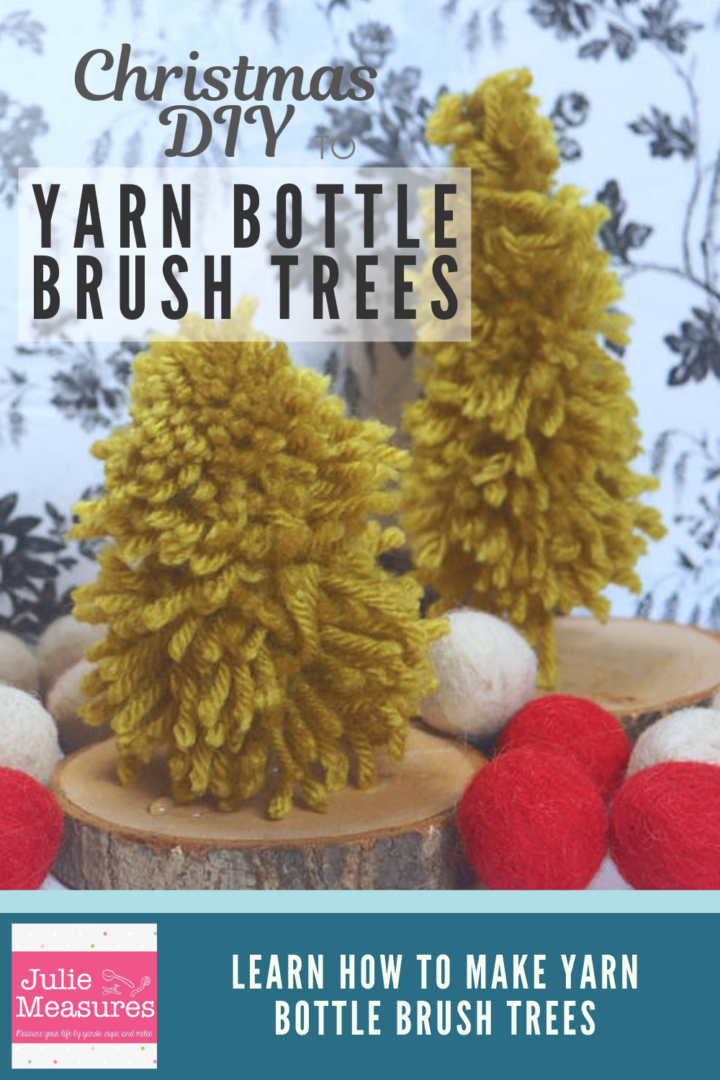
Learn how to make Yarn Bottle Brush Trees! Perfect for Christmas and holiday decorating
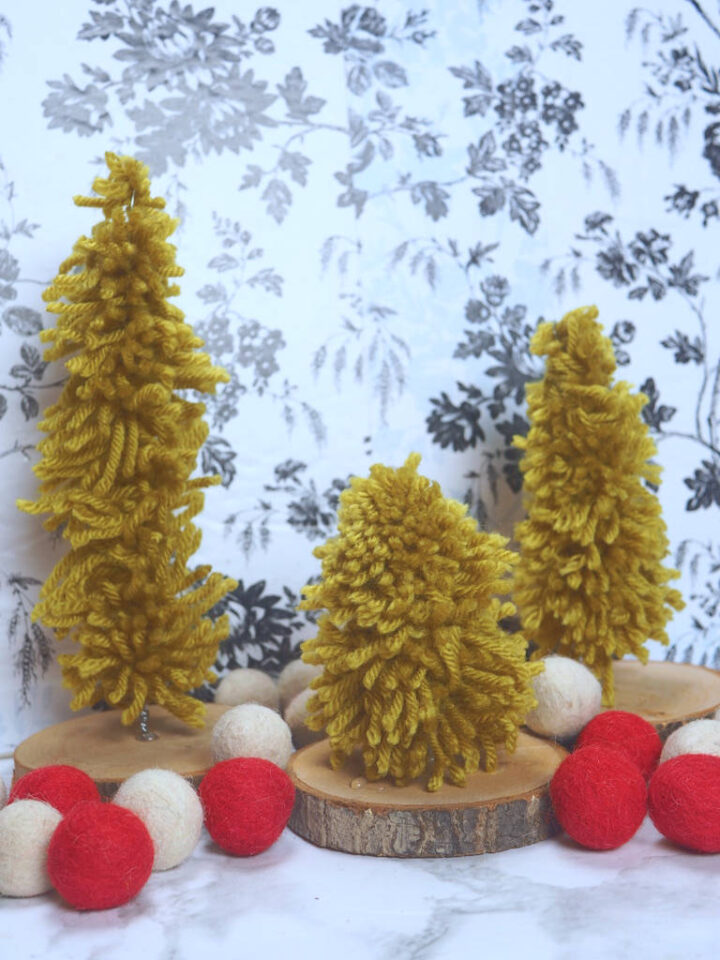
Have you tried making your own DIY bottle brush trees? Creating these decorative trees from yarn is a fun way to have a unique collection of Christmas tree decor that you can personalize.
DIY bottle brush trees made with yarn is a fun and easy project. You only need a few supplies to create handmade and adorable holiday decor. After you make some trees out of yarn you could use the same method to make some from garland, rope, or twine as well!
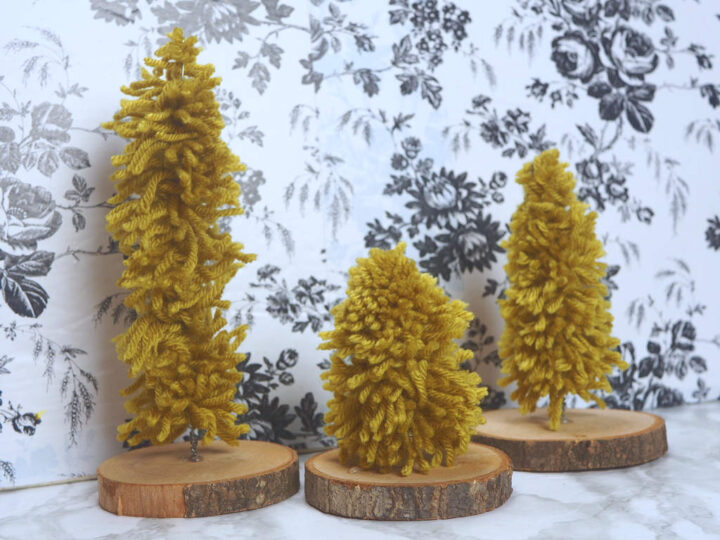
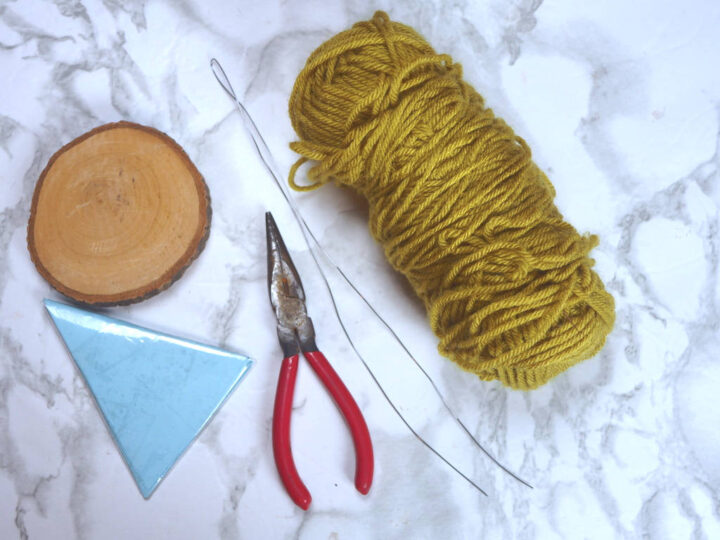
DIY Bottle Brush Tree Supplies
Can your Christmas forest have too many trees? Of course not! So grab some supplies and see how easy these trees are to make. If you can make a yarn pom-pom you can make this yarn bottle brush tree!
How to Make a DIY Yarn Bottle Brush Tree
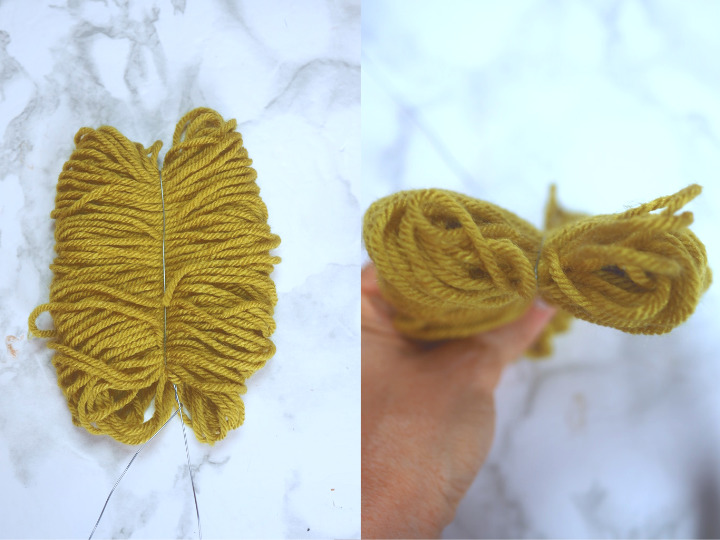
The first step is just like make a yarn pom-pom. You’ll want to wrap the yarn around and around and around. You could use your hand, a glass, or cut out a triangle shape. (If you cut out a triangle shape, like the blue one in the photo above, you’ll want to use a material that isn’t too slippery, like cardboard.)
When you make a pom pom you keep this wrapped yarn small, because you are make a ball. For the Yarn Bottle Brush Tree you’ll want to stretch the wrapped yarn out a bit vertically to create height for the tree. This is why using something like a glass can be very helpful.
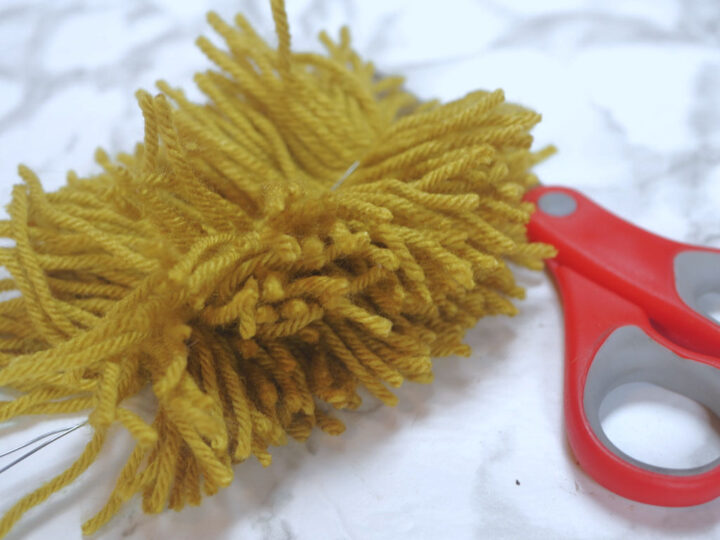
Once the yarn is wrapped and stretched a bit you’ll want to take a piece of wire at least twice the length of your yarn and fold it in half. The wire goes on the outside of the yarn. Or you can think about the yarn being sandwiched between the wire. The top of the wire, where it’s bent in half, will be the top of the tree. Using the pliers, pinch down the top of the tree wire to help hold the yarn in place and also twist the wire at the bottom of the yarn.
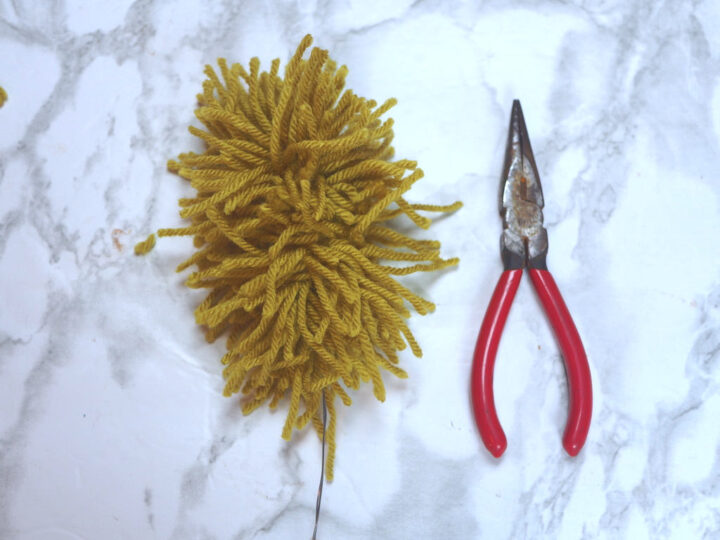
With the yarn held in place by the wire use the scissors to cut the loops of the yarn (this step is also similar to making a yarn pom-pom).
Once all the loops are cut use your hands or some pliers to twist the wire. This not only tightens everything up to make sure the yarn doesn’t fall out, but it also makes it so that the yarn ends, the branches, are pointing in all directions.
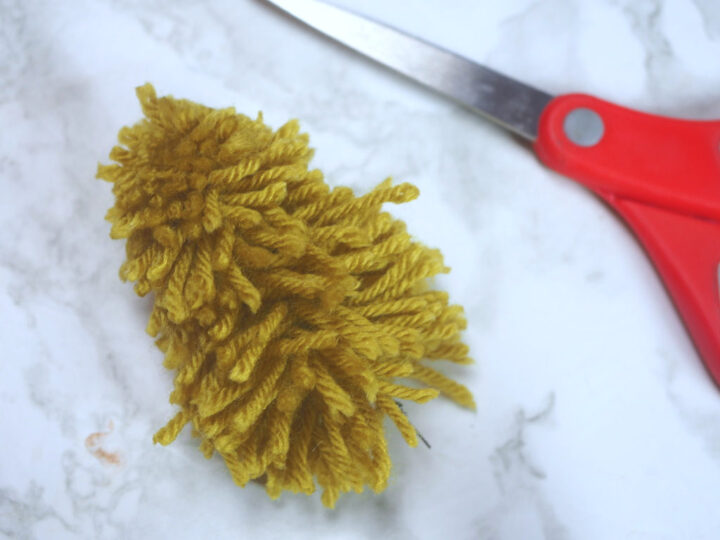
The next step is to shape the tree, much like trimming down a pom-pom. To help create a tree shape keep the yarn strands at the bottom slightly longer than the ones at the top.
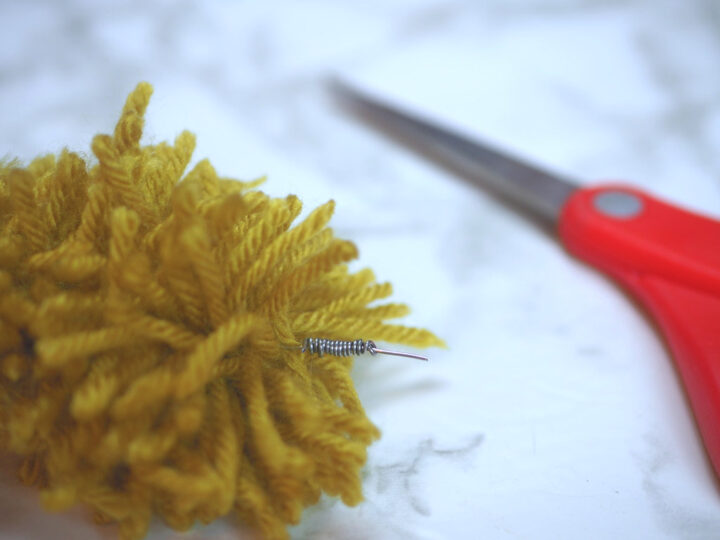
To create a little wire stem I wrapped one of the wire pieces around the other. Then use the wire cutters to snip both ends of the wire.
The last stop was to attach my Yarn Bottle Brush Trees to some wood slice stands. I used a very narrow drill bit to drill a hole into the wood slices. Then I dabbed hot glue to the hole in the wood slice and to the bottom of my wire and placed the wire into the hole. Hold the tree vertically until the glue cools.
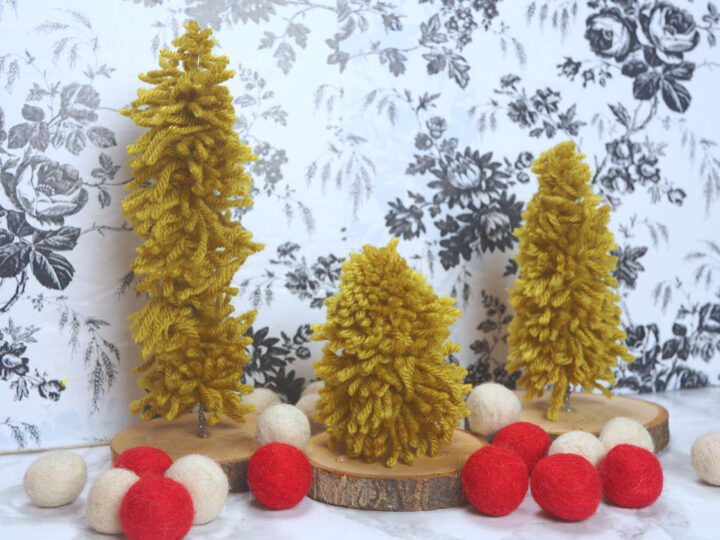
My very own forest of Yarn Bottle Brush Trees! Try making your trees different heights and thicknesses as well as using different colors and textures of yarn.
Want to make another DIY Yarn Tree? Make these knit I-Cord Christmas trees!
Leave a Reply
You must be logged in to post a comment.