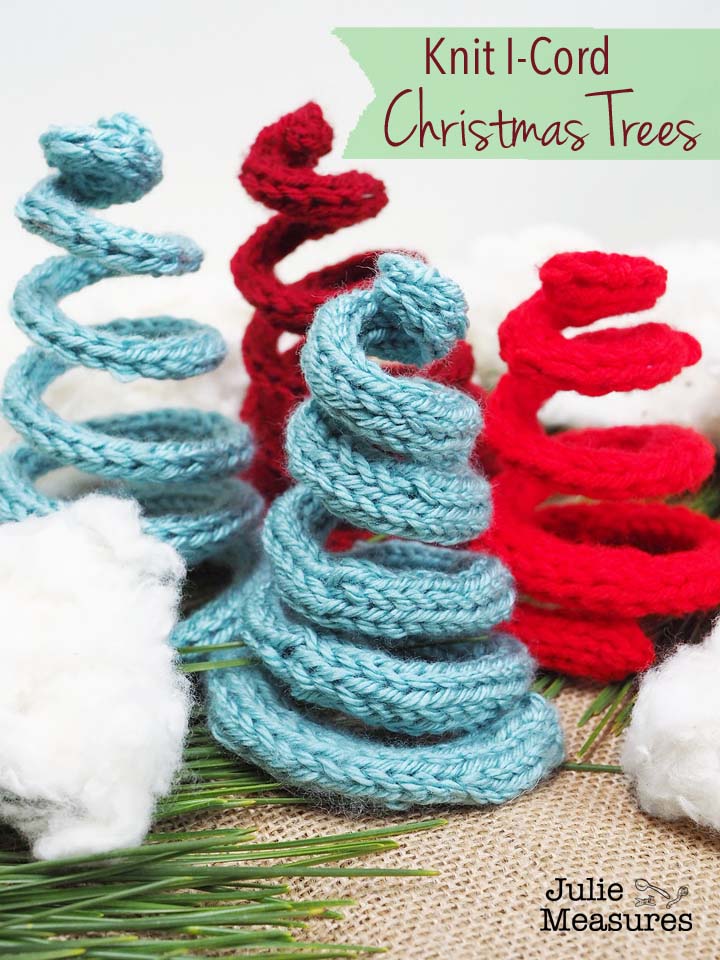
Make your own forest of knit I-Cord Christmas trees!
Tis the season for movie watching, hot chocolate drinking, and knitting. Pro tip: all of these activities can happen together! I’ve been enjoying sitting on the couch with a blanket in my lap, yarn in my hands, and something fun on the TV. While there has been plenty of Christmas movie watching, one of my favorite shows ever was recently added to a streaming service so I’ve also been re-watching that series.
Knitting, or crocheting, is great to do while you watch a movie, or two or three. Or an entire television season. Whatever floats your boat. And knitting I-Cord in particular is great because there isn’t a pattern or anything you need to think about while you knit and watch. I was able to create my own little knit Christmas tree forest in a few hours.
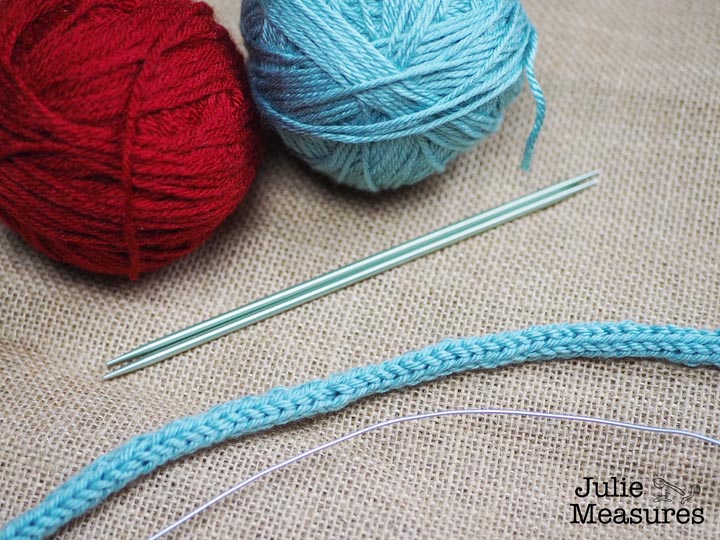
Knit Christmas Tree Supplies
- Yarn
- Two double pointed needles
- Tapestry needle
- 14 gauge wire
How to Make I-Cord Knit Christmas Trees
Creating my knit Christmas trees was a fairly inexact science. The very first thing I did was take a length of wire and bend it around a conical shaped vase. This helped me determine the size I wanted for my wire trees. I unbent the wire and measured it. Once I knew how long the wire was then I knew how long I needed to knit the I-Cord. The I-Cord does stretch some, so make your I-Cord a bit shorter than the length of the wire.
Knit your I-Cord and then slip it over the wire.
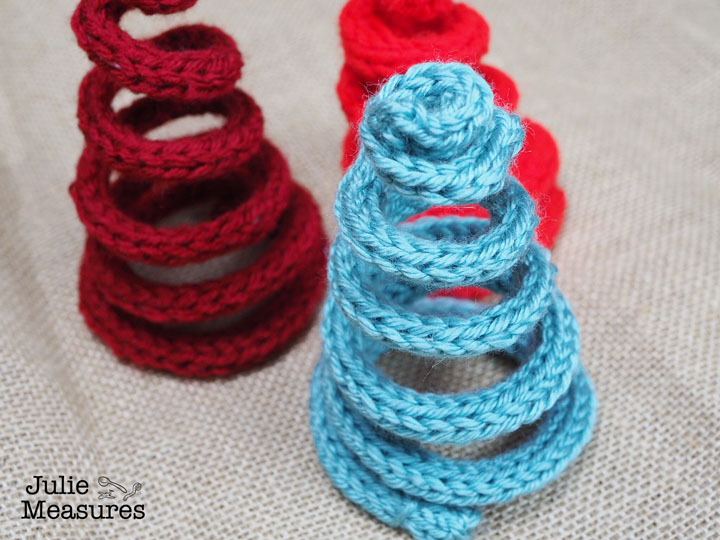
Once you have your I-Cord covered wire it’s time to shape your Christmas tree. I happened to have a vase that was conical shaped, but a foam cone would work great as well.
The last step was to take a pair of pliers and twist the very top of the tree a little tighter.
My own little forest of knit Christmas trees! A bit of fiberfill stuffing acts as great snow for the trees.
It’s so much fun to make projects with I-Cord! Check out my Ampersand Knit I-Cord Wall Art AND learn three different ways to make I-Cord.




Leave a Reply
You must be logged in to post a comment.