This Cable Knit Beanie hat pattern is a great project for anyone who loves knitting cables! Learn how to knit this hat with a FREE Knitting Pattern
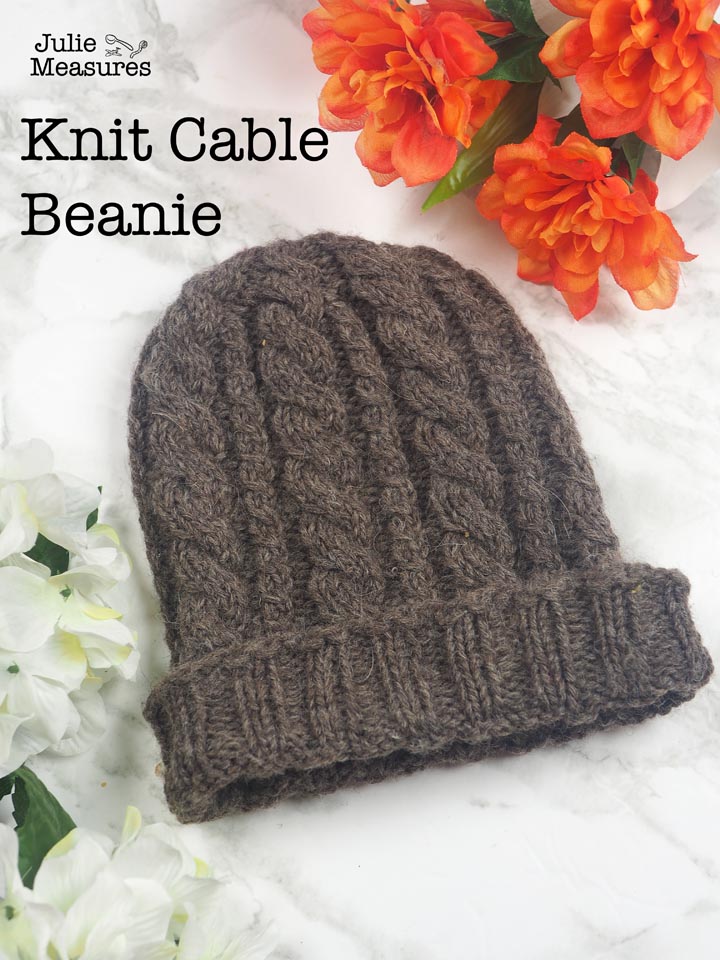
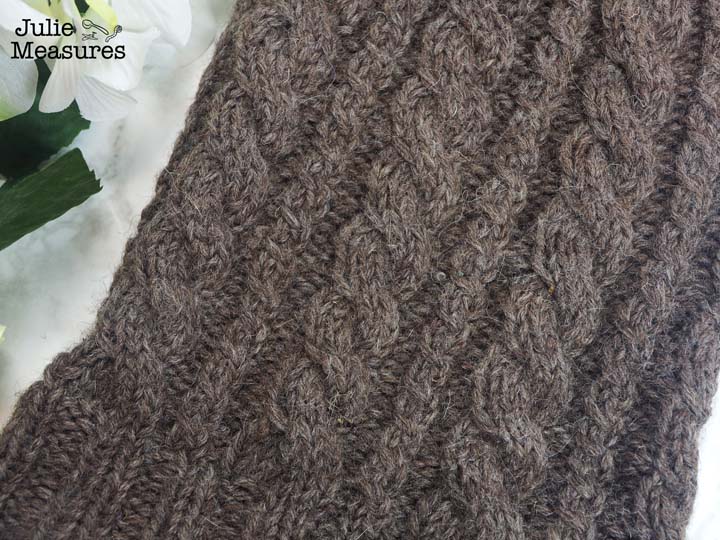
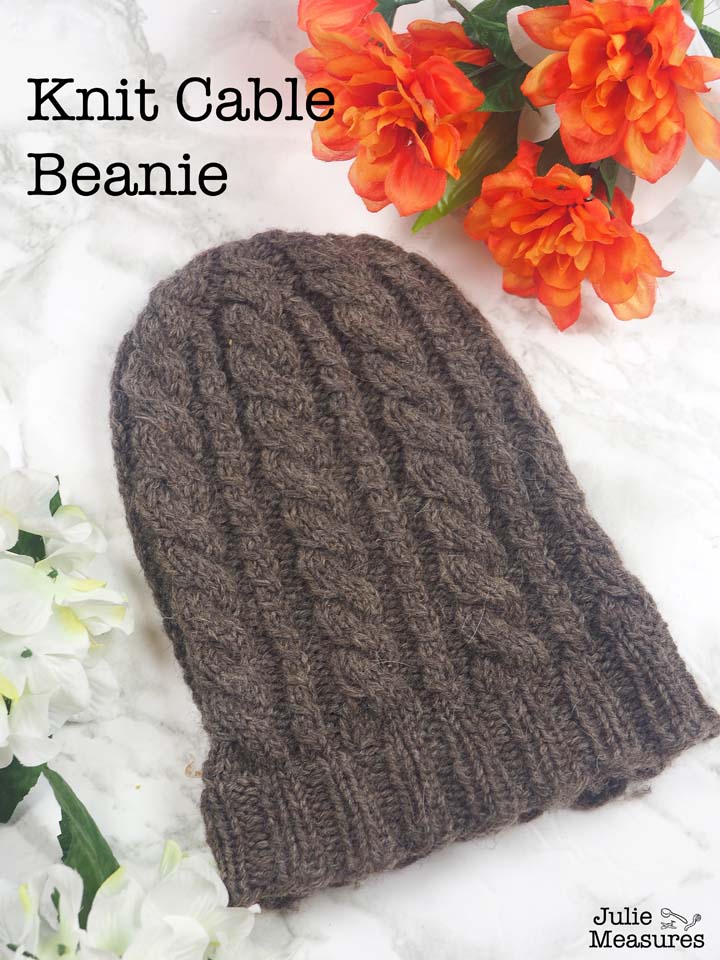
Two columns of twisted cables create interesting detail on this knit cable beanie. If you love knitting cables, this pattern is for you!
One column of cables is worked over a total of 6 stitches, while the other cable is just a 2 stitch cable. The brim is a simple ribbed brim with 2 knit stitches and 2 purl stitches.
Cable Knit Beanie Supplies
- 5mm (US size 8) double pointed knitting needles or short circular knitting needles
- Worsted (medium) weight wool yarn
- Stitch markers
- Yarn needle
- Scissors
What is a fisherman beanie?
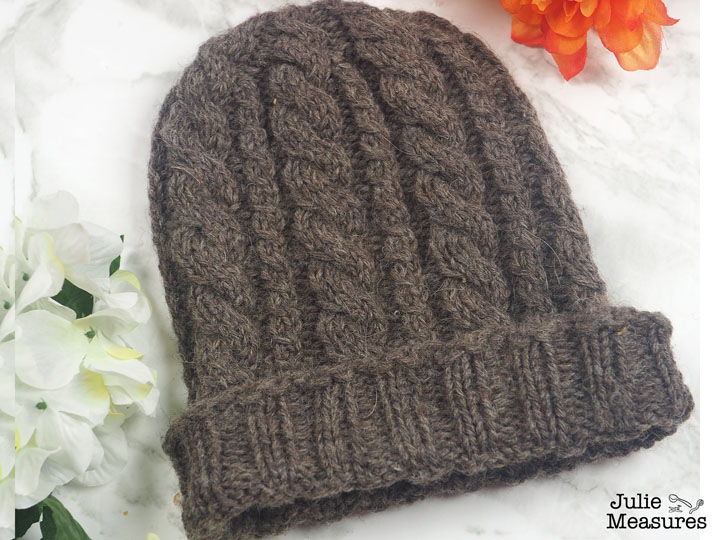
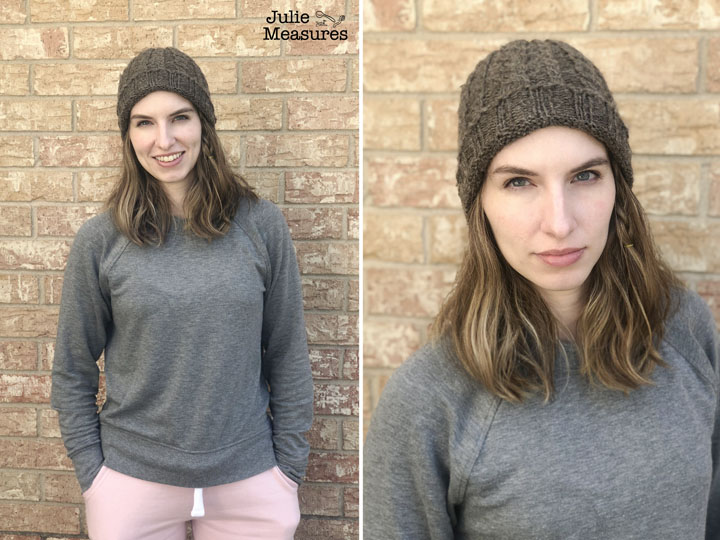
The fisherman beanie, or rolled brim beanie, was inspired by fisherman. In cold climates fishermen would wear wool knit hats while out at sea to stay warm. But, in order to actually hear directions, they needed to roll up the beanies above their ears. This knit cable beanie was inspired by a fisherman beanie and can be easily rolled up over the ears. Of course it can also be worn over the ears as well!
The two sizes of cables side by side make for such an easy and versatile hat knitting pattern!
How to Make a Knit Cable Beanie
Yardage is approximately 160 yards
Gauge: 4″x4″ square is 18 stitches and 24 rows
Cast on 72 stitches and join to knit in the round
Rounds 1-12: knit 2, purl 2 (repeat around for a total of 72 stitches on each round)
Round 13 is an increase round where you will be increasing from 72 stitches to 84 stitches. The increases are done in every 6th stitch. You can work the increase by knitting into the front and back of a stitch, or use the M1 (make 1) technique. Your choice! If you knit into the front and back of a stitch you will knit 5 stitches and then knit into the front and back of the 6th stitch. If you prefer the Make 1 technique then you will knit 6 stitches and then make a stitch. This is the pattern for working a 6 stitch section and turning it into 7 stitches.
Round 13: Knit 6, increase 1, knit 6, increase 1 (repeat around for a total of 84 stitches on this round)
How to Make a Knit Cable Beanie (continued)
Round 14: knit each stitch (repeat around for a total of 84 stitches on this round)
Round 15: knit 6, purl 2, two-stitch twist cable, purl 2 (repeat around for a total of 84 stitches on this round)
Two-stitch twist cable, also called 1-over-1 cables without a cable needle. This cable is worked in three steps. Step 1, knit into the back of the second stitch on the left hand needle. Knit through the back loop, but don’t drop the stitch off of the left needle. Step 2, bring the needles to the front and knit the first stitch normally through the front loop. Step 3, drop both stitches from the left hand needle.
Round 16: knit each stitch (repeat around for a total of 84 stitches on this round)
Round 17: C6F, purl 2, two-stitch twist cable, purl 2 (repeat around for a total of 84 stitches on this round)
C6F means to move 3 stitches to the cable needle, hold the work in front, knit 3 stitches from the left hand needle, then knit the 3 stitches on the cable needle. This is a cable worked over a total of 6 stitches.
How to Make a Knit Cable Beanie (continued)
Round 18: knit 6, purl 2, knit 2, purl 2 (repeat around for a total of 84 stitches on this round)
Round 19: knit 6, purl 2, two-stitch twist cable, purl 2 (repeat around for a total of 84 stitches on this round)
Round 20: knit 6, purl 2, knit 2, purl 2 (repeat around for a total of 84 stitches on this round)
Round 21: C6F, purl 2, two-stitch twist cable, purl 2 (repeat around for a total of 84 stitches on this round)
Rounds 22-41: Repeat rounds 18-21 five more times (or until desired height for hat)
Begin decreases, the decreases are worked to try to continue the cabling as far as you can to the crown of the hat. The twist cable drops off and the C6F cable becomes smaller, first decreasing down to 4 stitches and then down to 2 stitches. Depending on your preference you may choose to shorten this section.
Round 42: knit 6, purl 2, knit 2, purl 2 together (repeat around for a total of 77 stitches on this round)
Round 43: knit 6, purl 2, slip 1, knit 1, pass slipped stitch over, purl 1 (repeat around for a total of 70 stitches on this round)
Round 44: knit 6, purl 2, knit 2 together (repeat around for a total of 63 stitches on this round)
Round 45: C6F, purl 1, purl 2 together (repeat around for a total of 56 stitches on this round)
Round 46: knit 1, knit 2 together, knit 1, knit 2 together, purl 2 (repeat around for a total of 42 stitches on this round)
Round 47: knit 4, purl 2 (repeat around for a total of 42 stitches on this round)
Round 48: C4F, purl 2 (repeat around for a total of 42 stitches on this round)
Round 49: knit 4, purl 2 together (repeat around for a total of 35 stitches on this round)
Round 50: knit 4, purl 1 (repeat around for a total of 35 stitches on this round)
Round 51: C4F, purl 1 (repeat around for a total of 35 stitches on this round)
Round 52: knit 2 together, knit 2 together, purl 1 (repeat around for a total of 21 stitches on this round)
Round 53: C2F, purl 1 (repeat around for a total of 21 stitches on this round)
Round 54: knit 1, knit 2 together (repeat around for a total of 14 stitches on this round)
Round 55: knit 2 together (repeat around for a total of 7 stitches on this round)
Cut yarn and weave through remaining stitches. Pull tight and knot off. Weave in ends.
Looking for more knitting patterns? Check out this list of 100+ FREE Knitting Patterns!
I’m having a problem with the increase row. The math doesn’t work out. Starting with the 64 stitches in the ribbing, with 2 increases in the first two stitches and then 2 knits that is turning 4 stitches into 6. I divided 64 by 4 and multiplied by 2 for the increased stitches. 62/4=16×2=32 added stitches. 32+64=96 not 84. Am I doing something wrong?
You’re not! My apologies. The recommended cast on stitches have been updated.
So how many do I cast on can you please reply on this
Yes! You’ll cast on 72 stitches