“I Chews You!” A sweet DIY gumball machine that is perfect for Valentine’s Day
My mother-in-law has had a plastic ‘gumball’ machine I think since my husband and I were dating. I use parentheses around ‘gumball’ because it’s always filled with candy but never gum. My kids, and all her grandkids, love that candy dispenser. I’ve seen a few people get lucky and find one at a thrift store, but I’ve never seen one. Then I realized with a few supplies I could make my own diy gumball machine!
DIY Gumball Machine
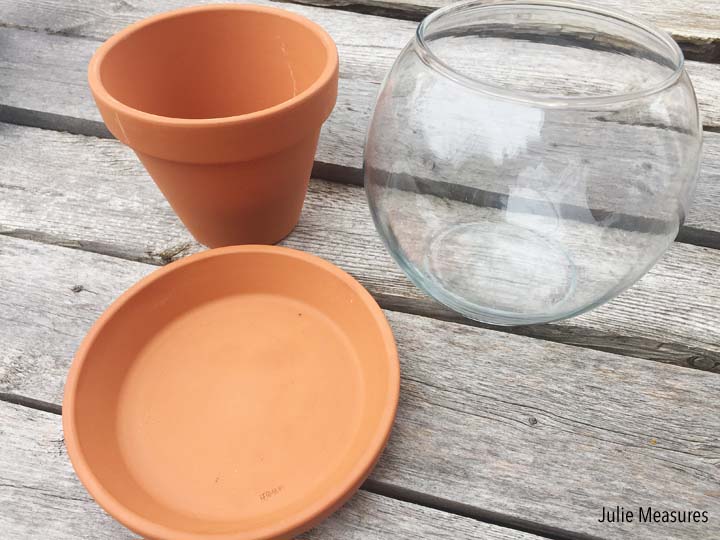
DIY Gumball Machine Supplies:
- Terra cotta clay pot
- Terra cotta clay saucer
- Glass bowl
- Wooden ball (for knob)
- red spray paint
- hot glue
When picking out your supplies make sure the saucer fits over the top of the glass bowl to serve as the lid. And that the bowl fits nicely on top of the bottom of the clay pot.
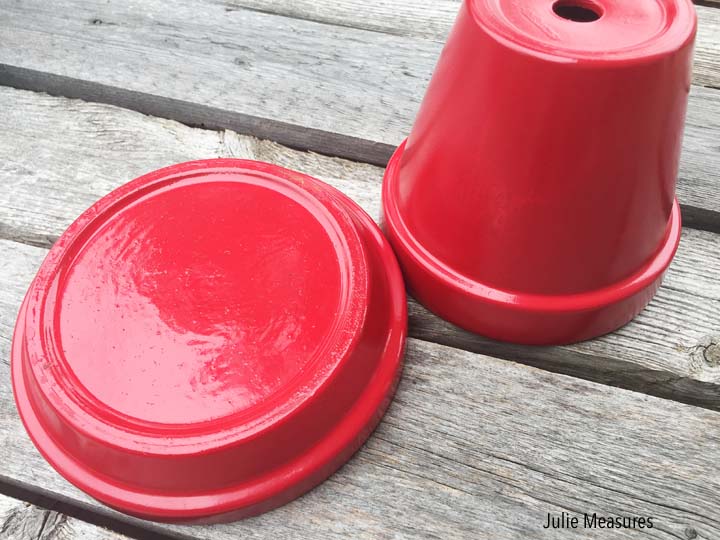
The first step was to spray paint my terra cotta clay pot, saucer, and the wooden ball that will serve as the knob for the lid. Let them dry. The terra cotta clay pot is used upside down for the gumball machine so I spray painted the outside of the pot and also around the inside of the rim (just so I didn’t miss any spots.) The saucer served as the lid so you’ll need to spray paint it entirely.
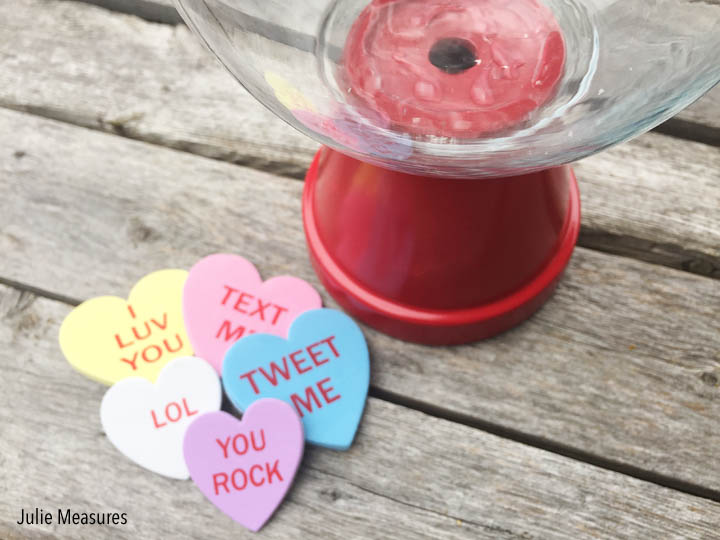
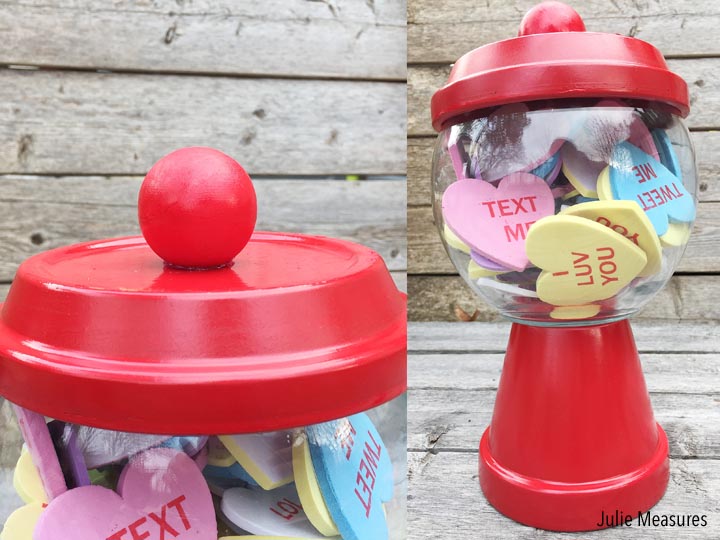
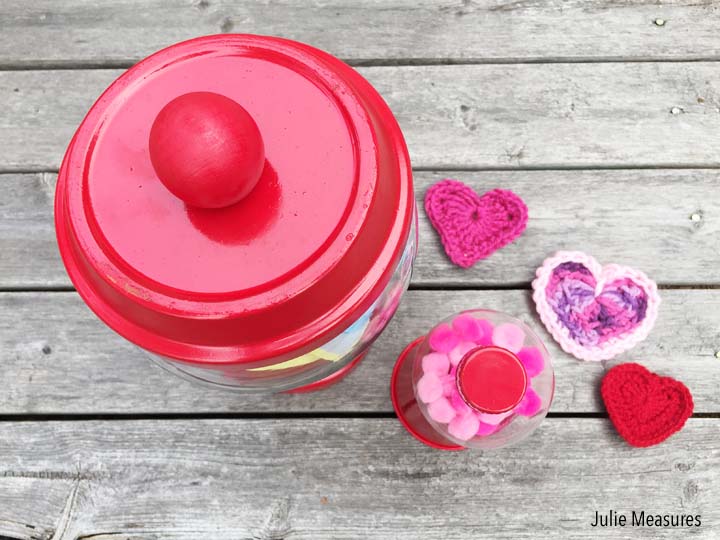
Once the clay pot and saucer were dry I could assemble my gumball machine. The glass bowl gets glued to the top of the upside down clay pot. And the wooden ball gets glued to the top of the upside down saucer to turn it into a lid. While the glue is drying and setting you can fill your bowl.
Non-Candy Valentine’s Day Treat
I found these foam stickers at the craft store that look like conversation hearts. My candy machine sits in the living room and my kids get to give a sticker to anyone who comes to visit. It’s a great alternative for anyone who prefers a non-candy treat. Of course I also bought a package of assorted chocolate truffles that will be making their way into the candy dispenser at some point.
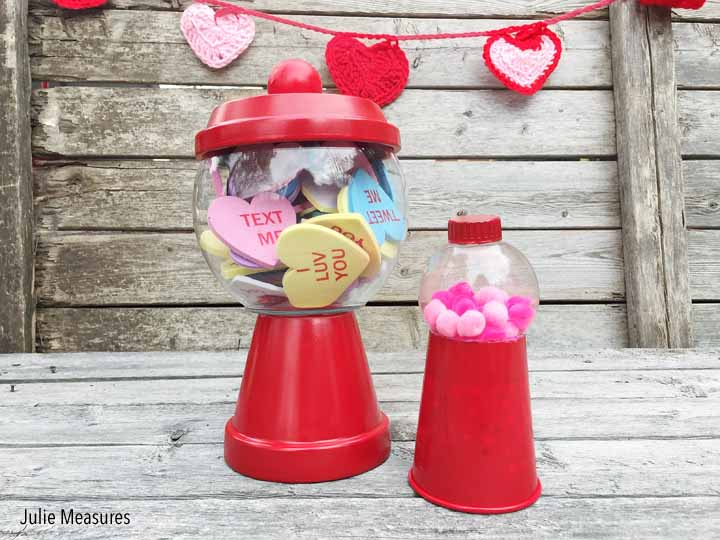
In the end I actually put together two different gumball machines, a larger one and a mini one. While the larger one is more sturdy and a more permanent candy dish, the smaller one is perfect for a Valentine’s Day class treat or a special thank you.
Mini DIY Gumball Machine Supplies
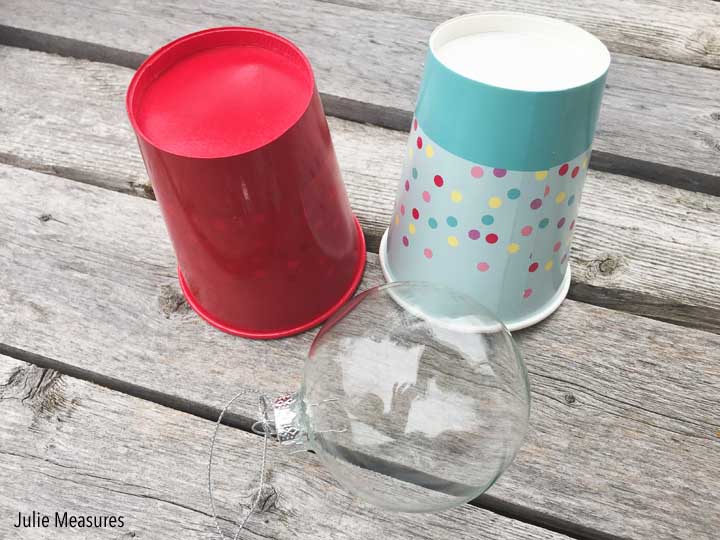
- Paper cup
- Soda bottle lid
- Clear plastic globe ornament
- red spray paint
- hot glue
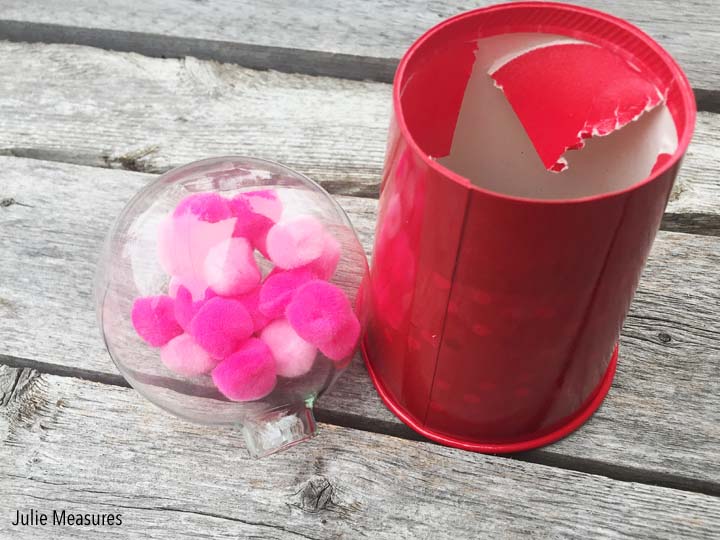
Spray paint the paper cup and then punch through the bottom of the cup (this helped my ornament fit better). For our mini display I filled the ornament with shades of pink mini pom-poms. However, I also found some pink bubblegum decorating candy sprinkles to put in some of my other mini gumball machines. They’ll be perfect with an “I chews you” note attached!
The mini machine got a soda bottle lid attached to the top. For the non-edible version I glued the lid on. If you wanted to be able to pour out the candy inside you could attach it with some tape or other non-permanent adhesive.
My two gumball machine candy dishes! What will you fill yours with?
Watch the video tutorial
Want some more pun-y Valentine’s? I’ve got some for you here
Julie Measures is a participant in the Amazon Services LLC Associates Program, an affiliate advertising program designed to provide a means for sites to earn advertising fees by advertising and linking to Amazon.com

I love this! Where did you get the large hearts? I’m assuming they are wooden but those are adorable!
I also forgot to ask..did you paint those yourself and write the sayings on them? I love both of the gumball machines as well!
Thank you!