No matter the weather you’re home can be a winter wonderland with this DIY Fishbowl Snowman decoration
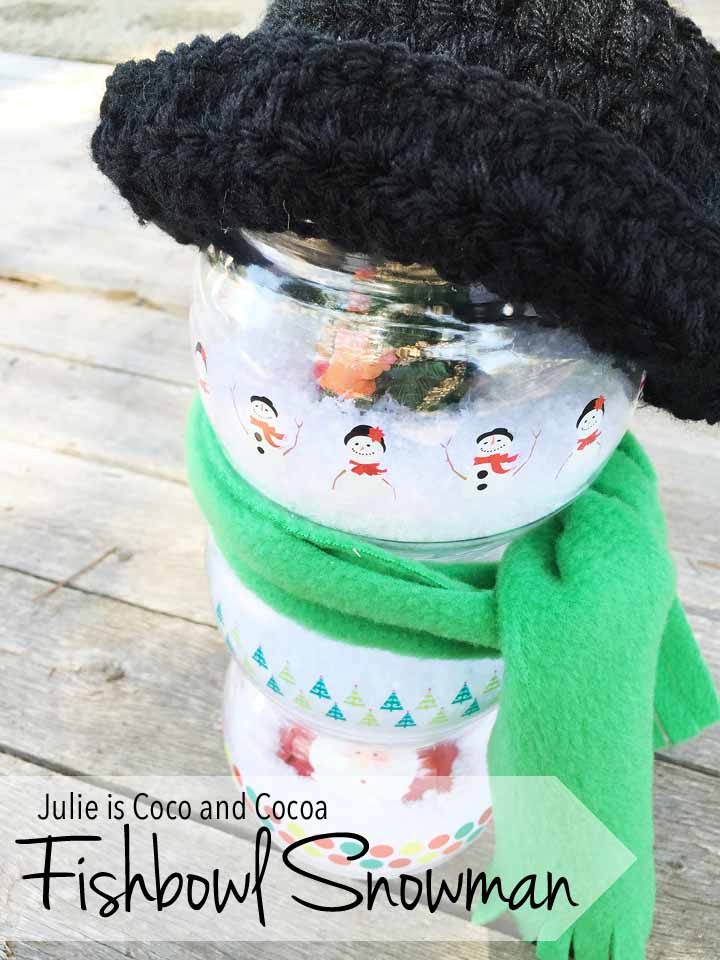
I’m always looking to add wintery touches to my decorations. This year I’m creating a winter scene Fishbowl Snowman. By filling clear (or nearly clear) bowls and stacking them together I’m creating a very personalized snowman decoration.
What you’ll need:
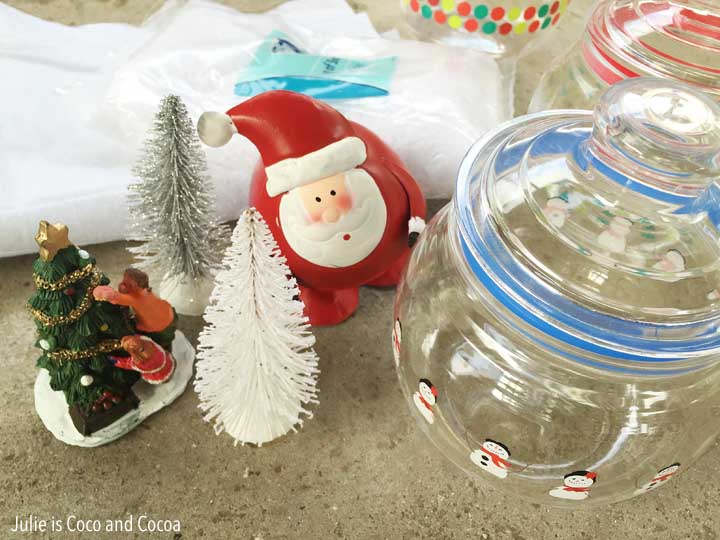
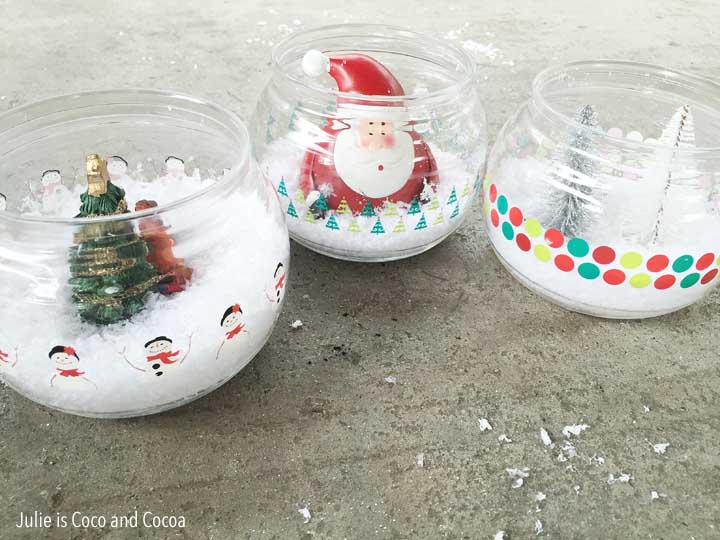
- 3 clear bowls (any type of bowls that will stack together, these are actually plastic candy dishes. I’ve also used fishbowls)
- Fake craft snow
- Figurines that will fit inside of each bowl
- Hot glue and glue gun
- Small piece of fabric for the scarf (I used fleece)
- A black hat (or supplies to crochet the hat pattern)

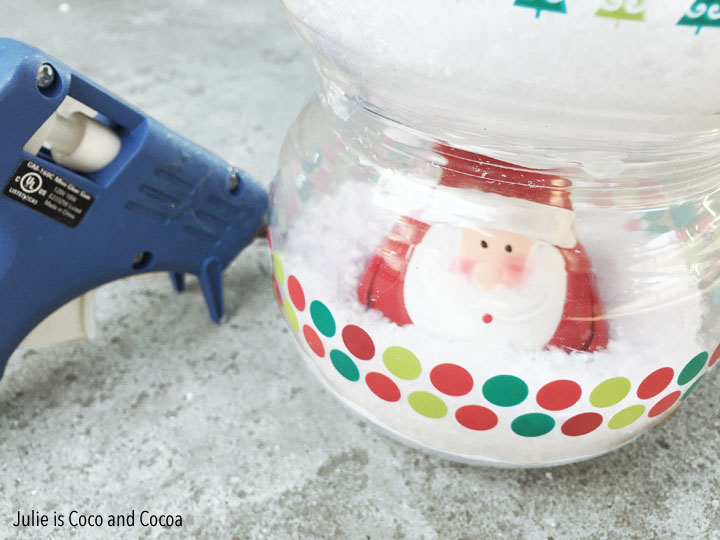
A few of my figurines I had to ‘adjust’ to make them fit in my bowls. I noticed at the store that Santa would fit when he was pushed down, but not when he was bobbling around. Removing the spring legs made him fit perfectly in the bowl.

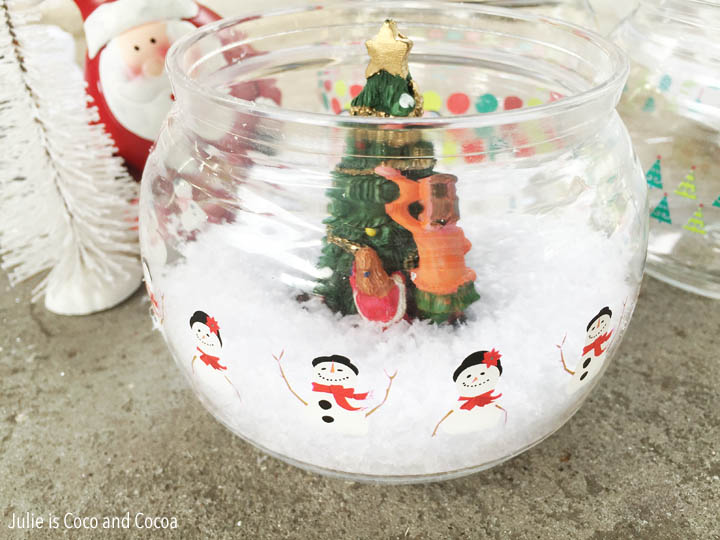
I hot glued my figurines to the bottom of each bowl and then added snow around them. That way they couldn’t fall over when the snowman was all assembled.
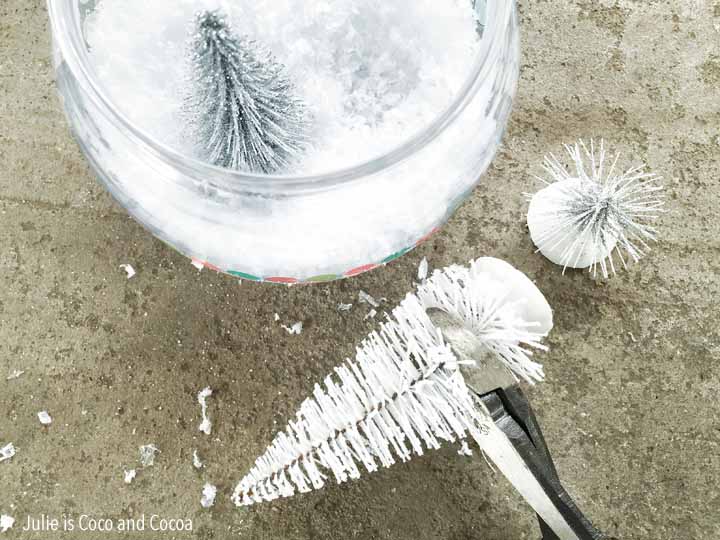
I used wire cutters to trim my bottle brush trees. I got white and silver trees to go with my winter white snowman look.
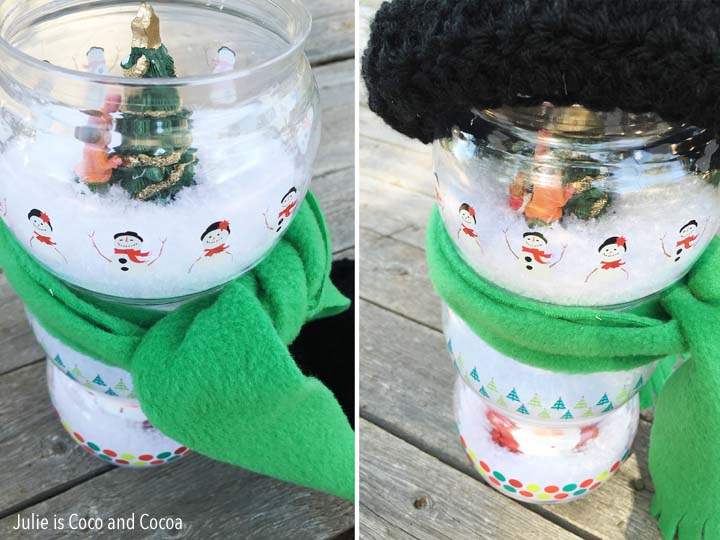
Once the three separate bowls were ready I could stack them together.
While the bowls do all stack on top of each other, with 3 kids in the house I wanted to make sure my snowman would be sturdy. So I used hot glue to secure the bowls to each other.
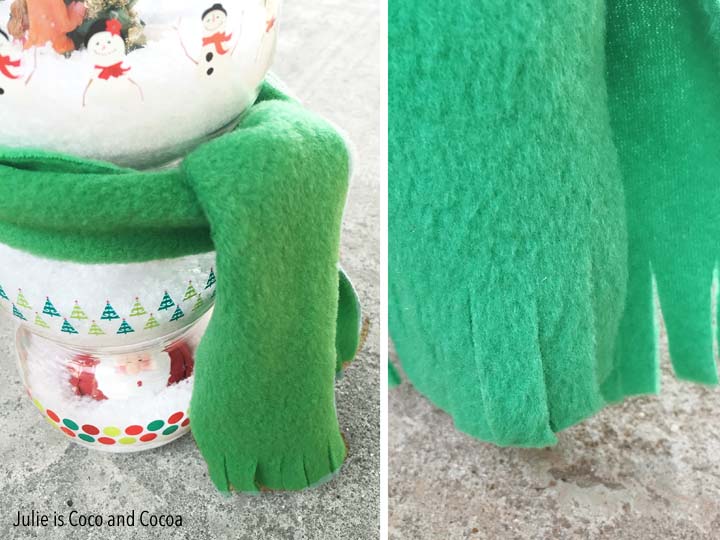
When all the bowls were glued together I could add the final details of a hat and a scarf to really bring my snowman together. I used just a small strip of green fleece and I made cuts on each end to make it look like fringe.
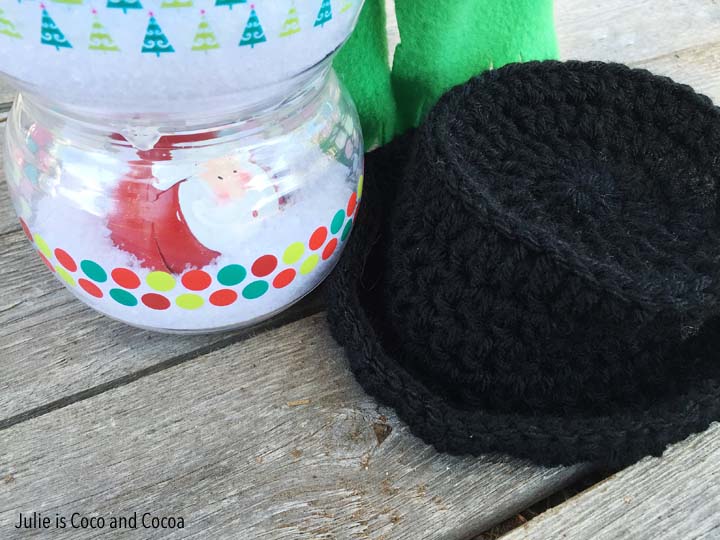
The last step was to crochet a black hat. You could also purchase a black hat. But I had some black yarn on hand and decided to make my own hat.
This is a pretty loose pattern, you might need to adjust it depending on what size of bowls you use for your snowman. The basic pattern expands in a circle to make the top of the hat, then you use back loop only stitches to make the ‘seam’ so you can create the sides. Finally you increase again when you make the brim.
Snowman Hat Pattern
Supplies
- Black worsted weight yarn
- 6mm crochet hook
- Scissors
Abbreviations
- Ch – Chain
- Dc – Double Crochet
- Blo – Back Loop Only
- Flo – Front Loop Only
Directions
- Begin with a magic ring
- Round 1: Ch 2, make 10 dc inside the magic ring (10 stitches)
- Round 2: Ch 2, 2 dc in each stitch around. Join with a slip stitch to the chain from round 1 (20 stitches)
- Round 3: Ch 2, *2 dc into the next stitch, 1 dc into the next stitch* Repeat from * to * around and join with a slip stitch to the chain from round 2 (30 stitches)
- Round 4: Ch 2, *2 dc into the next stitch, 1 dc into the next two stitches* Repeat from * to * around and join with a slip stitch to the chain from round 3 (40
stitches) (at this point make sure the top of the hat will fit over your bowl. If it’s too small you can add an increase round) - Round 5: Ch 2, dc into the Blo of each stitch. Join with a slip stitch to the chain from round 4 (40 stitches)
- Rounds 6-9: Ch 2, dc once into every stitch. Join with a slip stitch to the chain from previous round (40 stitches)
- Round 10: Ch 2, *2 dc into the Flo of the next stitch, 1 dc into the next two stitches* Repeat from * to * around and join with a slip stitch to the chain from round 9 (60 stitches)
- Round 11: Ch 2, *2 dc into the next stitch, 1 dc into the next three stitches* Repeat from * to * around and join with a slip stitch to the chain from round 10 (80 stitches)
- Bind off and weave in your ends
Place the hat on the top bowl and the snowman really comes to life!
If you were using clear bowls for this project you could also paint on eyes, a nose, buttons, whatever you wanted!
Leave a Reply
You must be logged in to post a comment.