Don’t forget about your feathered friends when the temperatures turn colder! Make your own DIY Bird Feeders to hang in your yard.
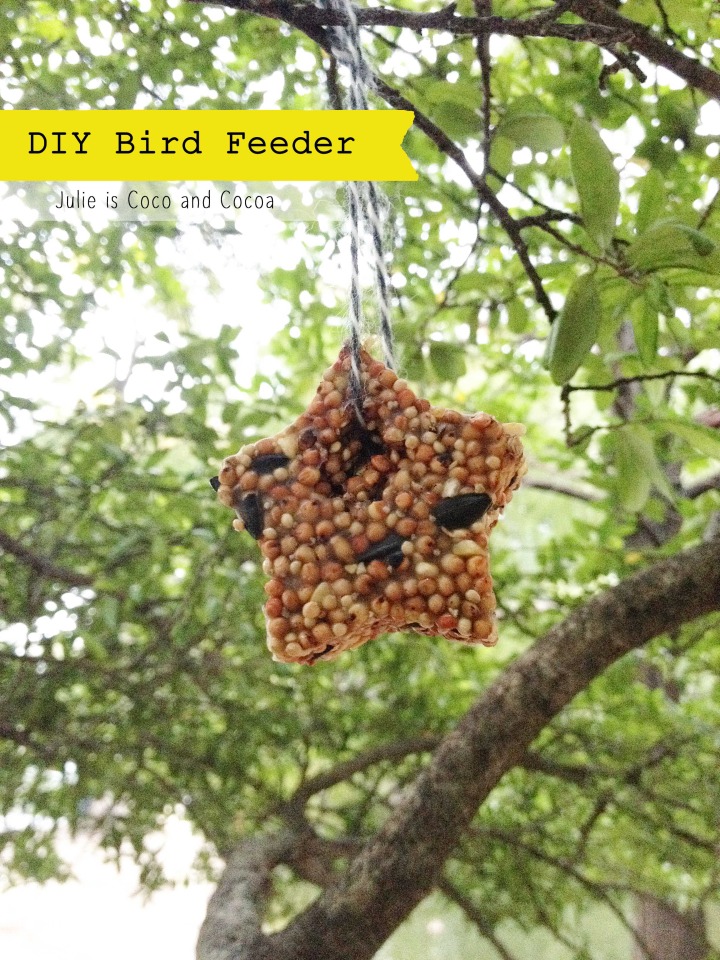
Something about cooler weather always makes me think about birds. While some fly south for the winter there are plenty of them that stay in the neighborhood.
My Nana was an avid birder. And it always seemed that she was extra mindful to feed the birds in the colder weather. This week the kids and I tried out a new to us way to make some bird seed feeders (with no peanut butter).
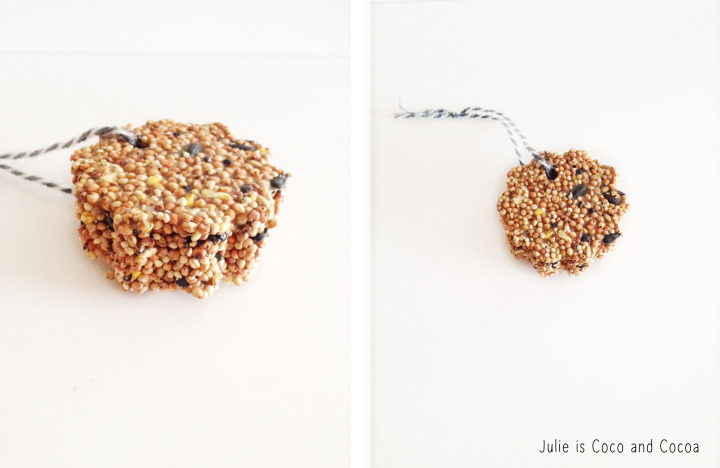
The supplies for these bird seed feeders are
- 2 envelopes unflavored gelatin
- 2 cups bird seed
- Cookie cutters
- Yarn, ribbon, twine (something to hang your feeders with)
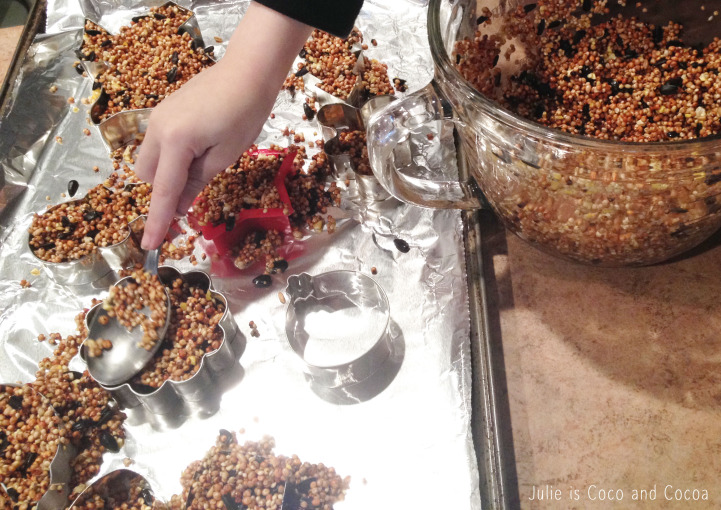
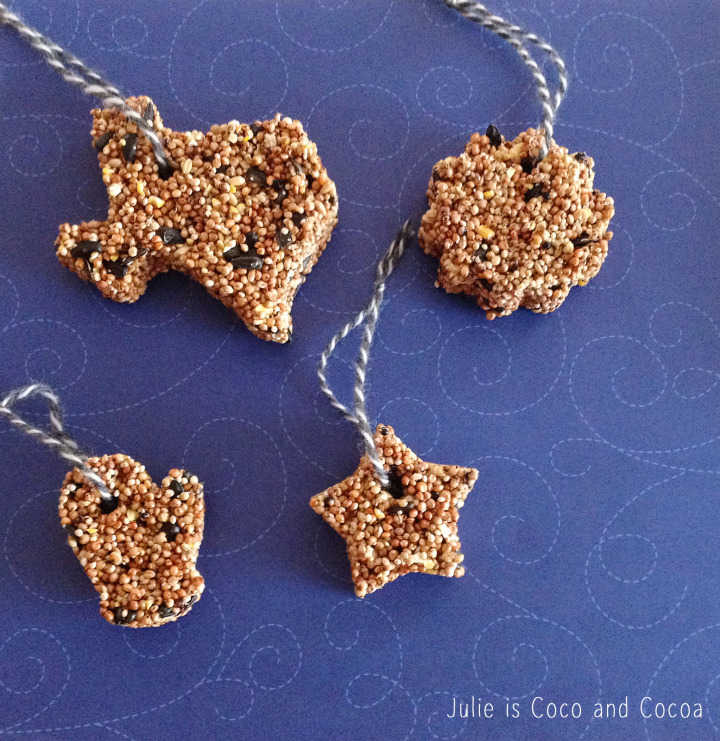
Start by boiling about 1 cup of water to dissolve the gelatin. Once the gelatin is dissolved you can add the bird seed and mix everything together. Cover a cookie sheet with foil and lay out your cookie cutters on top of the foil. We went with some winter themed shapes like a mitten, we also used stars, flowers, even a Texas shaped cookie cutter.
After everything was mixed together Littlest helped me spoon the seed into our cookie cutters. Fill the cookie cutters to the top, pressing the mixture down as you fill.
Once the cookie cutters are full, cut pieces of straw about 2 inches in length. Place them into the seed mixture and then pull up to create a hole for the yarn to go through once the bird feeders are finished.
I put our tray full of feeders in the refrigerator for about an hour to set. Then I let them dry on the counter for about 24 hours before putting the string through them.
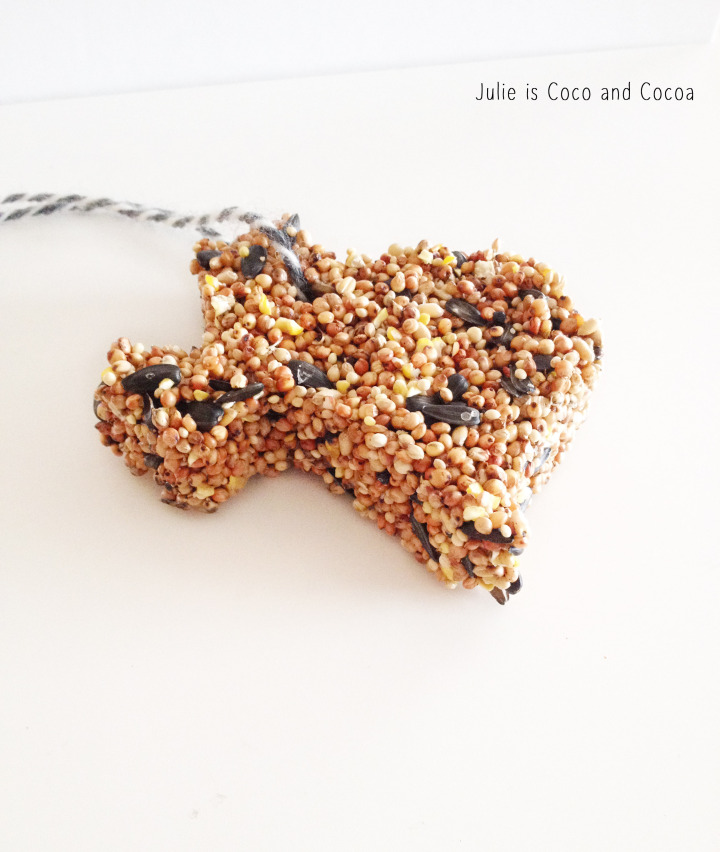
I have to admit that I am pretty partial to the Texas bird feeder.
If you’re headed to a get together, these bird seed feeders would make fabulous handmade gifts. And since they are shaped with cookie cutters they are easy to personalize!
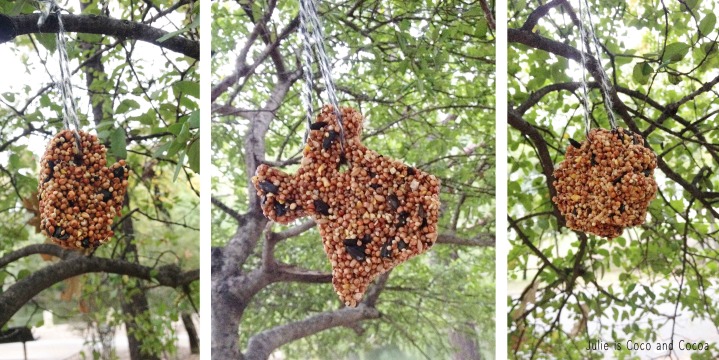
These personalized bird feeders are a great craft to do with the kids while they are out of school for the holidays!
Want more bird seed gift ideas? Check out this simple Last Minute DIY Birdseed Hostess Gift
what a cute idea! i think this would be a great diy to do with my two year old! thanks for sharing!!!