This shop has been compensated by Collective Bias, Inc. and its advertiser. All opinions are mine alone. #Healthy4School #CollectiveBias
Cold and flu season is coming, get ready with Melty Bead Indoor Crafts
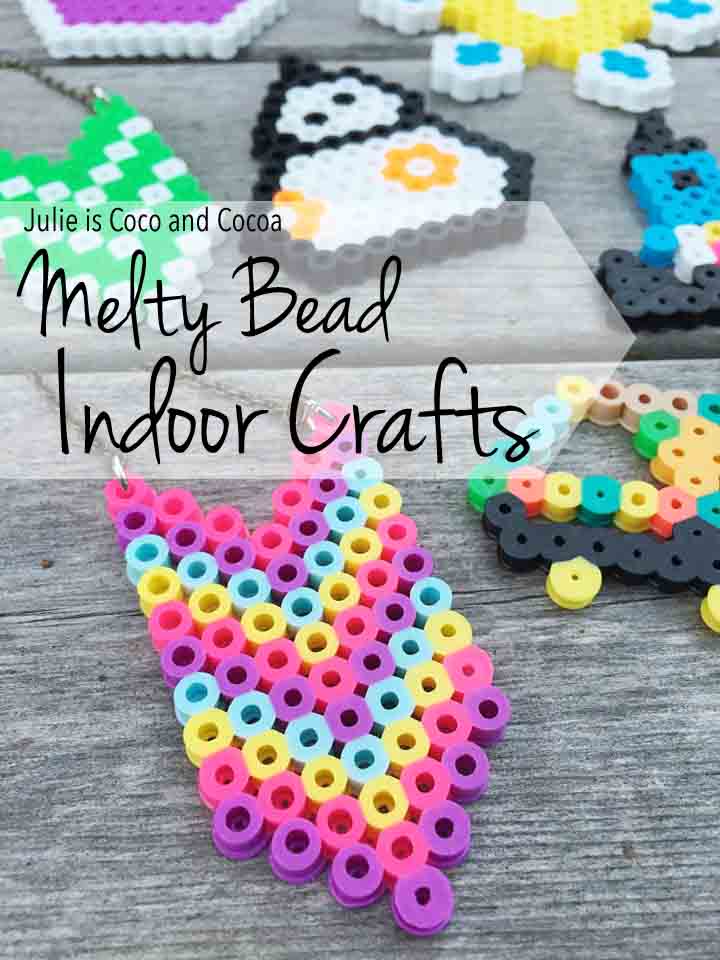
Not long after school started the colds started at our house. It seems to happen every year. You put a bunch of kids together, especially in elementary school, and they share everything those colds included. We struggle with sick days. Mainly trying to keep Littlest entertained. He’s not big on laying on the couch and sleeping/watching TV all day like the older kids will do. So I try to be prepared with some indoor crafts.
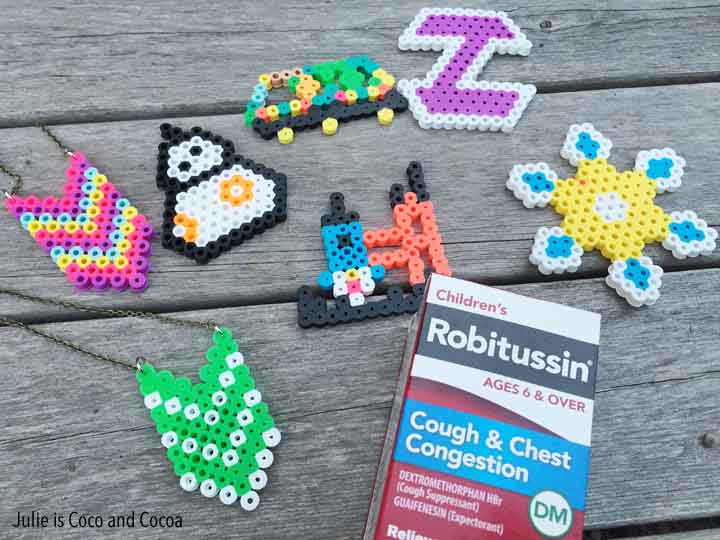
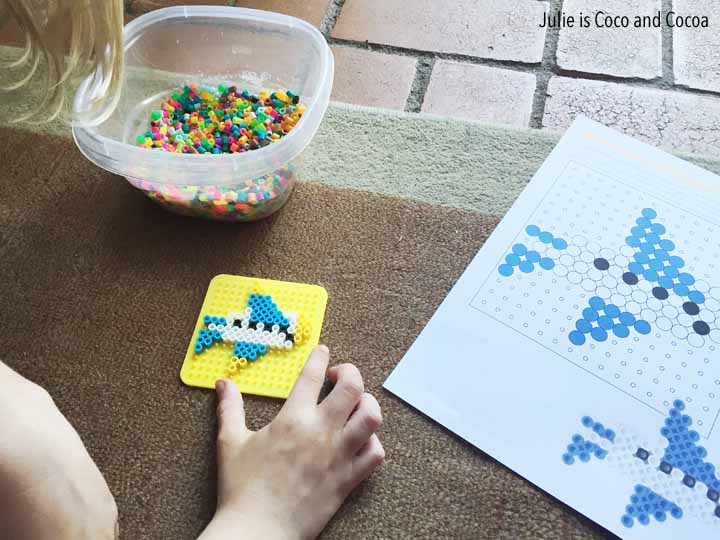
I remember doing these melty bead crafts when I was a kid, but they weren’t something I had ever really done with my kids. I think at first I thought maybe they wouldn’t be interested or have the patience. I was seriously wrong. Littlest started with a simple pattern that we found online for an airplane. But after that initial piece he’s been using his imagination to come up with all kinds of creative designs.
This is a rocket ship attached to the launch pad. We did have to go over the idea that all the beads have to touch something on at least one side in order for them to melt together. But he’s definitely loving the free form creativity he has with the beads. And they come in so many sizes now! We got the standard size beads and they were perfect for my kids.
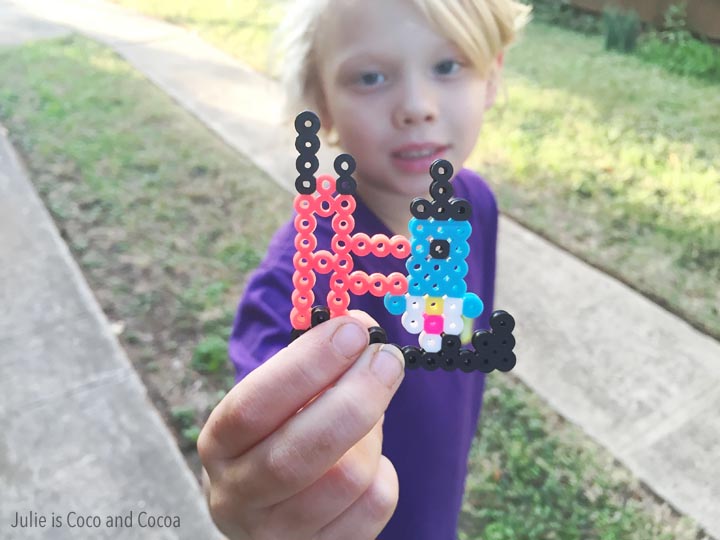
The teenagers jumped right in to creating as well. They started with some of their favorite characters.
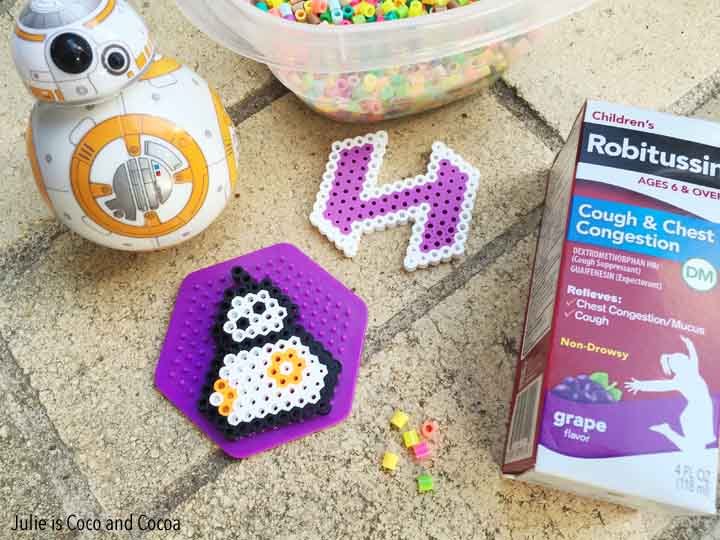
In addition to stocking up on indoor craft supplies I also made sure to grab some Children’s Robitussin® while we were at Walmart. Your cough doesn’t stand a chance with Robitussin®, use as directed.
These melty bead crafts make a great sick day activity because it’s easy to do while sitting on the couch! I picked up a package that had beads, boards, and the ironing paper.

Of course melty beads aren’t just for kids. While Littlest was creating his masterpieces, including that yellow design on the right below, I created a couple of melty bead necklaces. I made a chevron pattern and then used jump rings to attach my melty beads to a necklace chain.
I went ahead and bought a couple plain chains and used wire cutters to cut open a chain in the center. I used larger jump rings to go through the melty bead chevron, and then a smaller jump ring to attach the larger ring to the chain. For me the jump rings that were big enough to go through the beads were to big to fit through the small chain. Other than that you just need two pairs of pliers to twist open the jump rings (never pull them open).
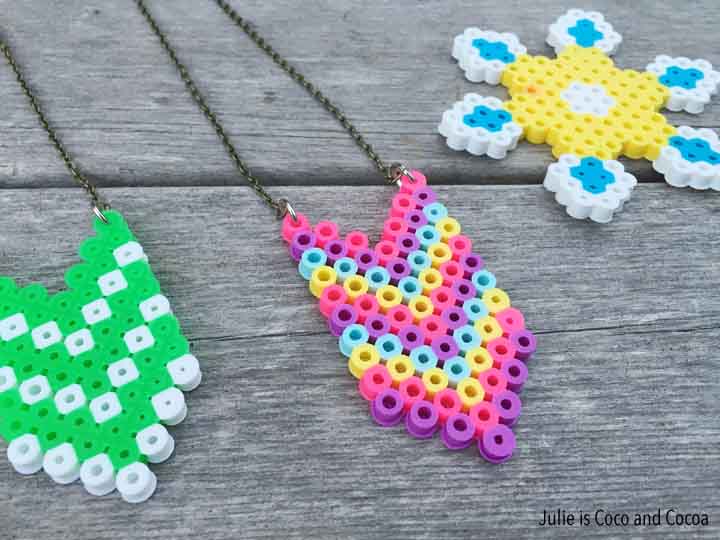
The green and white necklace doubles as holiday/winter colors and school spirit colors for my sons school.
Want to make your own melty bead necklace? Here’s what you need
Melty Bead Necklace Supplies
- Melty bead kit (that includes a peg board, beads, and ironing paper)
- Finished necklace chain (your choice of length and color, includes clasps)
- Jump rings – 2 sizes (8mm to fit through melty beads, and either 4mm or 6mm to attach to your necklace chain)
- 2 pairs of needle nose pliers
- wire cutters
- Chevron necklace pattern
Melty Bead Necklace Directions
- Start by creating your melty beads necklace design. Follow my pattern or make your own.
- Following the instructions on your bead kit, melt your beads together.
- Using the needle nose pliers twist open the larger size jump rings and put them through the top outside beads on the necklace. Leave the jump rings open.
- Use the wire cutters to cut the center chain on your necklace. Remove the cut chain.
- Twist open the smaller jump rings and put one on each end of the necklace that you just cut open.
- Close the smaller jump jumps.
- Attach a small jump ring to each larger jump ring. Close the larger jump ring.
- Wear your new melty bead necklace!
Oh my gosh, I love those necklaces in the last picture! My daughter would LOVE to make something like that. That’s a great Christmas gift idea, come to think of it….
I picked some Robitussin up recently, too. With the weather finally changing around here, I just know I’ll need some for the kids!
Did your youngest really enjoy that craft? I’m thinking mine would have it everywhere but in the right place…but that’s just mine. I thought Brody was coming down with something, but thankfully it was just an alergy.
He really did! He’s made the most projects by far (several a day). He ran out of some colors already so I’ve got to go back to the store and get more.
These are so much fun…until I have to dust off my iron! 🙂
My kids would be so into this idea!
I absolutely LOVE this idea and am definitely using it for the next time one of my kids is home from school sick! My kids would love it, too! #client