
Personalized mugs are one of my favorite gifts. I’m always drawn to mugs with great designs when I’m out shopping. And I have been wanting to make a painted marker mug for awhile. These DIY painted mugs for Father’s Day are simple enough to have the kids help make, but classy enough to become Dad’s new favorite.
affiliate links are included for your shopping convenience
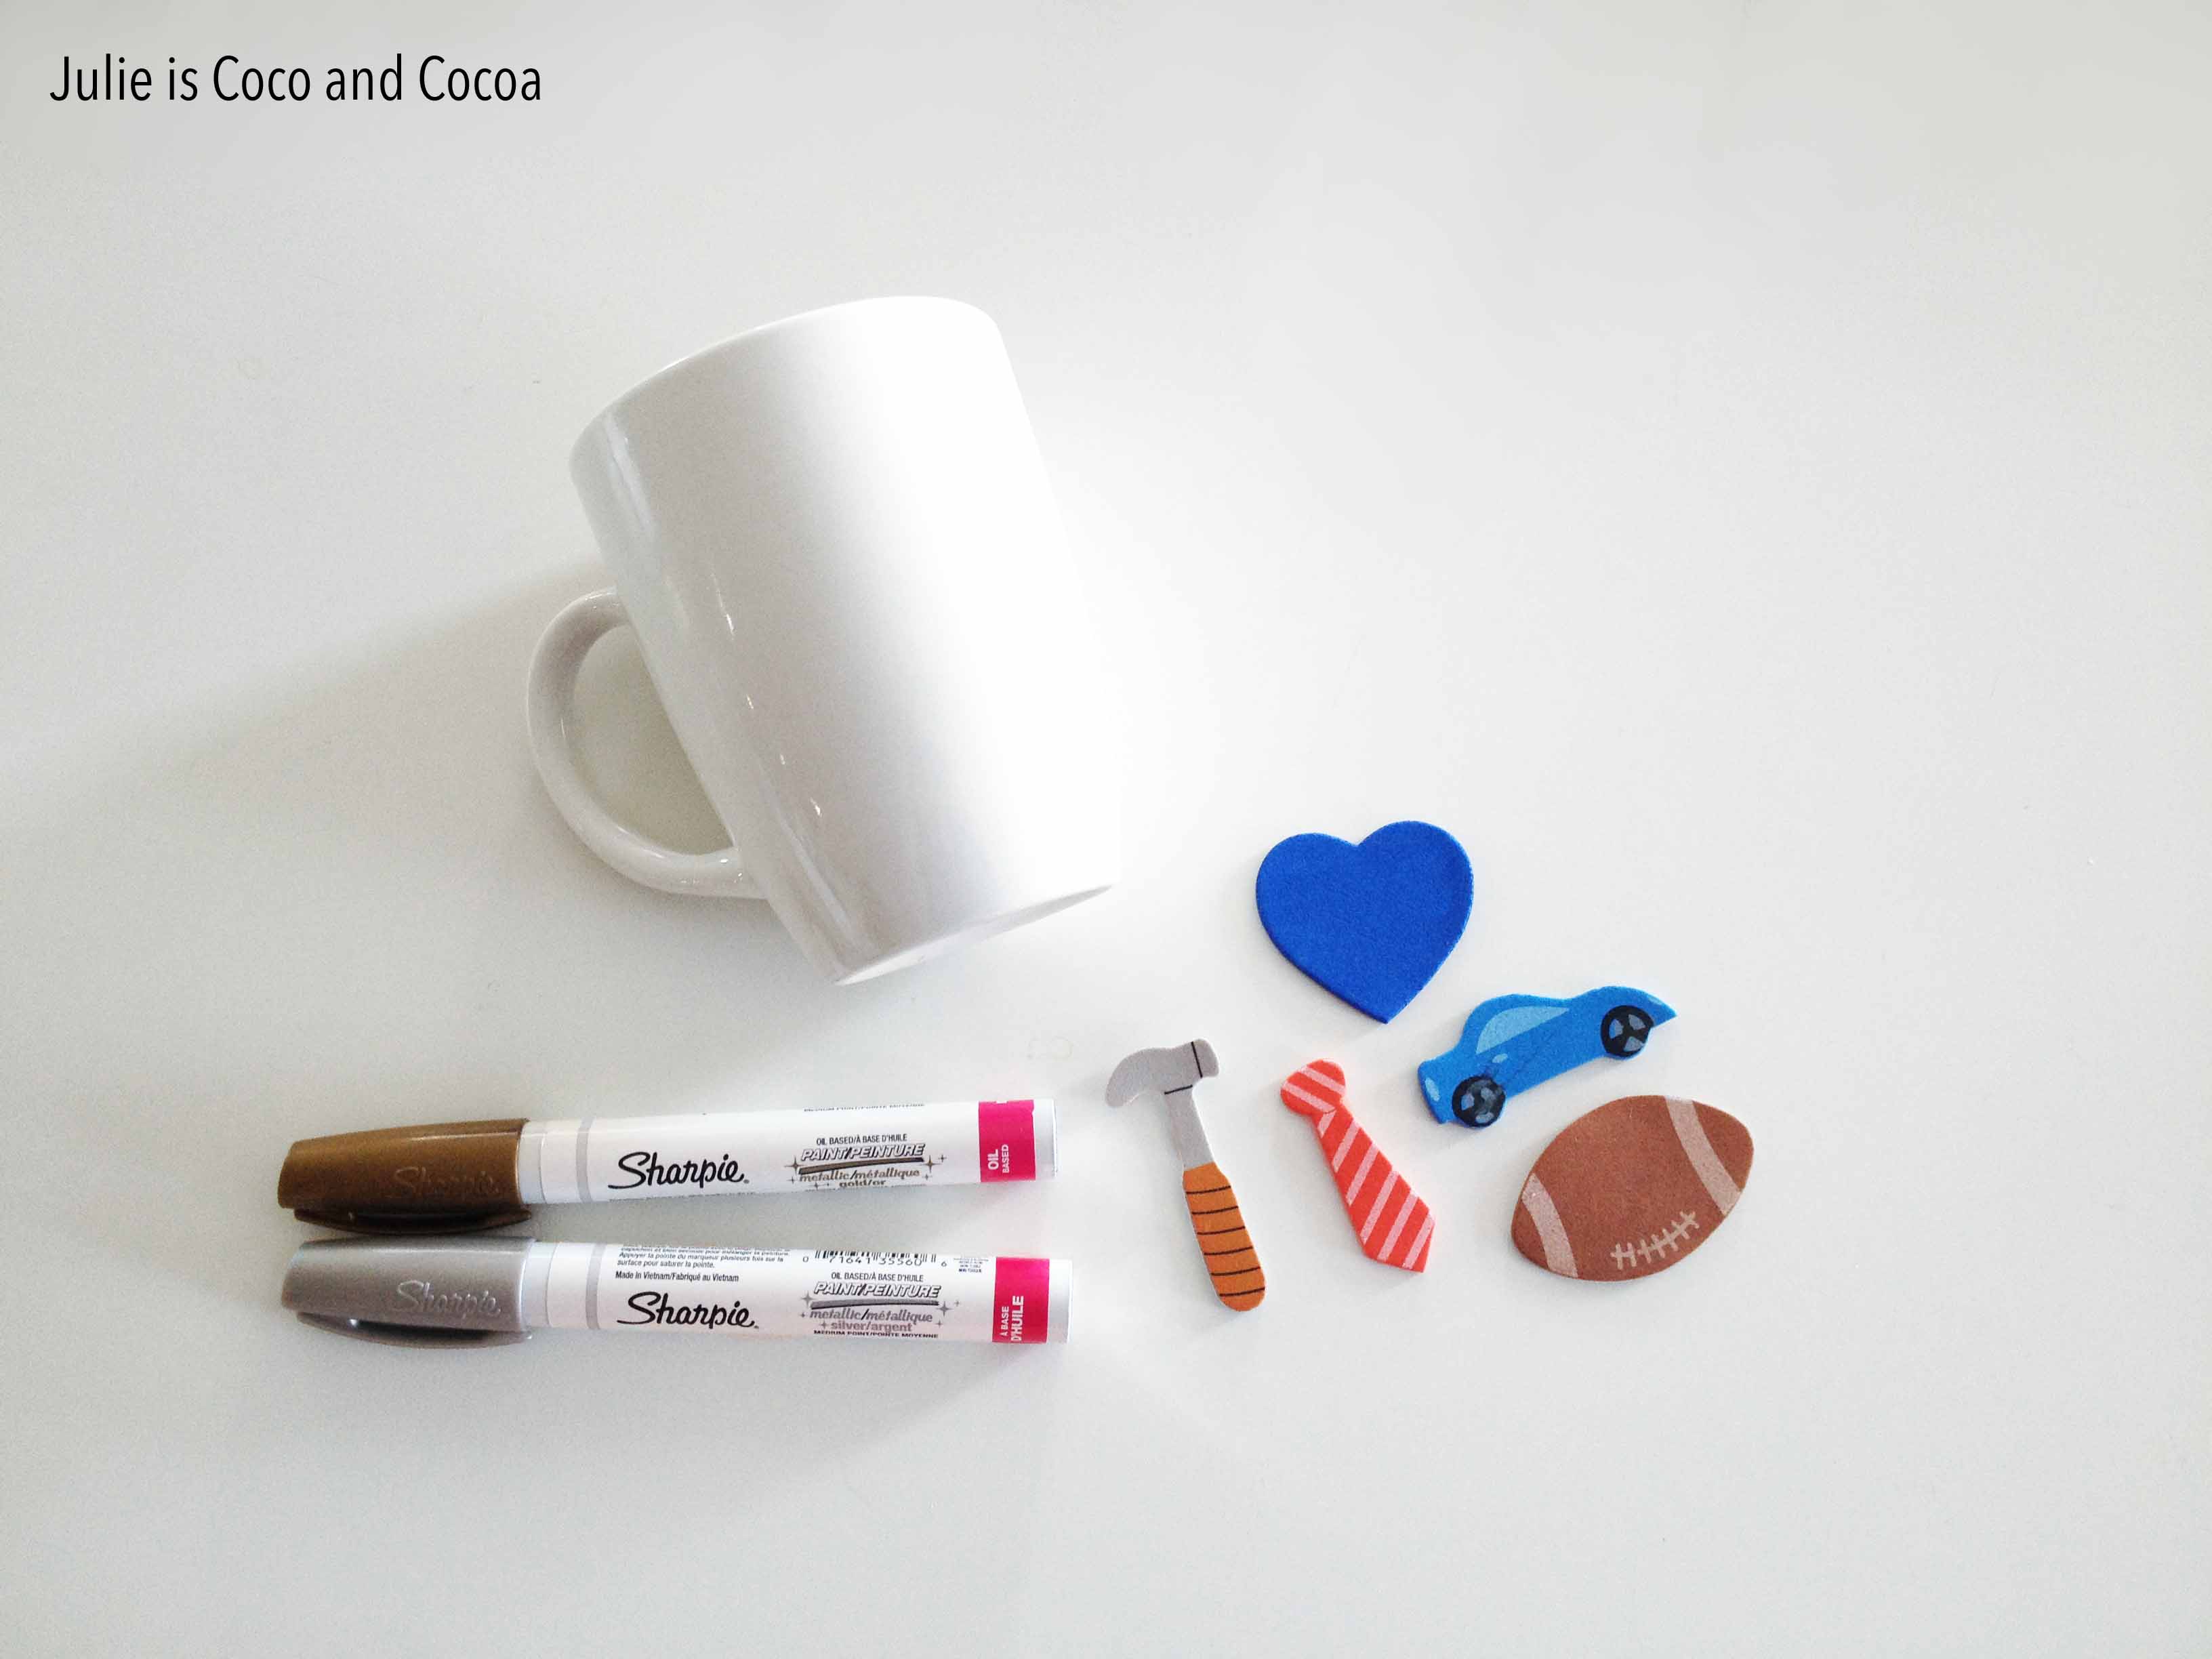
I knew that I didn’t want a painted mug fail, so I made sure to do a little research first. The most important thing is to get the right supplies, in this case oil based Sharpie markers. I’m also using a plain white mug
and some foam stickers. I grabbed an assortment of stickers to represent the Dad at our house: a car, hammer, tie, football, and heart. The stickers will become silhouettes after we paint our mugs.

Place the stickers on your mug. Make sure they are lined up where you want them to be.
Following the directions on the paint markers start by making dots around the edge of the stickers. Then fill in the space as much as you want. I layered silver and gold dots.
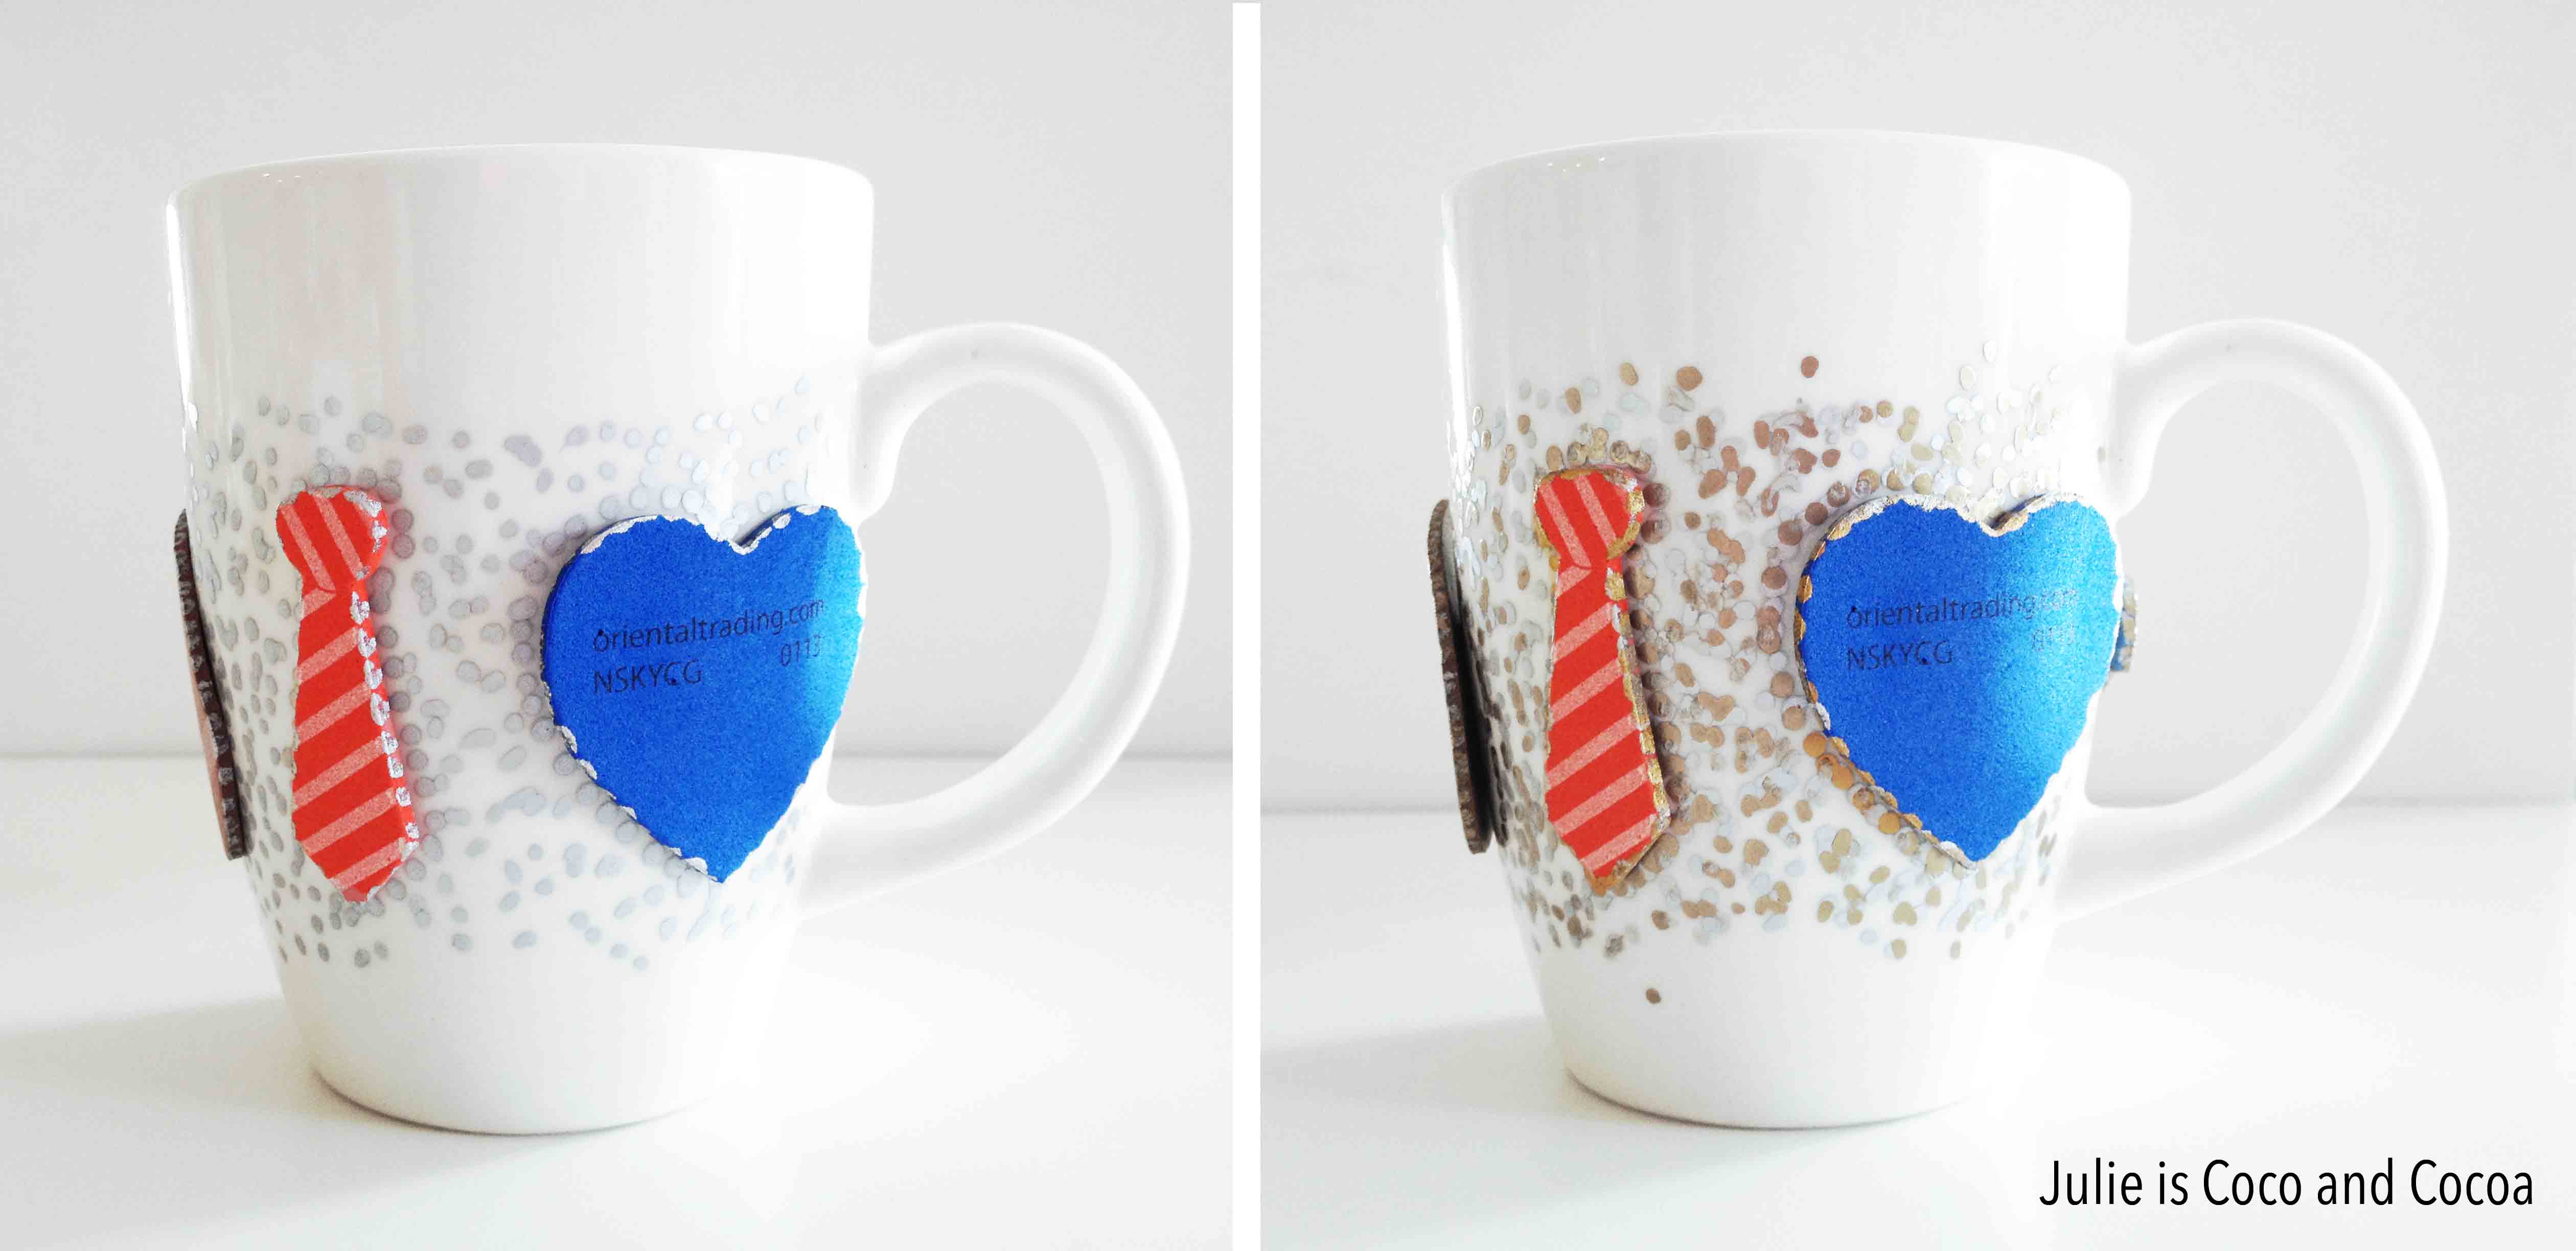
Wait for the paint to dry. For me this was only a few minutes. Then remove the stickers. If some paint bled under the stickers, or the stickers leave a residue, touch it up with a q-tip and rubbing alcohol. You can also add additional dots if you desire.
Then you will want to bake your mug to set your design. I baked mine at 350 degrees for an hour. Place the mug in the oven on a cookie sheet before you turn the oven on, so it warms up with the oven. Then leave it in the oven to cool off after turning the oven off. I would still recommend hand washing your mug, but this will increase its longevity.
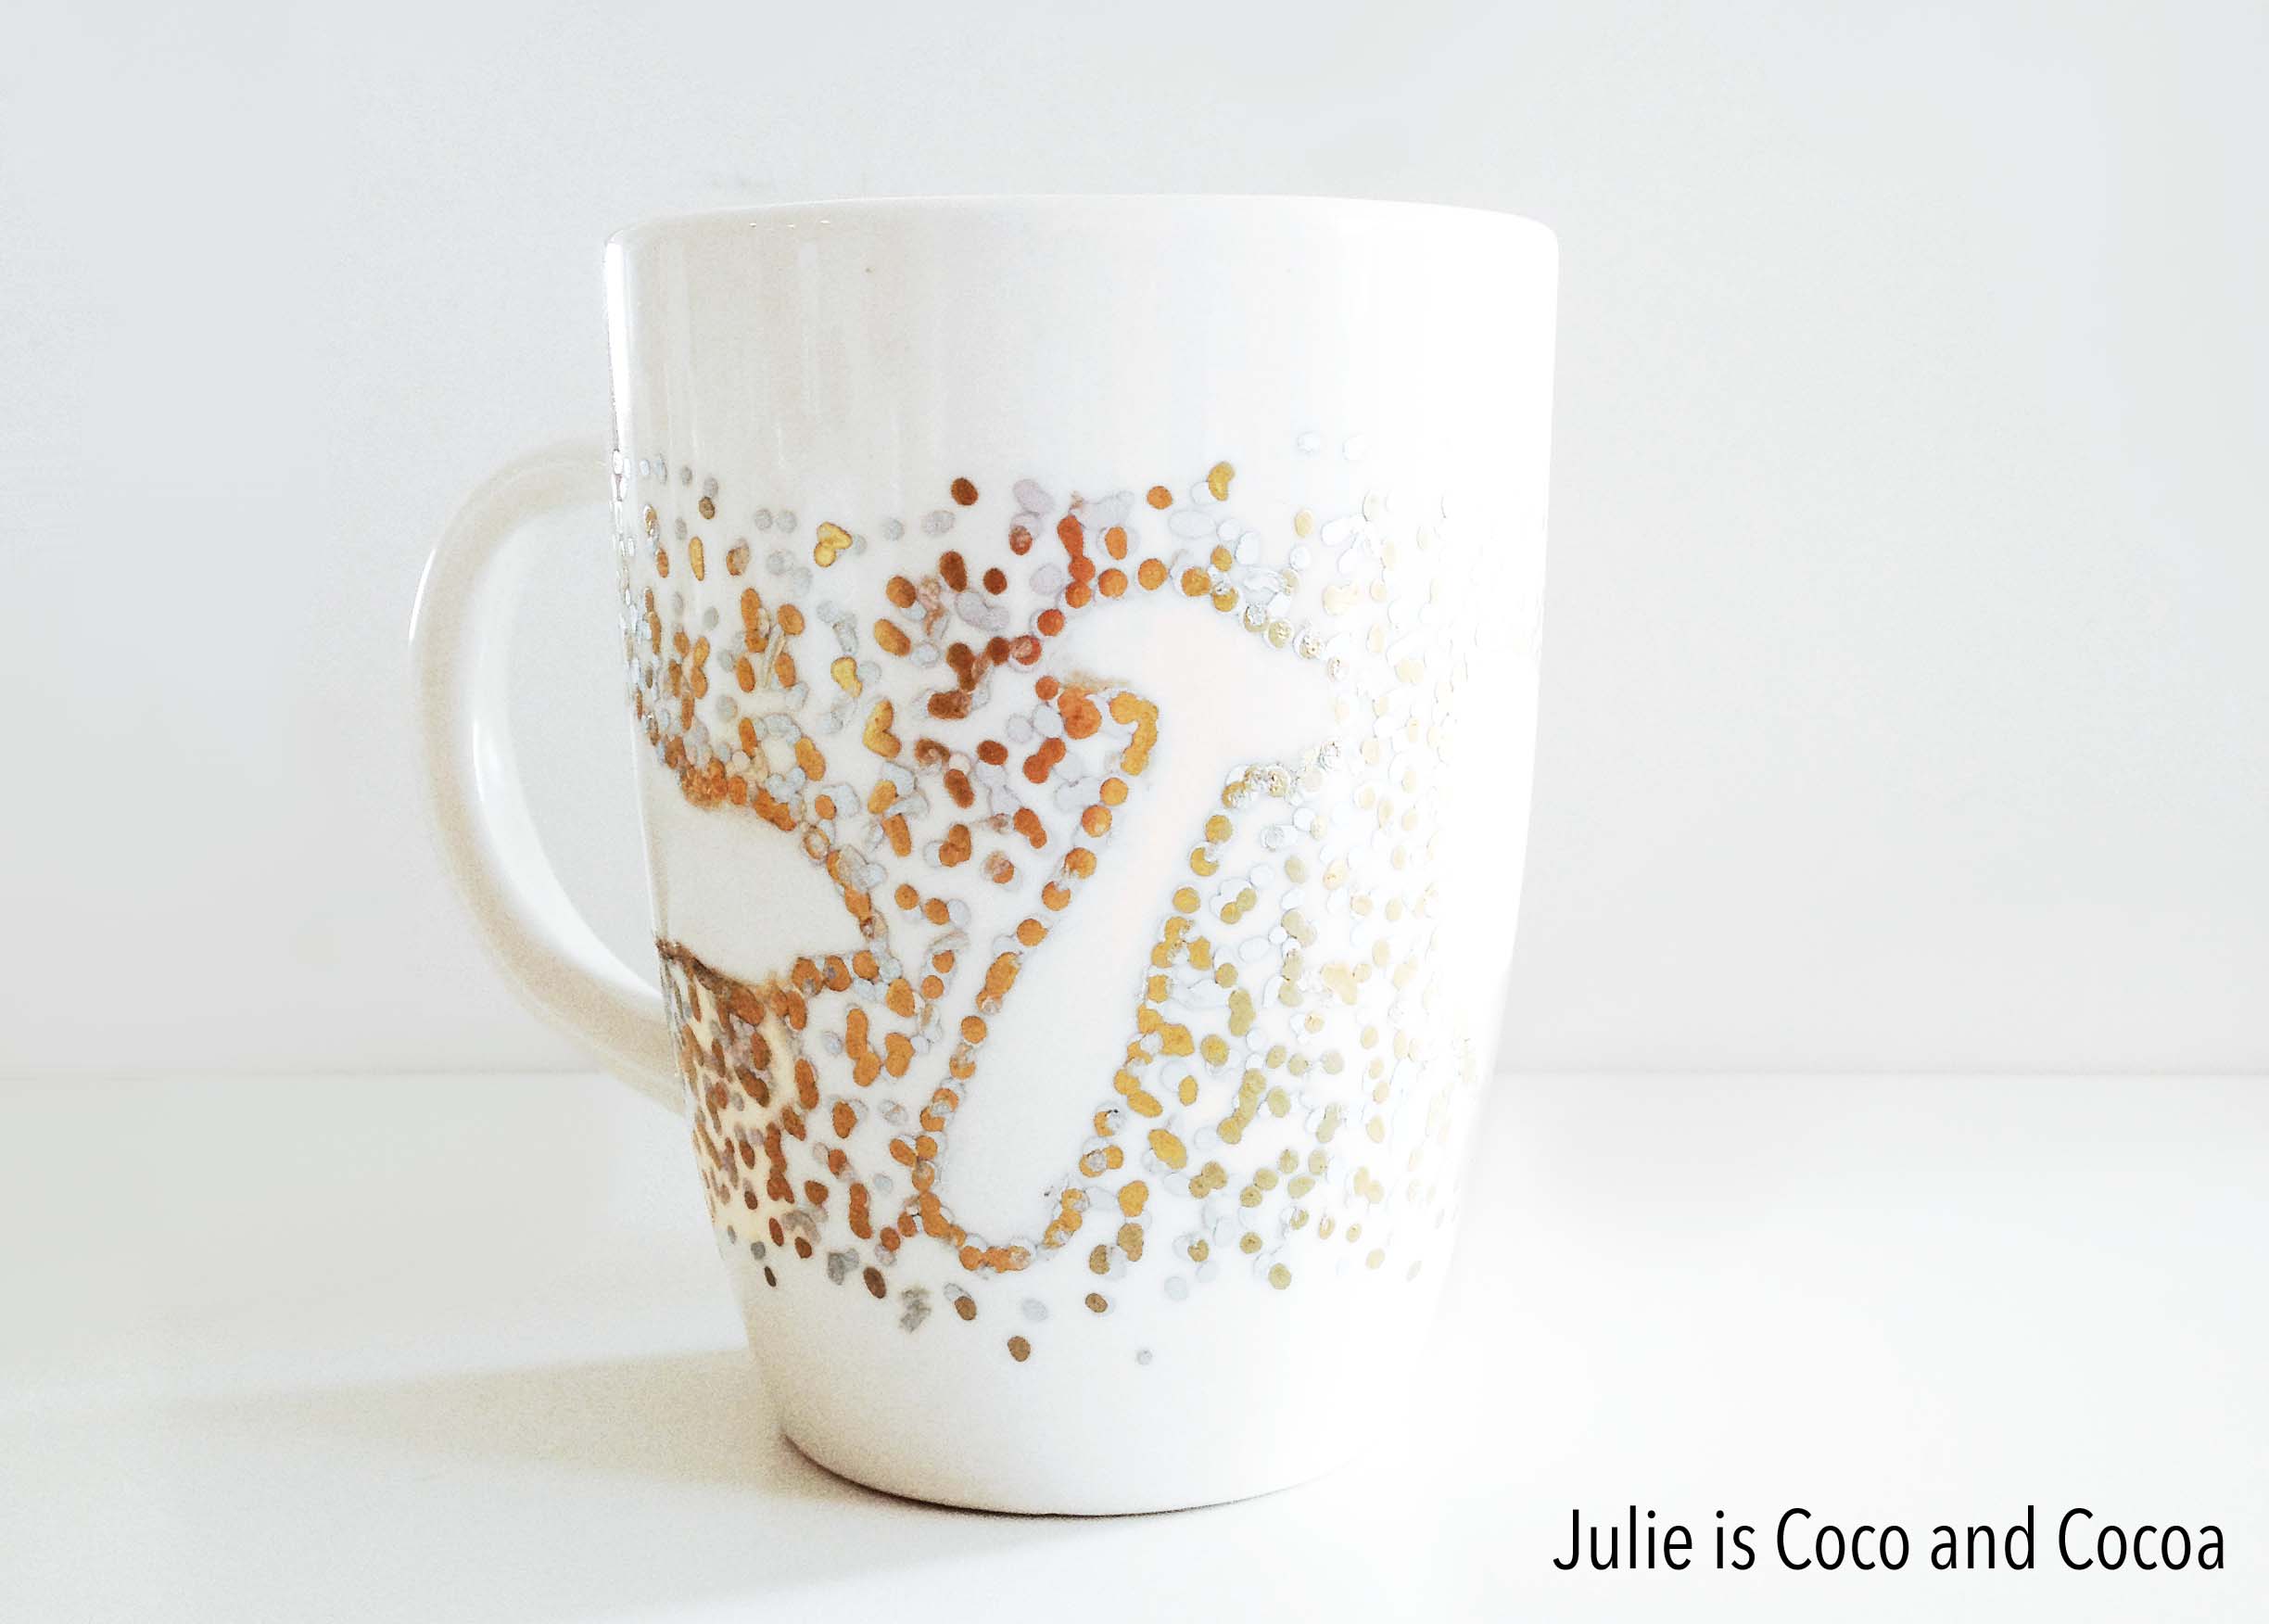
Present Dad with his new Father’s Day mug!
What a super cute idea! I’ve always wanted to try doing this.
Hello,
I love this idea! Could you also use acrylic markers? If so, would you still bake the mugs?
Hi Heidi!
Yes, you can use acrylic markers. Let the design air dry for 24 hours before baking. Then place into a cold oven and turn on the oven to 350 degrees. Bake for 1 hour. Turn the oven off and open the oven, but leave the mug in the oven to cool down completely before removing.
For best results, only hand wash in warm water and don’t use a heavy duty sponge.
Thanks!
Julie