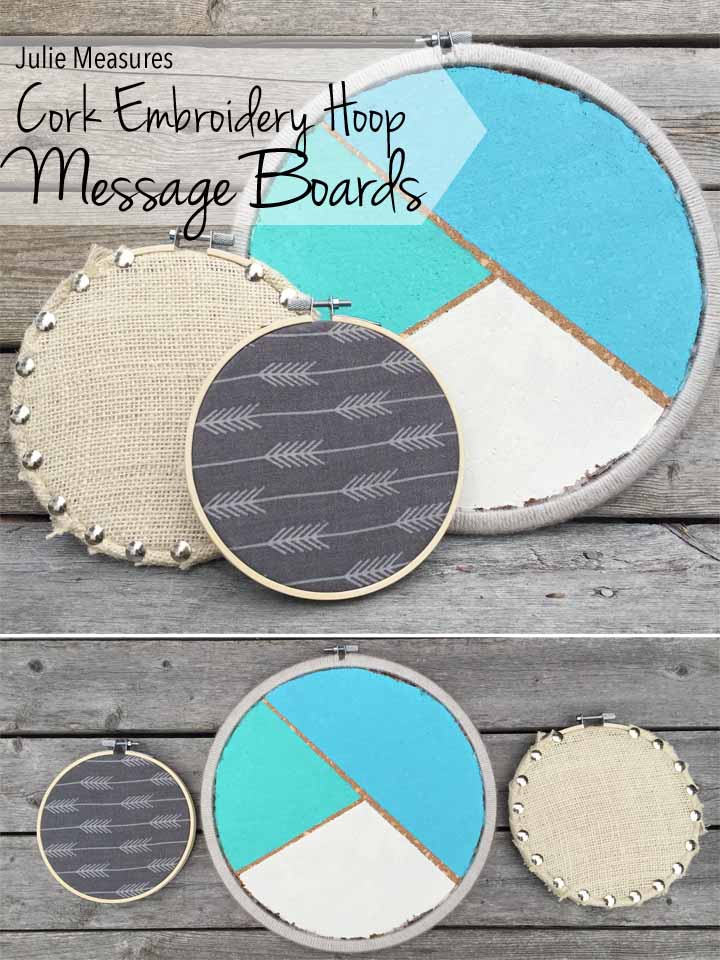
Get organized with these DIY Cork Embroidery Hoop Message Boards! Make one for each member of your family
I love a craft that can help me be more organized. Between notes I write for myself, flyers from the kids schools, invitations, and other bits of paper sometimes I need a place to put them all. That’s where these DIY Cork Embroidery Hoop Message Boards can help. Pin your notes to them and keep everything in sight. I’m making several for all the different people in my family. And how fun that we can leave each other notes on them!
I made three different styles of Cork Embroidery Hoop Message Boards. I made a painted message board, one wrapped with fabric, and one wrapped with burlap. I’ll break down each hoop one at a time. But here is what I used for all of my hoops together
Cork Embroidery Hoop Message Boards Supplies:
- Cork
- Embroidery hoops (varying sizes)
- Cutting knife
- Marker
- Cutting Mat
- Acrylic Paint
- Yarn (from my stash)
- Burlap
- Fabric
- Scissors
- Masking Tape
- Paint Brush
- Silver Thumbtacks
- Hot Glue Gun
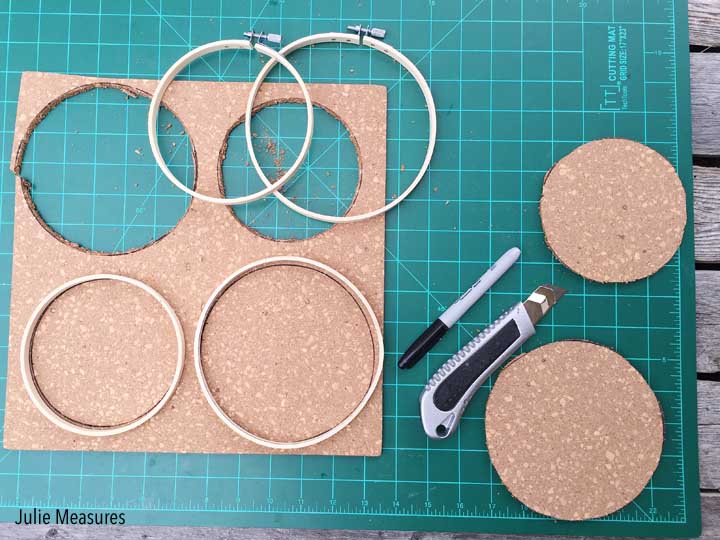
The first step was to cut out my cork pieces. I took the embroidery hoops apart and traced the inside ring of each hoop to get the size cork I needed.
Painted Cork Message Board
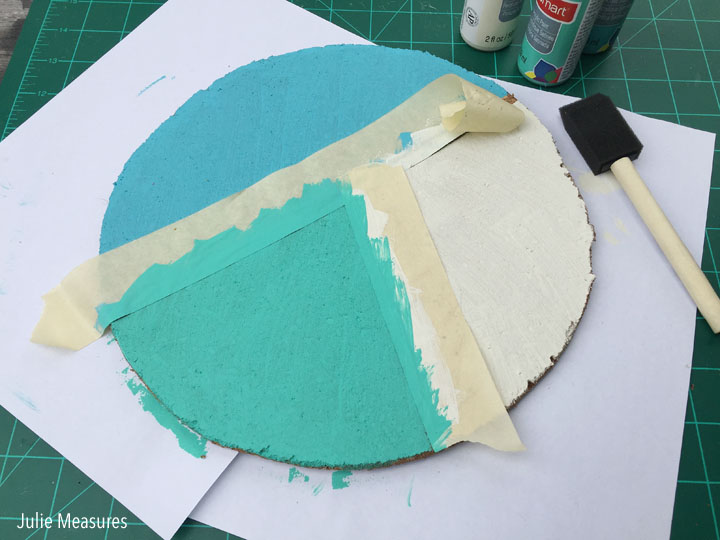
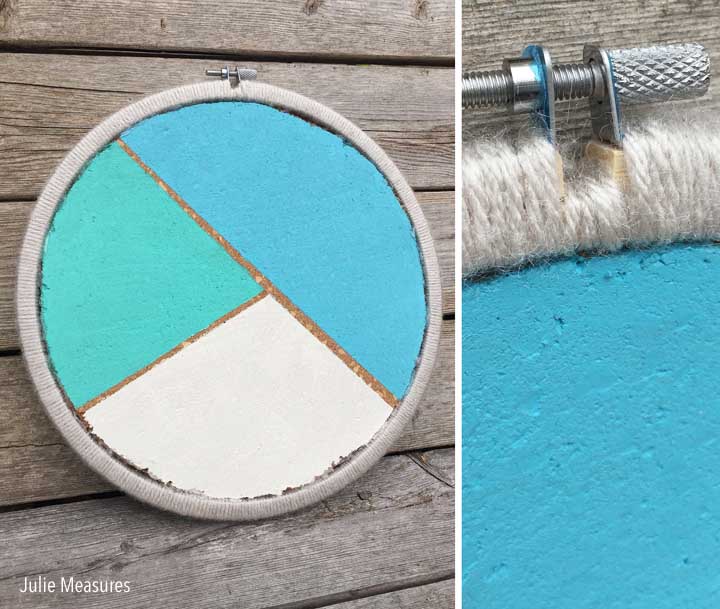
For the painted cork hoop, I wanted a color block look. Pick three different colors of acrylic paint that go well together, and then use masking tape to section off different parts of the cork. I painted two coats of each color.
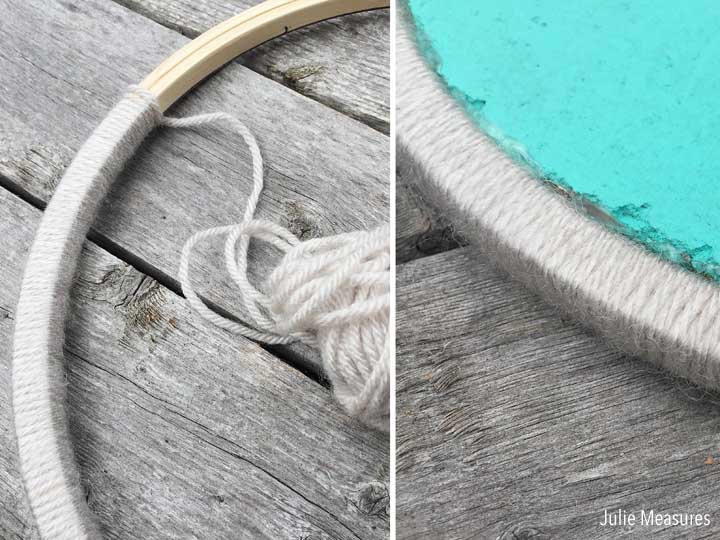
While the paint dries you can wrap your embroidery hoop. Just for this painted cork board, I put the two parts of the embroidery hoop back together and wrapped some coordinating yarn (this color was called linen) around both pieces of the hoop.
When the cork was dry I used hot glue to secure it inside of my yarn wrapped hoop.
Fabric Cork Message Board
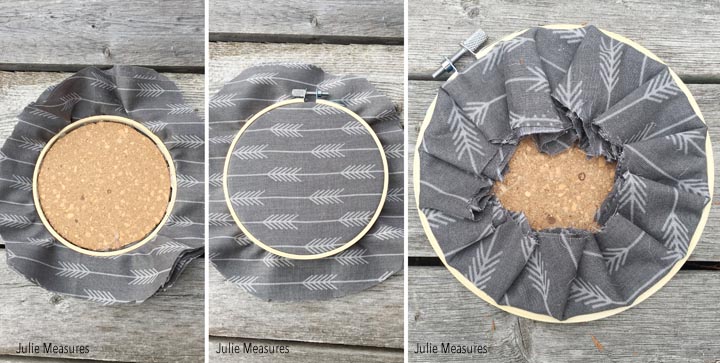
The simplest of all the embroidery hoop message boards is probably the fabric hoop. I picked up an 18″ square of fabric at the craft store. Make sure to thoroughly iron the fabric so there won’t be any creases on your message board.
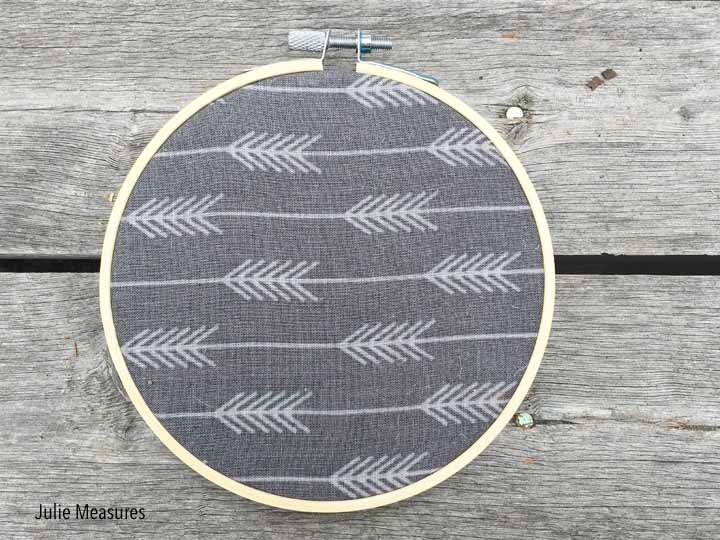
Hot glue the cut out piece of cork to the inside piece of the embroidery hoop. I used a 5″ hoop for this board so I was able to create 4 layers of fabric with the one square piece that I purchased. Place the fabric, all 4 layers, over the interior part of the hoop and then place on the exterior piece. Pull on the fabric to make it tight and then tighten everything with the screw.
Trim the excess fabric in the back and then fold it over and hot glue the pieces down. I didn’t do any extra embellishing to this hoop frame, though painting it might be a fun option.
Studded Burlap Cork Message Board
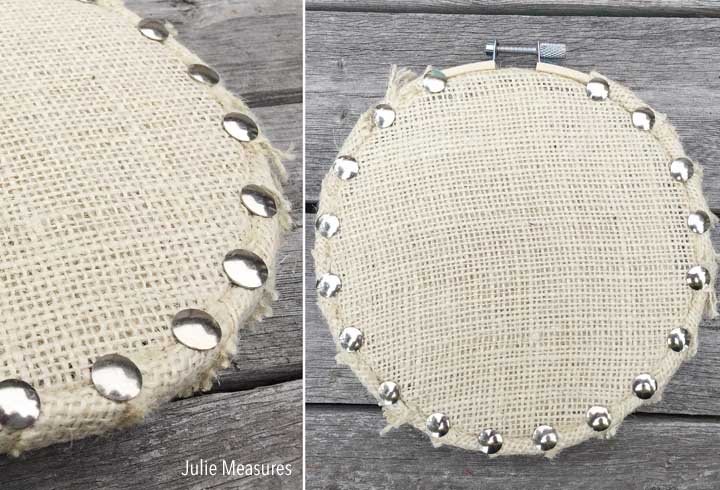
Just like the fabric hoop, start by hot glueing the cork inside the interior piece of the hoop. I wanted to layer the burlap fabric like I did with the other fabric, but because of the thickness of the burlap, and knowing I wanted to wrap the hoop itself, I did it a little differently.
Rather than 4 large pieces of burlap I cut three of the layers the same size as the cork and only left one piece of burlap larger. I placed the 3 smaller pieces on top of the cork and then the larger piece.
The exterior piece of the hoop needs to be wrapped before you can put them together. I cut several long strips of burlap and then used the hot glue to attach them together. I wrapped the exterior part of the embroidery hoop as tightly as I could and trying to overlap the smallest amount possible to reduce the thickness.
Once the outside part of the hoop was wrapped I used another dot of hot glue to secure the end and then trimmed. Then I could place this piece of the hoop over the interior portion with the cork. Again pulling on the burlap to make sure it was tight, and tighten this screw as well. The last embellishment was to add the thumbtacks. I slipped these into the space between the two pieces of the hoop.
Three completely different looks for our finished Cork Embroidery Hoop Message Boards! Personalize one for each person in your house. You can hang them together or in each persons room.

Leave a Reply
You must be logged in to post a comment.