This post was sponsored by Tai Pei and all opinions expressed in my post are my own.
Love a good upcycle project? From a concrete planter to pinhole camera, here are five ways to repurpose your Tai Pei containers after enjoying a delicious meal!
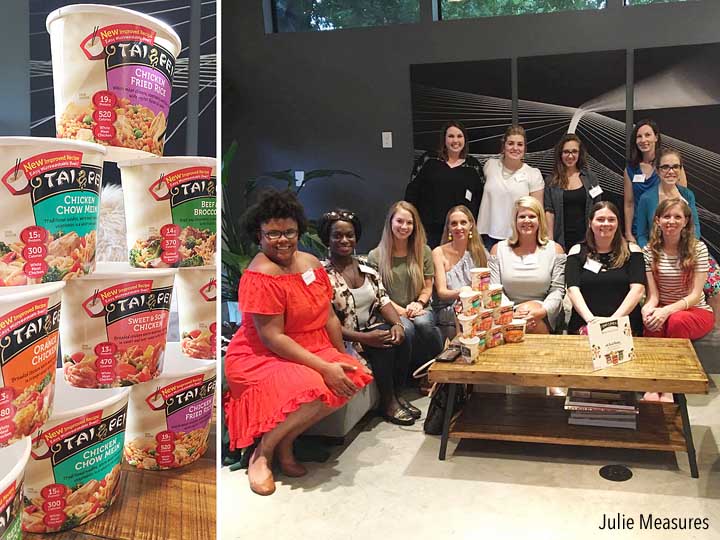
Crafting and good food. There really isn’t a better way to spend an evening! Oh, maybe being surrounded by some fabulous ladies while crafting and eating.
I love a good upcycle project where I get to repurpose something. So when I realized our crafting focused around not one but five different upcycled projects I was really excited. And we had a crafting expert on hand to guide us through the projects. Some more demos more than hands on, but we all left with several projects and the directions to create more at home. I know my kids are going to love some of these when we make them together.
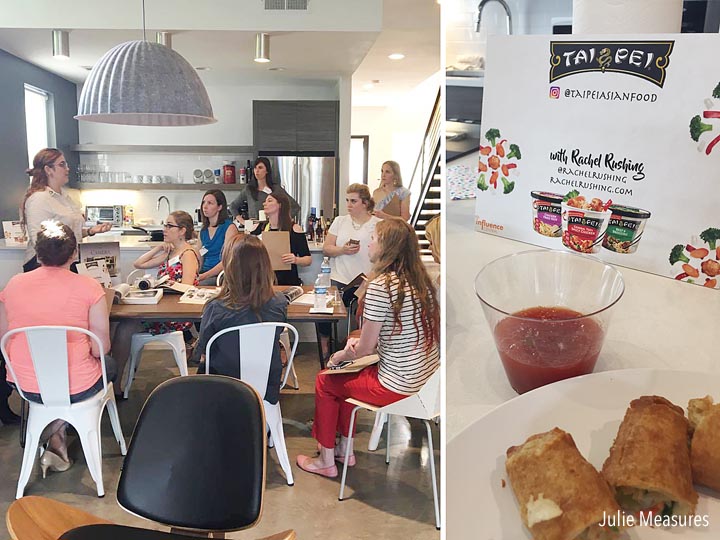
I have to say that of all the projects I was most intrigued by this concrete planter that I noticed as soon as I walked in. After eating some Tai Pei appetizers we gathered around the table to listen to our Rachel, our expert for the evening, take us through the projects. Up first was the pinhole camera.
We used an empty Tai Pei container, gaffe tape, and a piece of an aluminum can to make our camera. She explained that the tape prevents any light coming through the packaging. We taped up the containers, taping the lid separately. Then we cut a small hole in one side of the container, about one inch square. This is where we attached the piece of aluminum to the inside. Then we made a tiny pin sized hole in the aluminum.
We took our pinhole cameras into the dark room (aka the bathroom) where Rachel gave us each a piece of photo paper to put into our cameras. Then we were instructed to cover the pinhole until we were outside and ready to take our photos. We set up our photo, I took a picture of a succulent, and uncovered the pinhole.
Depending on the size of the hole was how long we were instructed to keep the pinhole uncovered (the exposure time). We set timers and waited. When the time was up we covered the pinholes and then Rachel took our cameras upstairs to the dark room to develop the prints. We actually did have the option to join her, but there was food to be eaten as well!

While the photo’s were being developed we tried several different Tai Pei entrees including Chicken Chow Mein, Beef and Broccoli, and General Tso’s Spicy Chicken. They were all amazing, but the rice dishes were definitely my favorite. We learned that they infuse their rice during the cooking process which makes them packed full of flavor.

As a Mom I love that all of Tai Pei’s entrees are made with real, pure ingredients. I also love that adding them in to our dinner rotation helps jazz up my menu plan. The new packaging makes Tai Pei quick to prepare in just minutes in the microwave. And you can let everyone ‘order’ their favorite entree, which is what I like to do. Just use the store locater to find where Tai Pei single serve is available near you (in the frozen food section).
Once the pictures were finished developing, and we had eaten plenty of delicious food, we looked at all the other DIY projects made from Tai Pei’s new packaging.
From left to right there is a
- Piñata inspired candle holder – Use an led candle.
- Fire starter – The container has dried evergreen branches that light easily which then light the package on fire. Place the entire fire starter into the fire pit and build your fire on top of it.
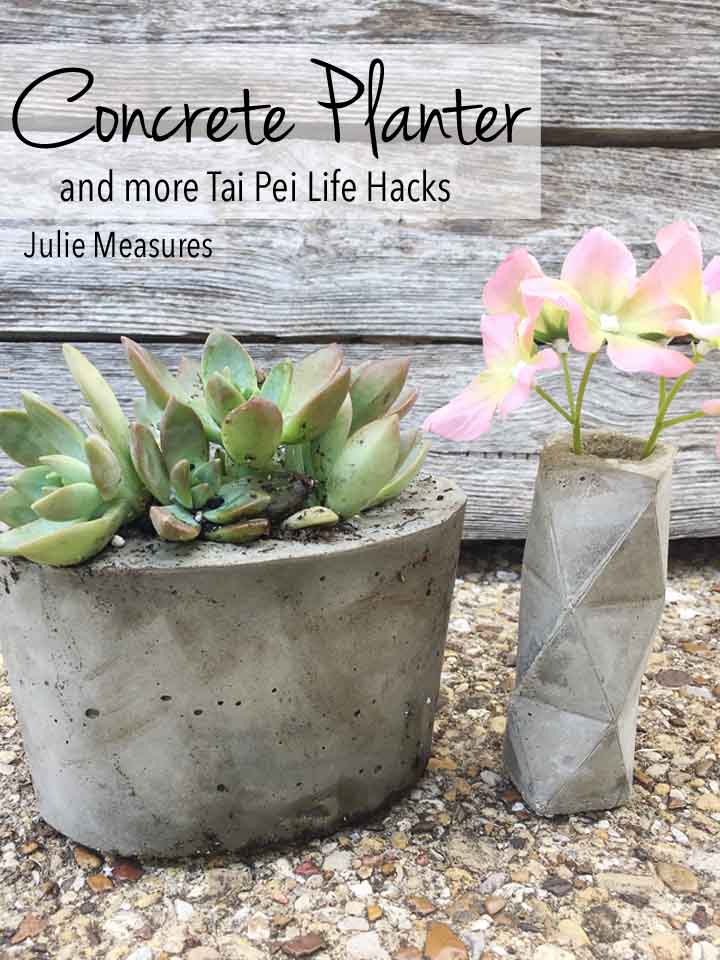
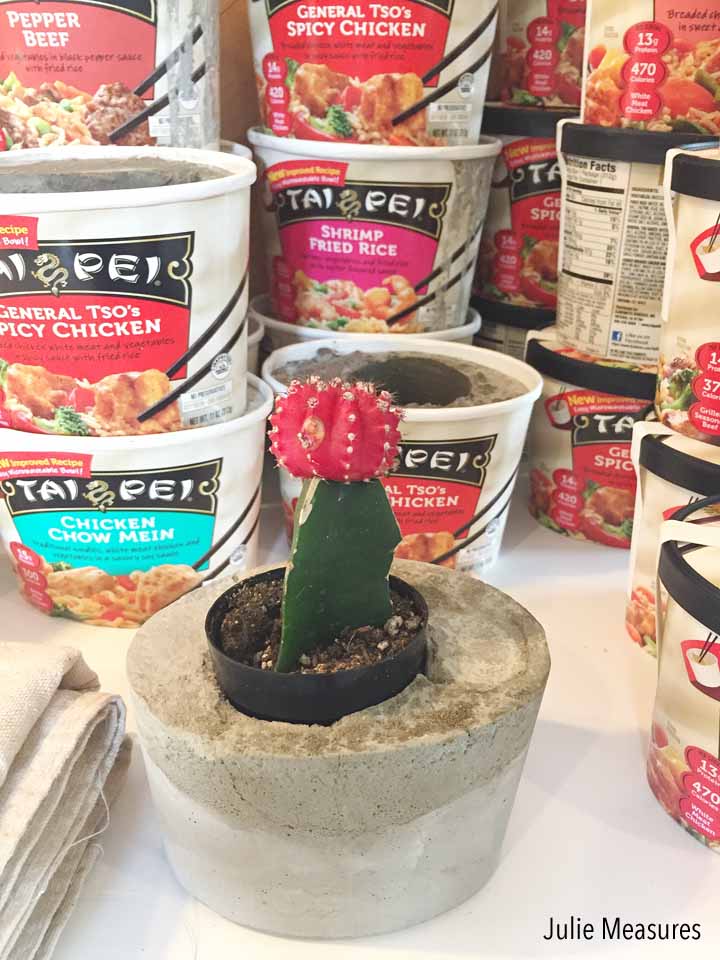
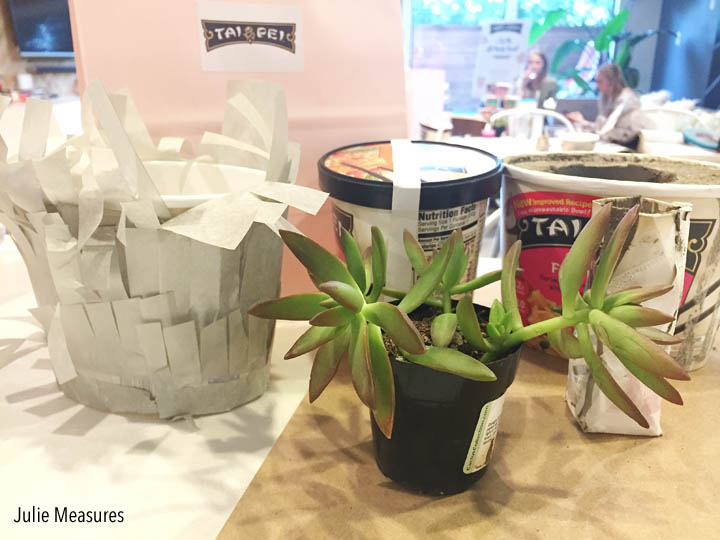
- Concrete planter – Fill the empty Tai Pei container with quick set concrete. To make the void for the plant attach a cut out piece from the lid to one end of a PVC pipe. Insert the pipe, lid side down, into the cement to create the void. Let the PVC pipe set in the container for about 8 hours and then remove. Then the cement harden and then tear away the packaging.
- Concrete vase – this is in front of the larger concrete planter. Cut open the Tai Pei container and trace an origami vase pattern on to the container. Fold the container according to the origami vase instructions. Use gaffe tape to seal the origami vase. Pour concrete into the vase, creating a void for the flowers.
Those plus the pinhole camera are the five project ideas! You can see at the event we were able to each take a concrete planter that was still in the container. We could have ripped off the container at the party but I took mine home so my kids could help with the reveal.
Grab your own Tai Pei entree with this coupon link so you can craft along
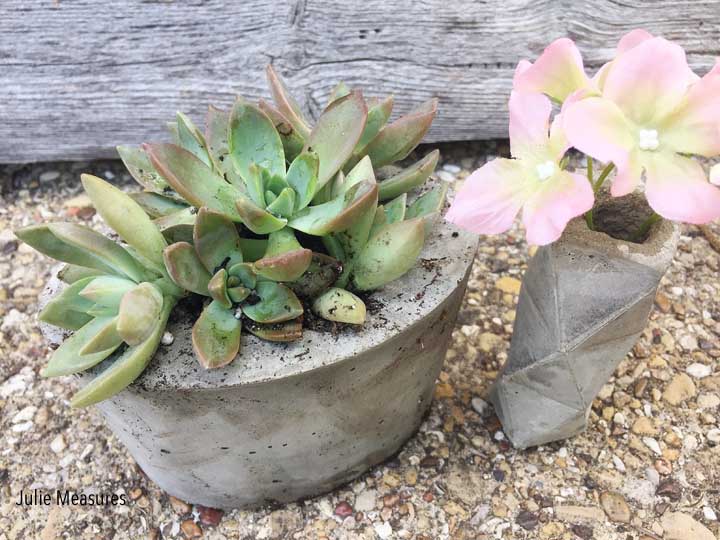
And look how great the concrete planter and vase look! My kids were happy I let them help with the ripping. Now I’ll think about great Tai Pei foods overtime I look at the planter on my shelf.
Leave a Reply
You must be logged in to post a comment.