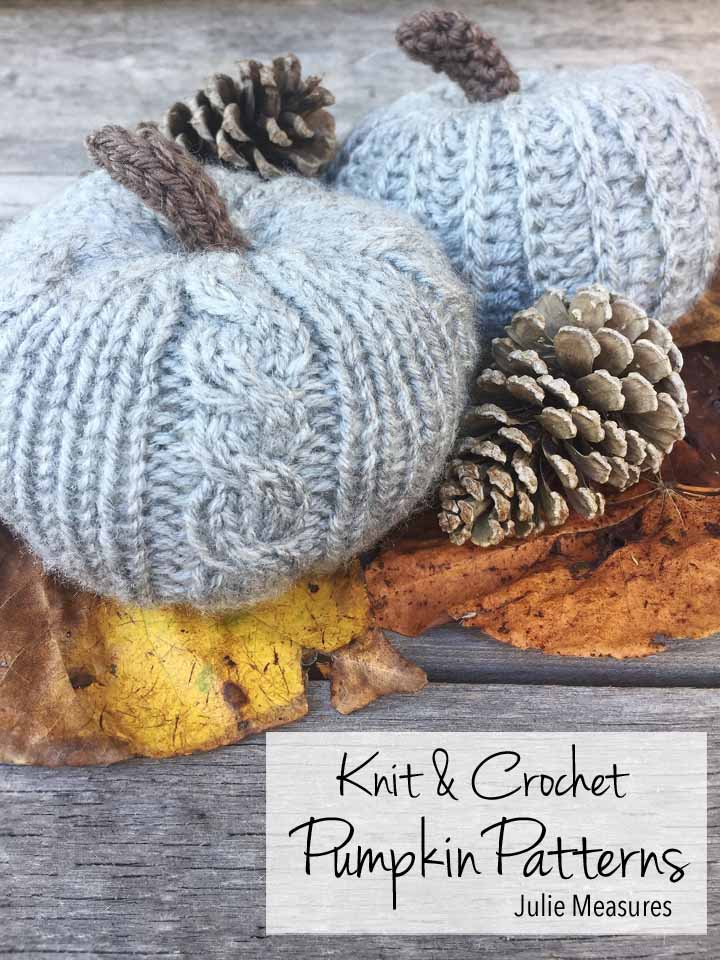
Decorate for fall by making your own pumpkins! Choose from the Knit Pumpkin Pattern or Crochet Pumpkin Pattern. Or make them both!
Follow Julie Measures on Pinterest for more holiday DIY projects and patterns

One of my favorite heroines said “I’m so glad I live in a world where there are Octobers.” Written by L.M. Montgomery in the book Anne of Green Gables.
Do you know that party game Desert Island? I’m terrible at that game. Mainly because I’m bad at picking a favorite anything. If forced I usually pick fall as my favorite season. I love when the air starts to get cooler. All of my kids have fall/winter birthdays. I love all the holidays from Halloween through New Years. Lots of reasons to bake, craft, and decorate.

This fall I have fallen in love with non-orange pumpkins. Particularly with gray, white, and blush colors pumpkins. I’ve been working on some DIY bleached pinecones that I want to decorate with this year and decided I needed some yarn pumpkins to go with them.
I visited a pumpkin patch a couple of weeks ago and was blown away at all the different sizes and colors that pumpkins and squash come in. There were even ‘swan’ pumpkins with really long necks. The pumpkin patch had them set up in a faux lake so they really looked like swans swimming around.

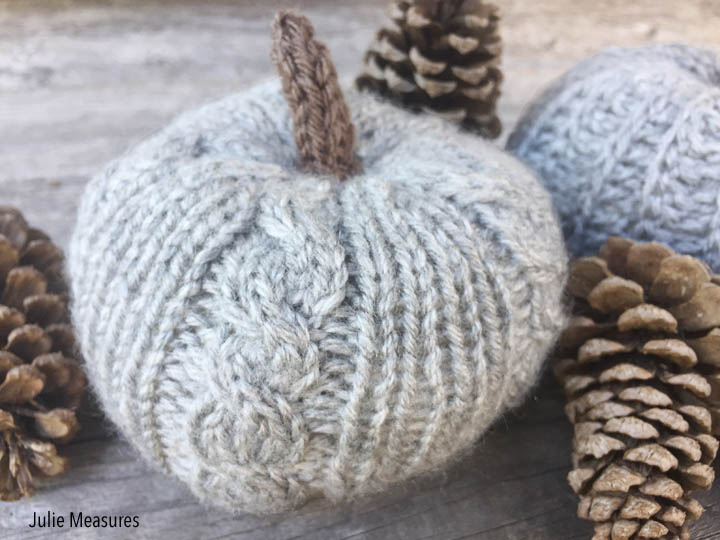
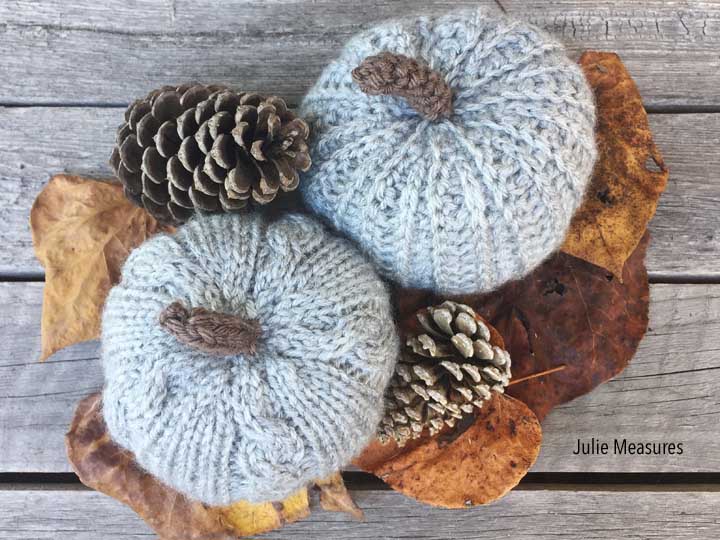
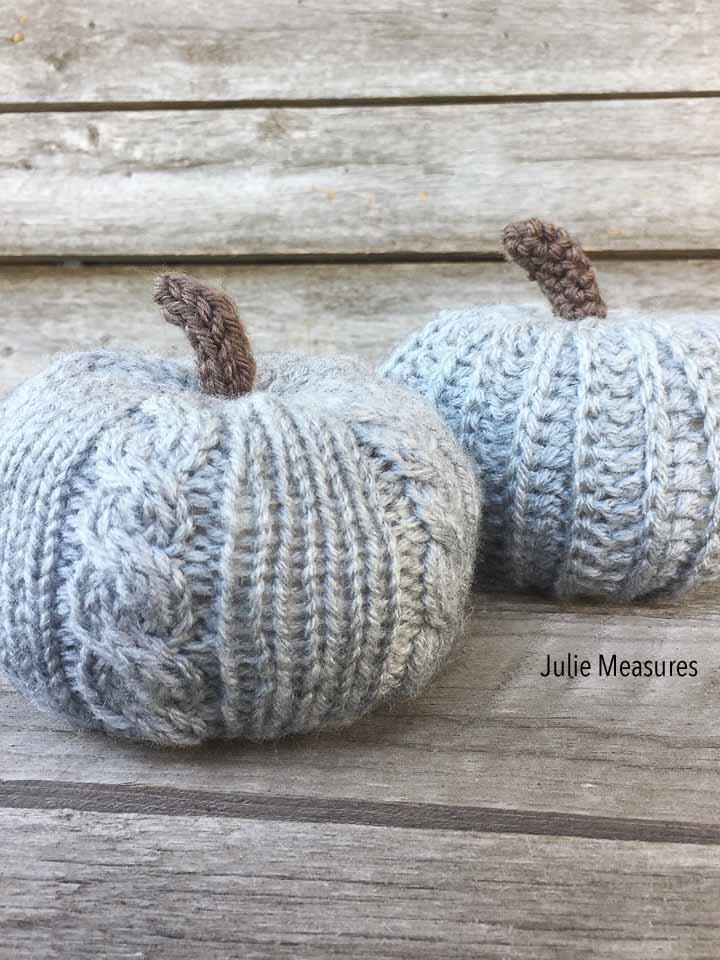
I came up with two different pumpkin patterns. One pumpkin is knit, with the cables, and the other pumpkin is crochet, with the ridges.
The knit pumpkin is knit from the bottom to the stem top. Once it’s completely knit you stuff the pumpkin and stitch up the bottom. After changing colors from gray to brown for the stem I worked the stem in i-cord stitches.
For these patterns I used
- worsted weight yarn
- crochet hook
- double pointed knitting needles
- fiberfill stuffing
- tapestry needle
- stitch marker

Ready to download the patterns?!
>>> Knit Pumpkin Pattern<<<
>>>Crochet Pumpkin Pattern<<<

The crochet pumpkin is worked in a flat piece and then stitched together. When working the pattern in rows the ridges will be horizontal but then are vertical when you stitch up the pumpkin. The work is tapered at each end to form the top and bottom of the pumpkin. The stem is stitched separately and then stitched on to the top of the pumpkin.
The crochet pumpkin ridges are made by alternating rows where you crochet into back loops and where you crochet into the 3rd hidden loop on the front of the work. This 3rd hidden is under the front loop of stitches, at the left side of the stitch. By alternating these rows you force the top loops forward creating the ridges on the pumpkin.

Videos for both of these patterns are coming soon!
This post contains affiliate links.
Purchasing through them help support this website at no extra cost to you.
Cutest pumpkins I’ve ever seen! You are amazing!!!!!
I love these pumpkins. Now to start making my own.
Thank you for this free pattern! I used it to knit a small orange pumpkin at the end of my pregnancy and the photographer who made our newborn pictures played with it during the photo shooting. Now the pumpkin is featured in my son’s birth announcement card : )