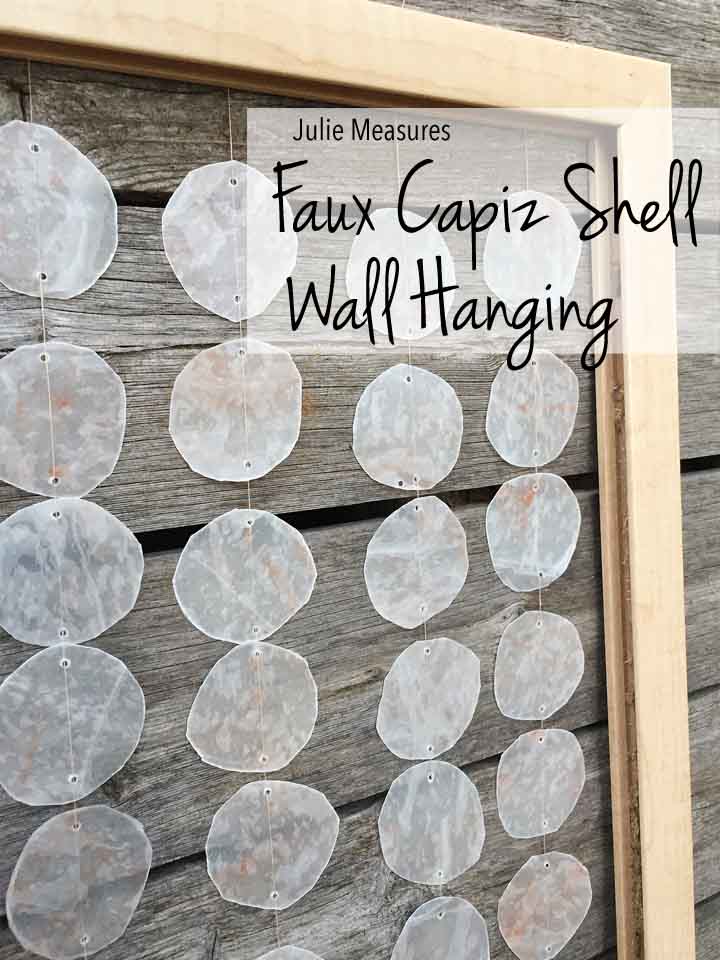
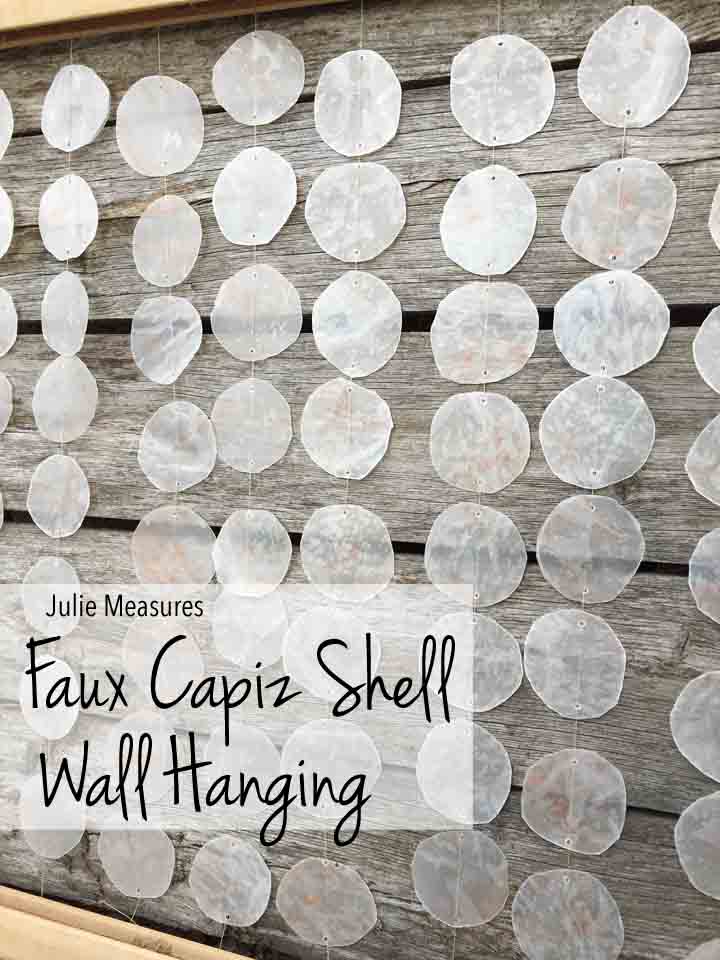
Bring the beach inside! Decorate your home for summer with this DIY Faux Capiz Shell Wall Hanging. Follow the simple DIY instructions.
Do you like to pick up seashells at the beach? I’m a seashell collector. Well, maybe ‘collector’ might be too strong. I’m a seashell picker upper. I always stroll down the beach and see what catches my eye. That can include worn pieces of glass, rocks, and of course seashells.
As much as I love to visit the beach, and pick up seashells, the nearest beach to where I live is several hours away. And, in all honesty, I would never find enough shells on the beach to craft anything from them. But if you’re longing for a beach vacation, you can create your own DIY capiz shells from wax paper!
Get inspired by this DIY Faux Capiz Shell Wall Hanging.

Seriously, wax paper. I’m also using crayons for my shells to add some color. And to complete the wall hanging you’ll need
Capiz Shell Wall Hanging Supplies
- Wax paper
- Crayons
- Iron and ironing board
- Scissors or a circular punch
- 1/16″ hole punch
- String or thread
- Picture frame

Shell Wall Hanging Instructions
Rip off three pieces of wax paper, all the same size. Use the crayons to add color to one of the sheets. Layer the pieces of wax paper and place them between sheets of parchment paper to iron them together. The parchment paper will protect your iron and ironing board.
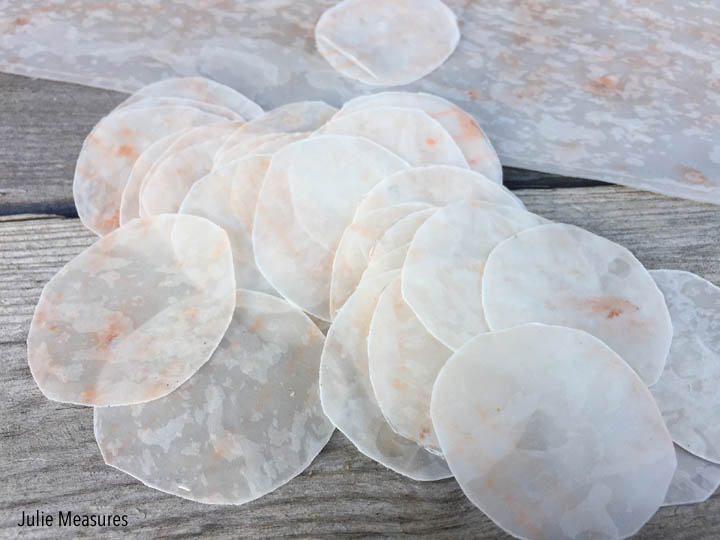
Once the wax paper is ironed together use your scissors or circular punch to cut out your wax paper circles. These circles are your DIY capiz shells!
Here you can see the crayons add a bit of color to the finished pieces. If you use scissors to cut out the circles, cut strips of the wax paper and layer them so you can cut out multiple circles at once.
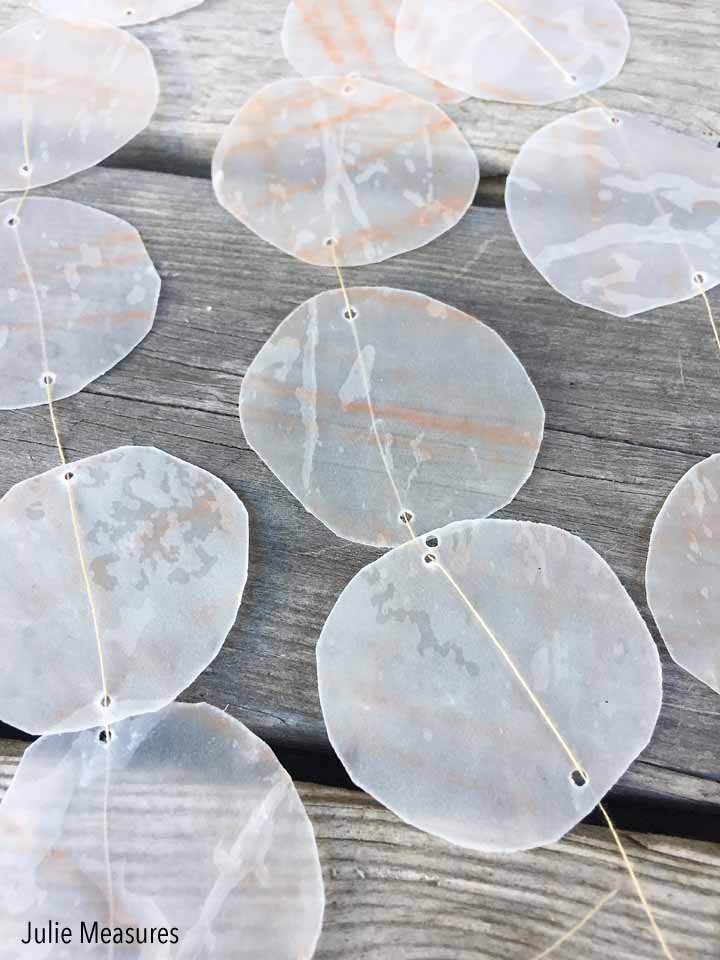
After all the circles are cut out you can begin stringing them together for the wall hanging. I used some thread from my sewing box to string my shells together.
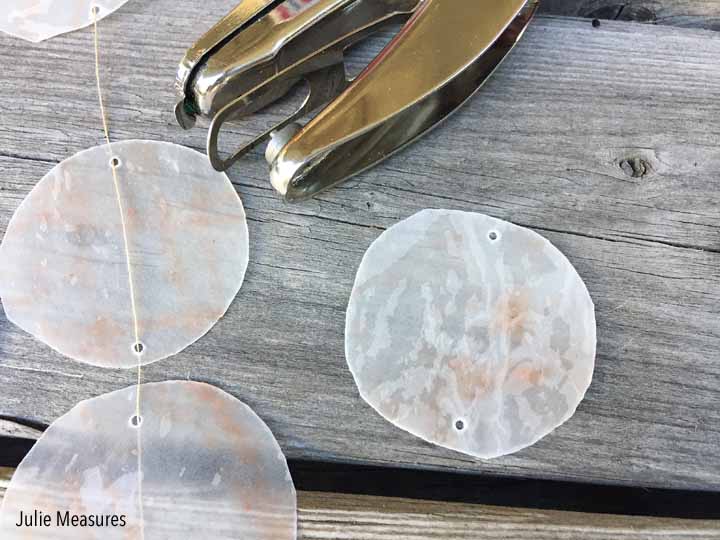
Use your hole punch to punch holes at two ends of your wax paper shells and then string the shells on the thread. The size of your shells and the size of your frame will dictate how many shells to string on each piece of thread. (For my wall hanging, I was stringing 8 shells on each piece of thread.)
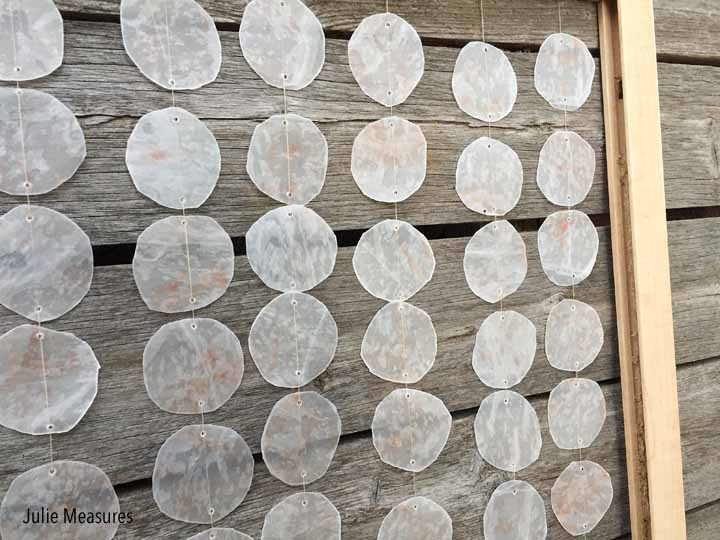
Once your wax paper shells are strung you can use washi tape or a hot glue gun to attach the thread to the backside of your wooden frame.
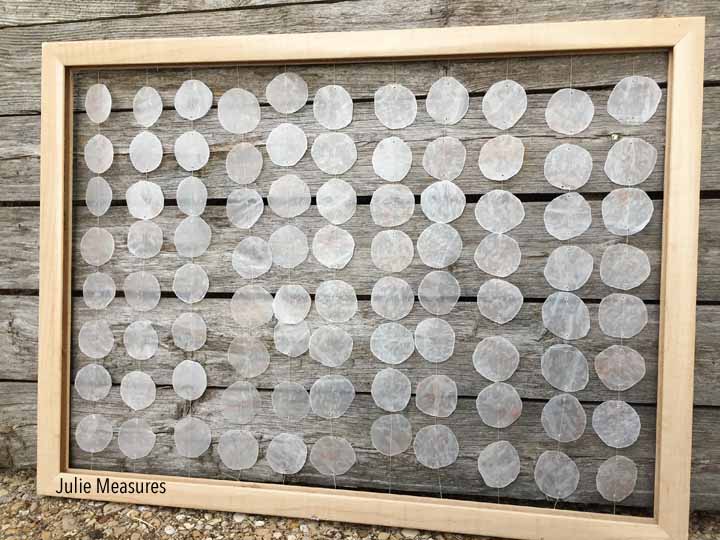
DIY Faux Capiz Shell Wall Hanging
Holding your frame up to the sky you can see the different colors of the shells and how translucent they are, just like the real shells.
While making this wall hanging I learned that capiz shells come from windowpane oysters and that they are abundant in the Philippine province Capiz. The shells are referred to capiz shells specifically when they are used in decorating.

With my faux capiz shell wall hanging all finished I can hang it up on a wall in my house. I might even play some ocean sounds while I stare at it.
Looking for more seashell crafts? Make this seashell wreath!
These are beautiful!
I love the faux shells! Not too crazy about the color but otherwise very cute! I think if I did add color I would use metallic gold, silver or copper or something else in metallic. I think that would really pop! Actually, you’ve just given me a brilliant idea for another project that I’m working on so thanks!
Thanks for sharing a very cool project.
I too love shells sea glass etc.
What a cute and clever project. I never would have thought to use wax paper. Maybe a little more color.
Love this, I would make it like a wind chime and hang on back deck by pool.
I would also make one for my granddaughters bedroom