Personalize your accessories starting with a Cross Stitched Leather Cuff
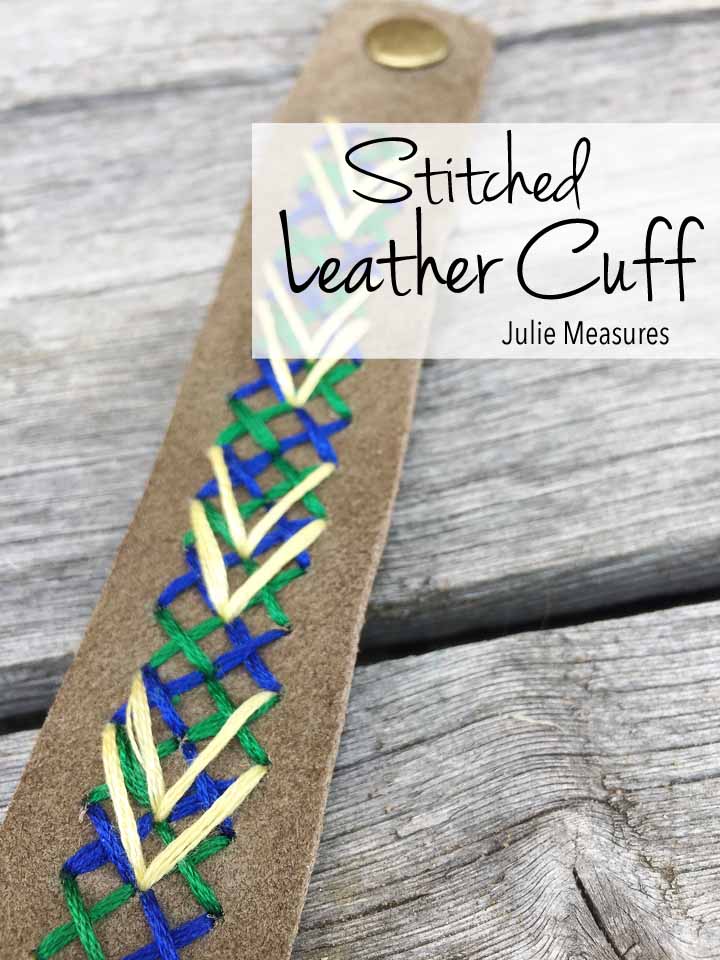
Last week I cross stitched on cork. This week I’m cross-stitching on suede. Turning a plain suede leather bracelet cuff into something completely original by making it a cross stitched leather cuff. And if you’ve never cross stitched before this is a incredibly first project to try.
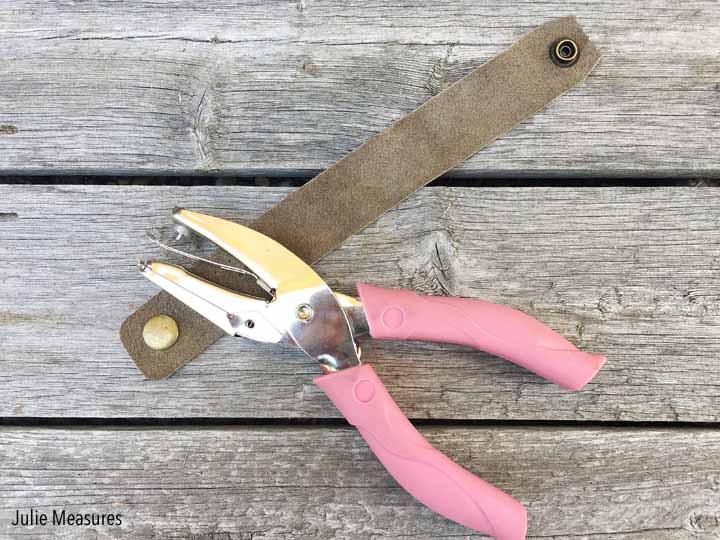
I started with a plain suede leather cuff. My Dad actually made the cuff for me (I’ll have to have him show me how so I can share that DIY). You can either make a leather cuff or buy a pre-made one.
Grab a ruler and a fine point marker and mark out a grid. Based on the size of my cuff I measured out spots that were all 1/4″ apart.
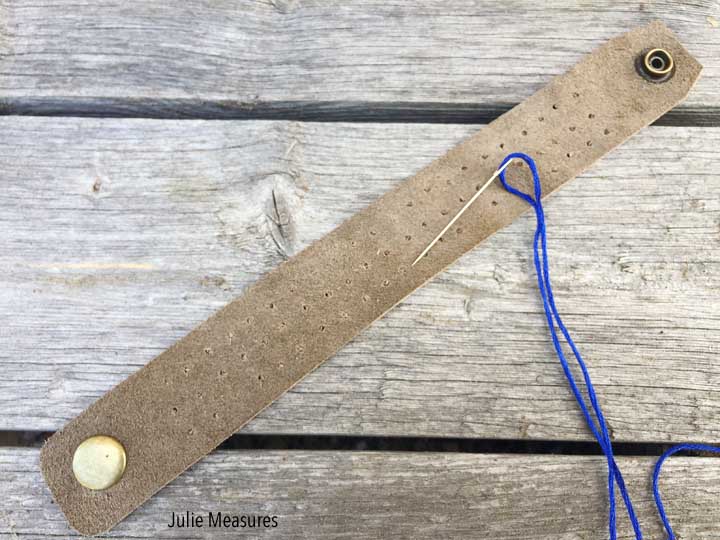
Once the dots were all drawn I used a 1/16″ circle hand punch to punch out the holes. It takes a little bit of hand strength to punch through the sudden but it wasn’t too hard. With the holes all punched I could grab my embroidery floss and a needle and start cross stitching.
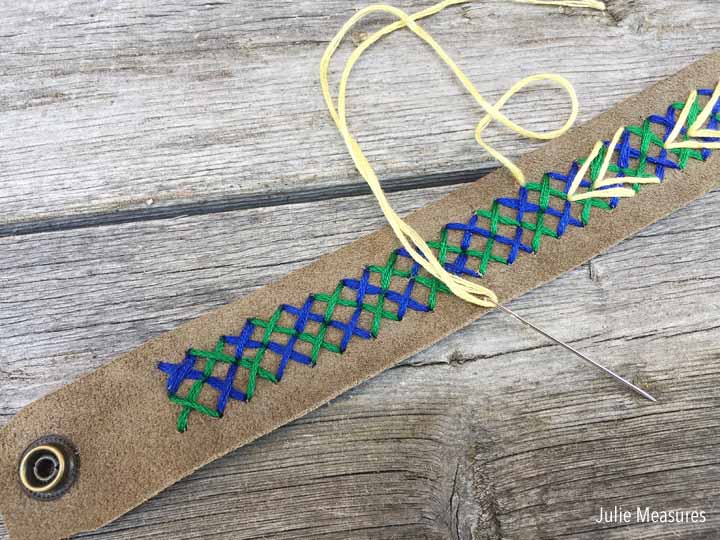
I choose a basic cross stitch X as the base for my design. Too jazz it up a little I alternated the green and blue X’s all along the leather cuff. This cuff is actually a gift for one of the teachers at my son’s school so I decided to go with his schools colors as my theme: blue, green, and gold (or yellow).
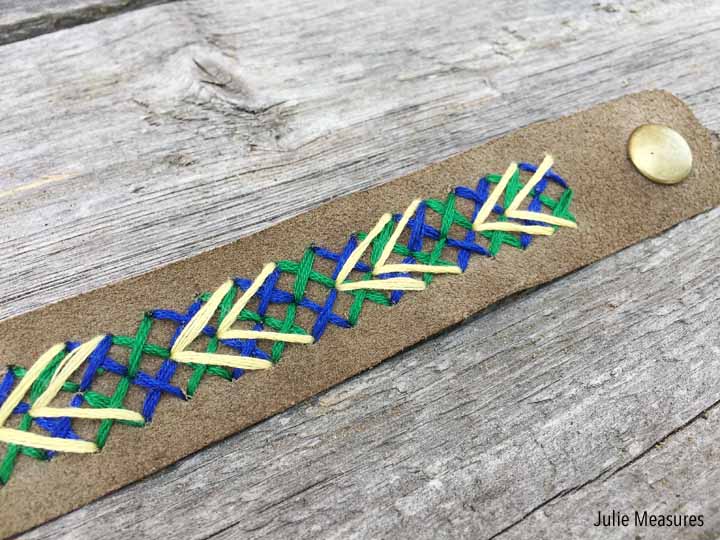
Once the X’s were all stitched I used a yellow to create some chevron V’s, or arrows, on top of the X’s. I really love the way the layered stitches look.
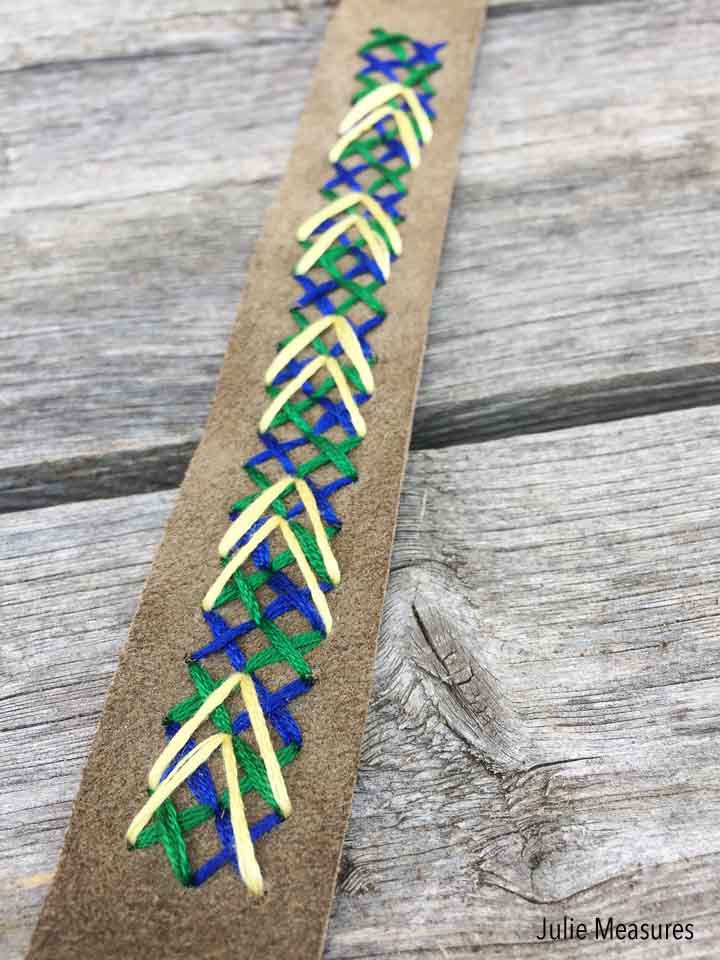
Weave in the ends of your embroidery floss strands and your Cross Stitched Leather Cuff is ready to wear!
Looking for more unique Cross Stitch projects? Try my Summer Fruit Cross Stitch Cork Coasters
Leave a Reply
You must be logged in to post a comment.