Learn all the Corner to Corner Crochet essentials, including C2C increases, C2C decreases, how to change colors, and how to read a C2C graphgan chart
What happens when you combine crochet and cross stitch? You get something really fun called Corner to Corner crochet! If you’ve seen these gorgeous crochet motifs and wondered how to make your own, I’m sharing all of the C2C (that’s corner to corner) essentials.
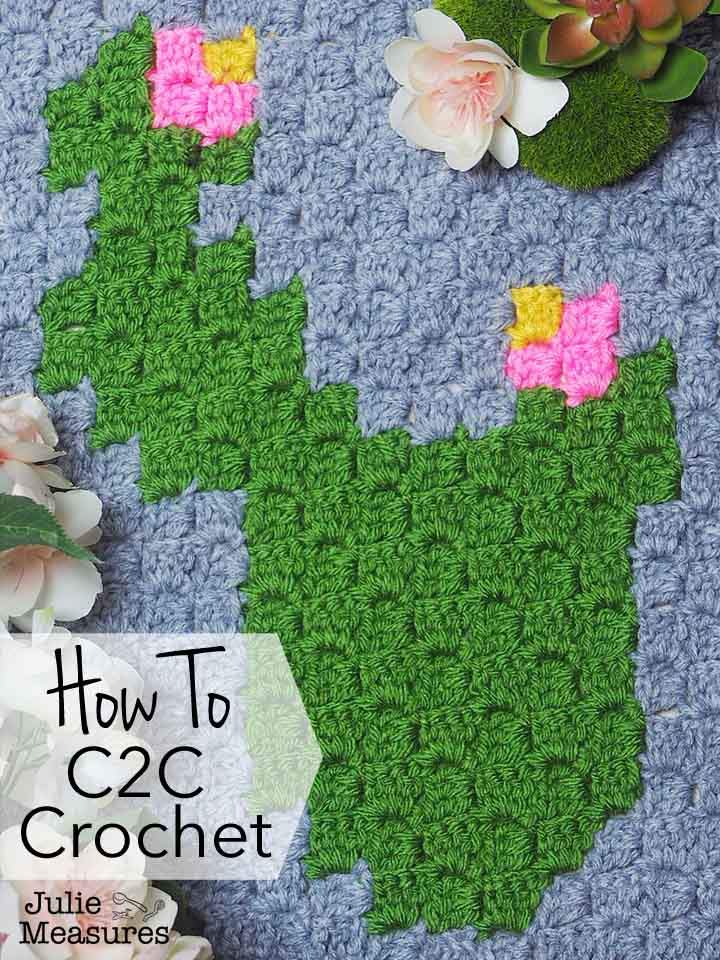
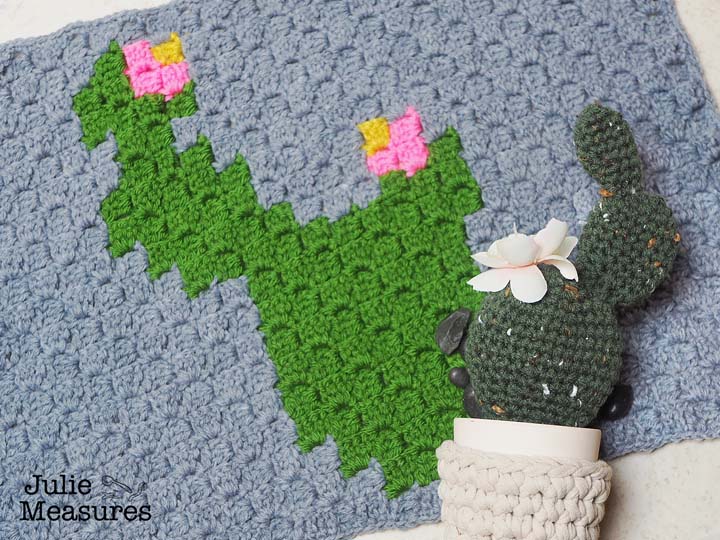
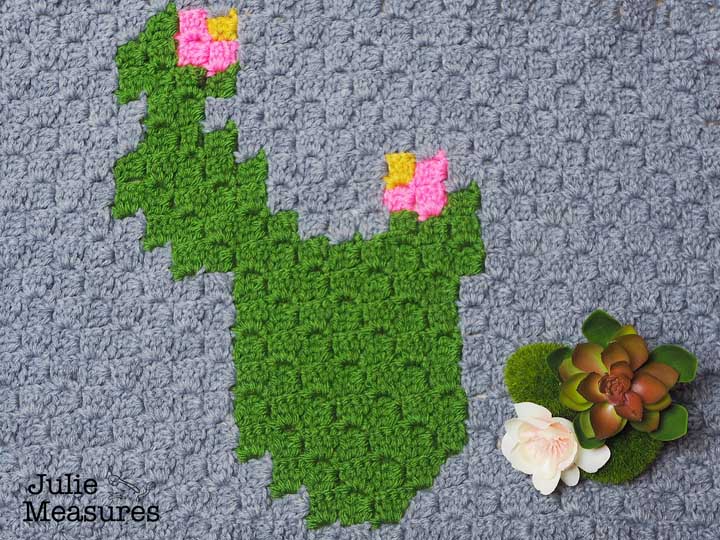
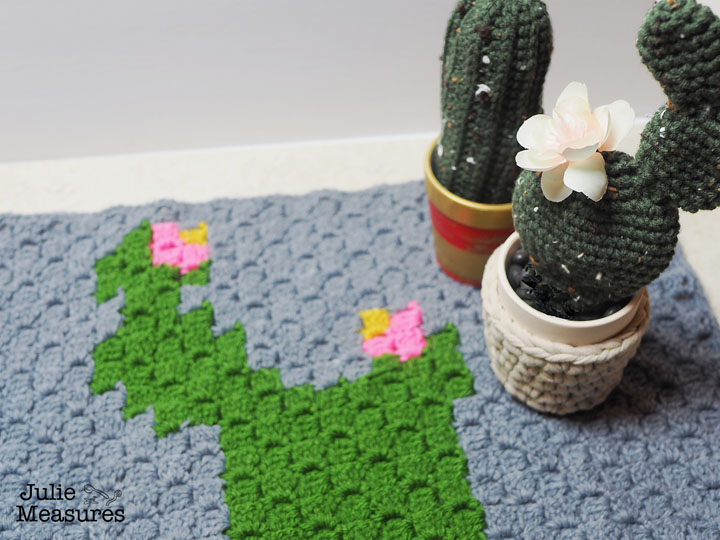
I might be a little crochet cactus obsessed lately. I had so much fun creating these amigurumi crochet cacti that I knew I wanted my next C2C crochet pattern to be a cactus.
What is Corner to Corner Crochet? (C2C)
This is a crochet technique where you crochet little squares at a diagonal. Patterns (when done with a graph) start at the bottom right hand corner. You start be increasing each row by one tile until your project is as tall and wide as you desire. From there you start your decreasing rows.
While you can C2C without a pattern and create things like striped afghans, I adore this technique because I can crochet a design of basically anything I like. The fact that it is done in little squares is what reminds me so much of counted cross-stitch. (Never heard of a graphgan? This graph + afghan. It’s a flat piece that is made from a graph.)
When working C2C you are either increasing or decreasing. Decreasing is what we call rows where you are no longer increasing, or not making your project any taller or wider on that edge. But every project starts with increasing.
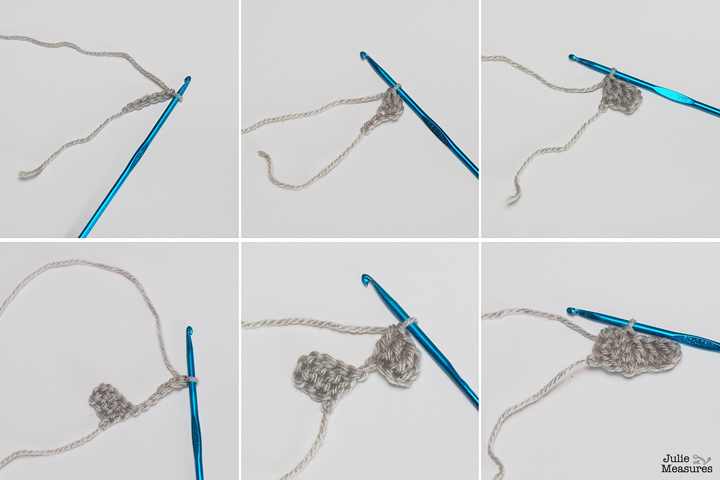
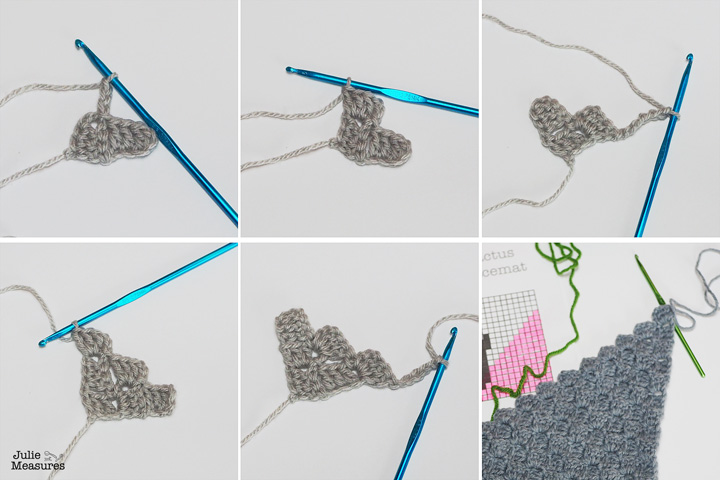
How to C2C Increase
Row 1:
- Chain 6
- Double Crochet into 4th chain from hook
- Double crochet into the next two chains (this is your first square)
Row 2:
- Flip/turn work and chain 6
- Double Crochet into 4th chain from hook and double crochet into the next two chains
- Slip stitch to join
Row 2 (continued):
- Chain 3
- Work 3 double crochets into the chain 3 space from previous row
Row 3:
- Flip/turn work and chain 6
- Double Crochet into 4th chain from hook and double crochet into the next two chains. Slip stitch to join. Chain 3 and work 3 double crochets. Slip stitch to join. Chain 3 and work 3 double crochets.
Row 4 and beyond:
Continue increasing until your desired dimensions are reached.
If you are creating something that isn’t perfectly square (like this cactus placemat) you will be increasing on one side of the pattern while decreasing on a different side to create a rectangle shape.
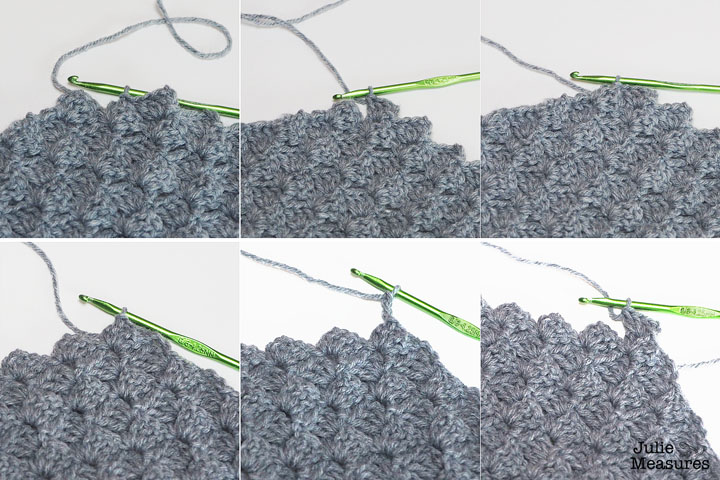
How to C2C Decrease
Decrease rows in C2C are a little confusing, because the row doesn’t actually look like it’s decreasing. Instead, these decrease rows create a flat edge. You will begin to work the corner to corner decrease stitch as soon as you’ve reached the widest/tallest point in your pattern.
Work squares normally until they are the same height/create the flat edge of your work. Slip stitch your square to join.
Now, instead of chaining 3, turn/flip your work and work 3 slip stitches along the edge until you reach the ch 3 space.
Chain 3.
Double crochet 3 into the same ch 2 space. Slip stitch and move to the next square.
Continue your squares as you did previously.
How to Change Colors in C2C
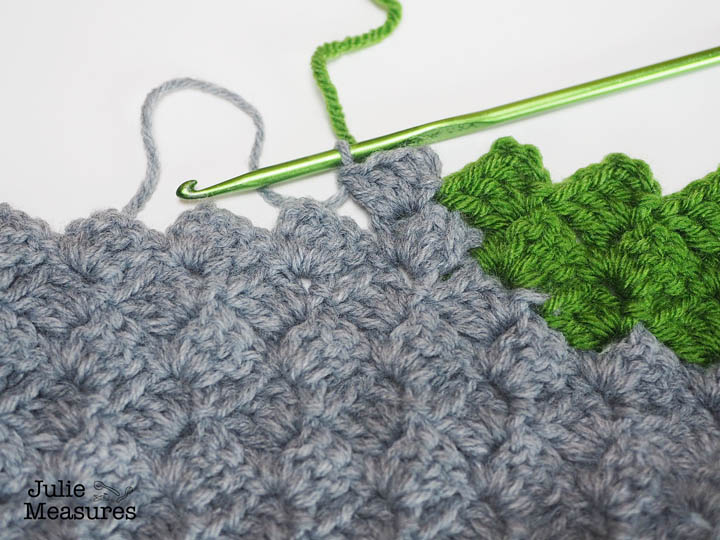
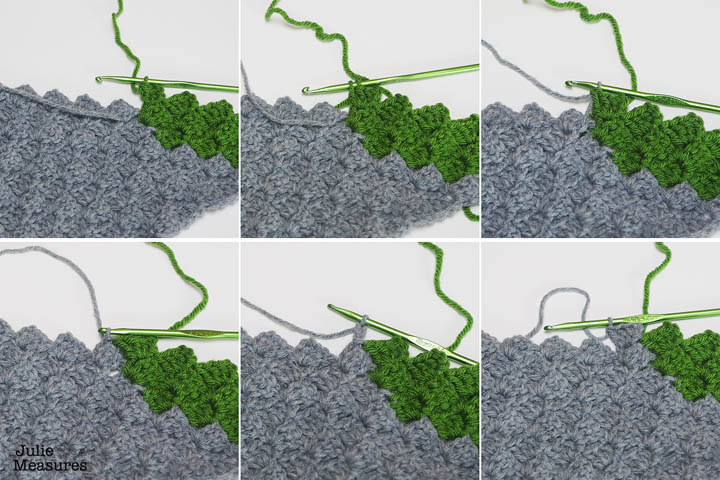
When changing from color A to color B, you begin the color change sequence with the last double crochet of the color A square. Here color A will be the green and color B will be the gray.
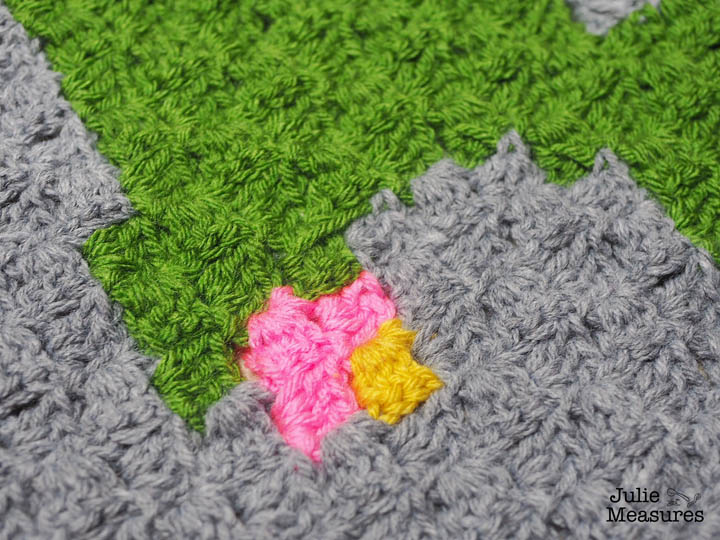
On the third double crochet of the square stop working with two loops on your hook. Switch colors. Use color B to pull through the two loops and slip stitch to join the squares. Now begin the new square with color B. Changing colors prior to changing squares creates a much more seamless color change.
You can see how seamless the color changes are when you look at the flower on the cactus, where you have several colors all in the same area.
>> Click here for the FREE C2C Crochet Cactus Pattern <<
Want these same increase, decrease, and color change tips in video form?
See me working this cactus pattern and demonstrating C2C increases, C2C decreases, and color changes in this video!
Reading a C2C Graph Pattern
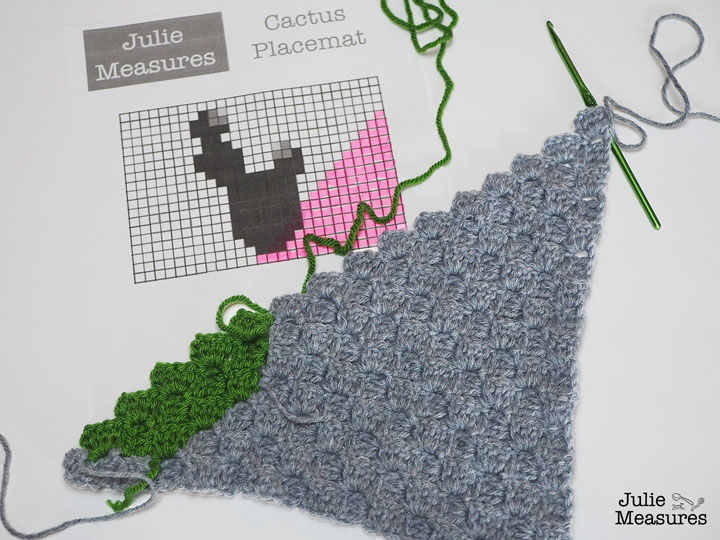
Begin your patterns in the bottom right hand corner.
Row 1 is worked diagonally down from right to left. Row 2 is then worked diagonally upwards from left to right.
I like to highlight my rows as I work to keep me on track. Sometimes I also number the side of the chart to help me remember if I’m working on an odd or even row. This helps as I’m counting out squares and how many I need to work of each color.
Changing Colors
Another note for changing colors. It is not necessary to cut your yarn after each color change. (You’ll see this in the video where I have multiple stands of yarn.)To minimize the number of yarn tails you’ll need to weave in you want to keep your yarn attached whenever possible. You can crochet over tails wherever it makes sense, particularly if the colors are nearly adjacent. With my cactus I found it easier to have one ball of gray for one side of the project and a second for the other side. This way I wasn’t leaving tails back and forth across every row.
I’m having so much fun with all these crochet cactus projects!
What corner to corner crochet project would you like to see next?
Ready for another FREE C2C Crochet pattern? Go grab this sweet EAT Placemat!

Leave a Reply
You must be logged in to post a comment.