This post was sponsored by Monoprice as part of an Influencer Activation for Influence Central and all opinions expressed in my post are my own.
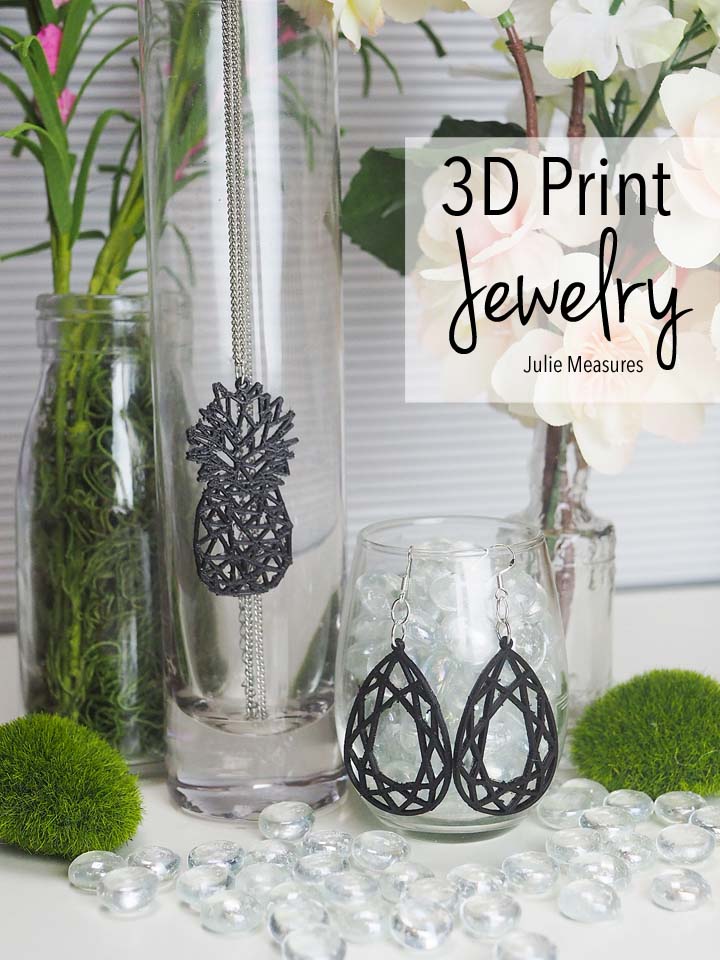
Looking for unique jewelry? Make your own! It’s easy with a 3d printer. Craft your look with 3D Print Jewelry.
We got our first Monoprice 3D printer about a year and a half ago. We chose the original Monoprice MP Select Mini 3D Printer, and we have been an avid 3D printing family ever since!When it was time to add to our 3D printer collection I was thrilled to try out the Monoprice MP Select Mini 3D Printer V2, afterall, there is a reason it’s the world’s #1 selling 3D printer!
My foray into 3D printing was when I asked my husband to help me create some 3D printed stitch markers for my knitting. Stitch markers are a fun way to share your personality while you knit and I wanted some cute little owl stitch markers.
But that was just the beginning! When I realized that I could create anything from custom cookie cutters to my own jewelry, I knew that 3D printers are really a tool that every crafter should own.
Too often, getting a low-cost 3D printer means getting a box of ill-fitted parts with poorly written documentation, and you end up spending hours asking for help to get the printer assembled and operating properly. This printer not only comes fully assembled, it has already been calibrated at the factory. Nowhere else can you find a 3D printer ready to print out of the box at such a low price.
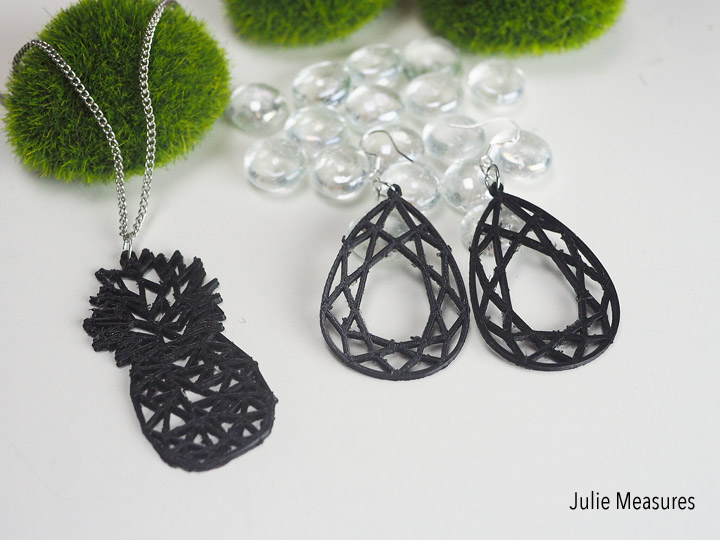
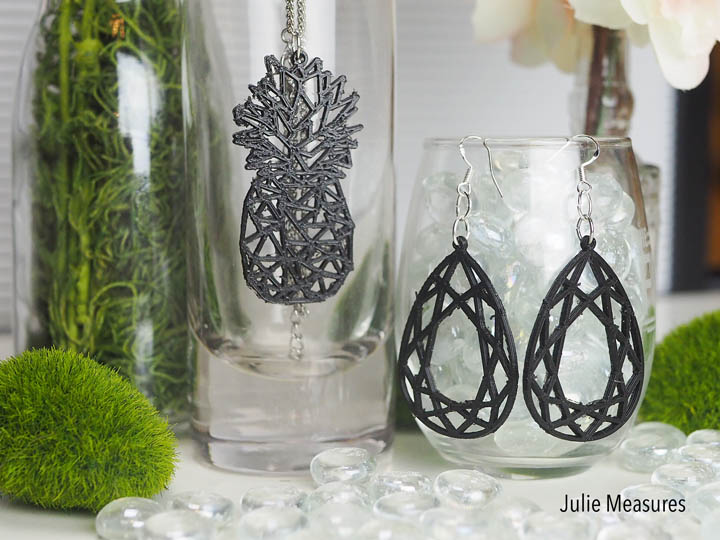
Before you start making your 3D print jewelry it just takes a few steps to create it. I’ve really been crazy about pineapples recently, and I thought it would be fun to have a geometric pineapple necklace and some geometric pear diamond earrings as a summer jewelry set. I want to quickly walk you through the steps to start creating your jewelry, and the first step is to begin with a vector drawing program. Here you create your design and save it as an svg file.
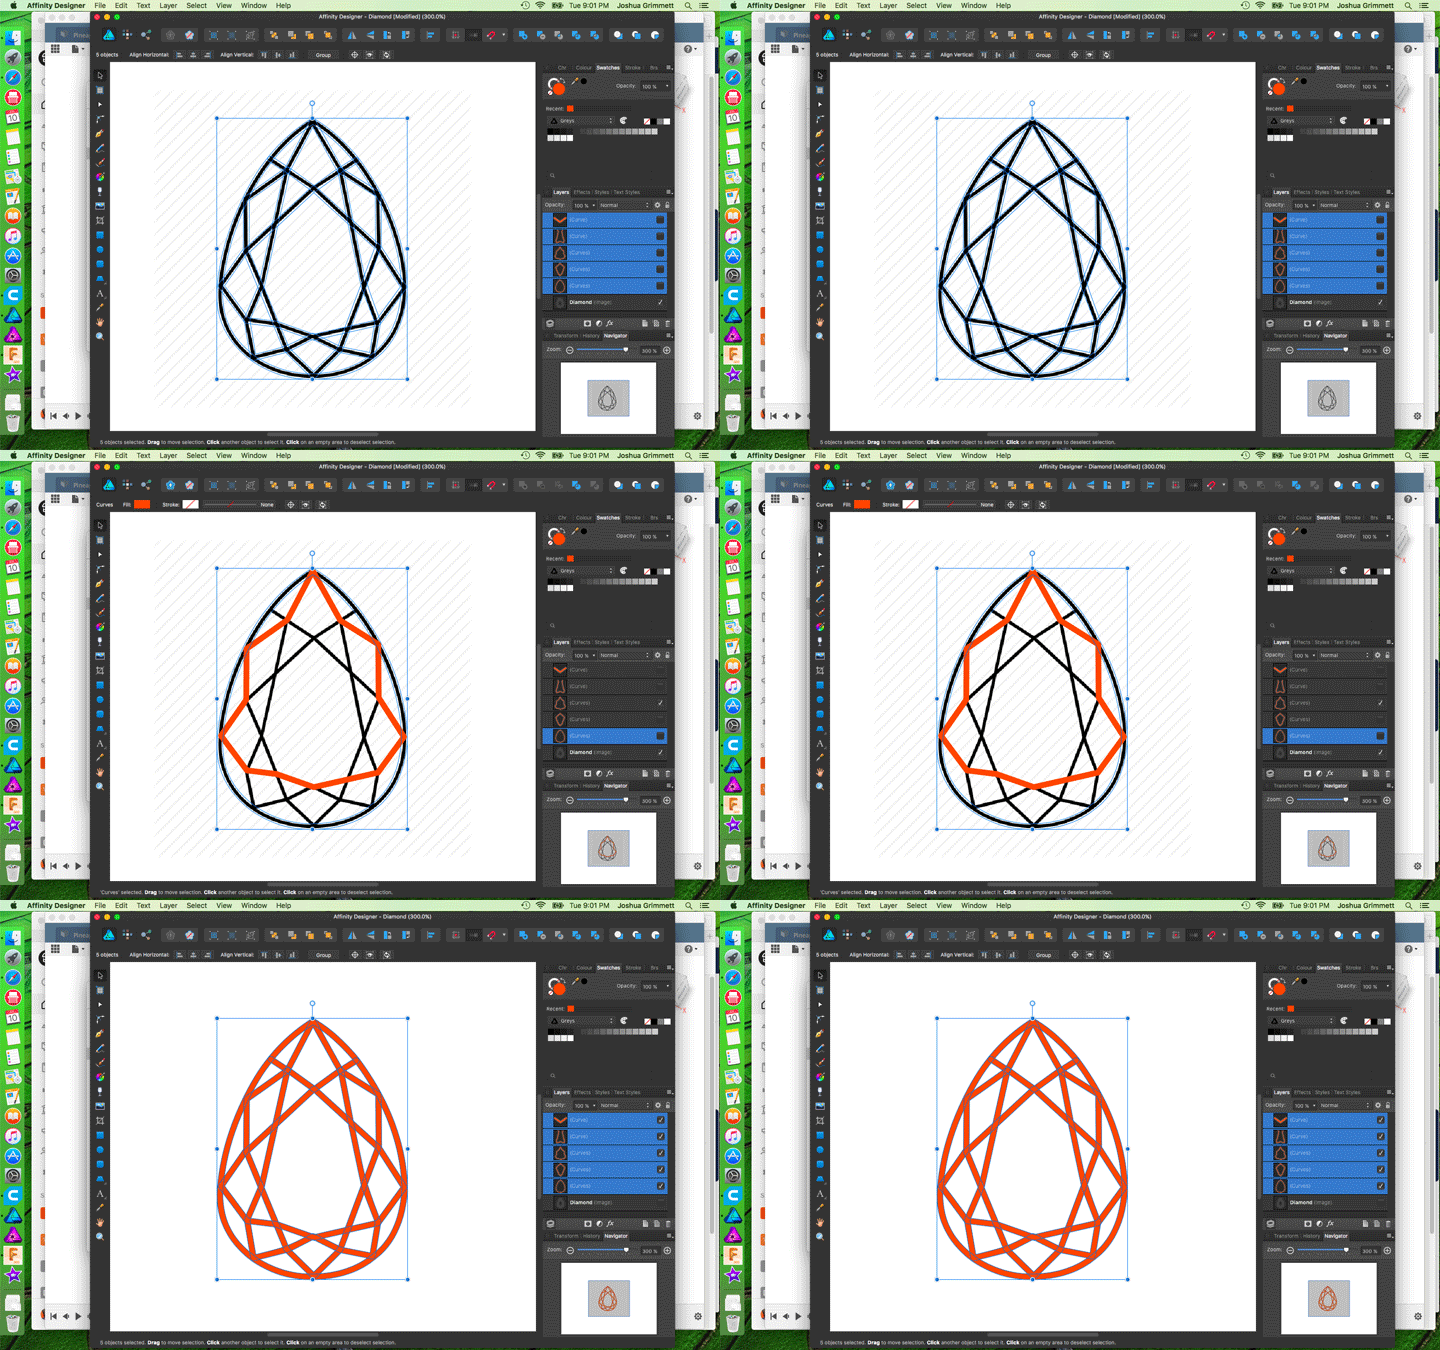
With your saved svg file, open your 3D modeling program. The modeling program is where you will give your drawing some depth and clean it up a little. When you are finished with the modeling program, save this file as a stl.
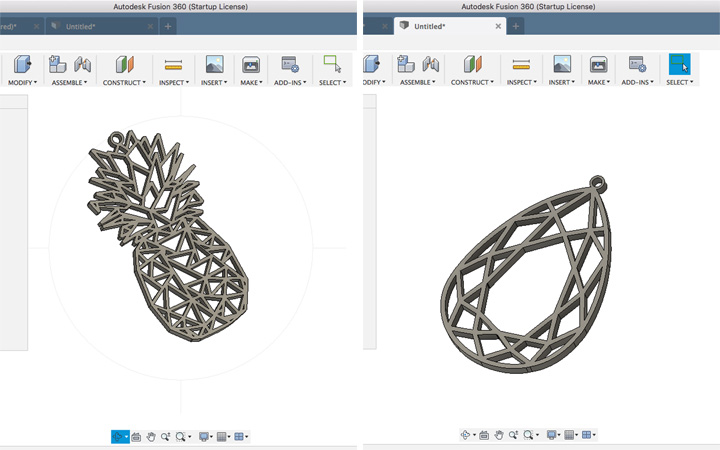
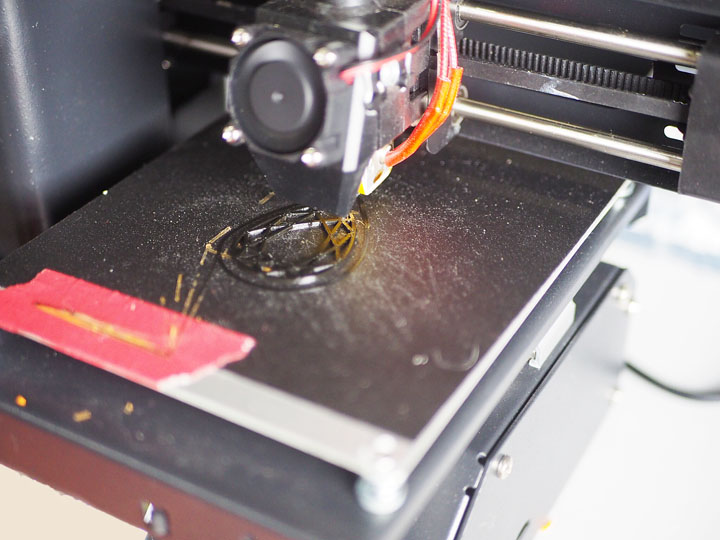
The last step before printing is to import your stl file into your 3D printer slicer program to prepare it for printing. This program turns your 3D file into instructions for the printer. Then watch as your Monoprice MP Select Mini 3D Printer V2 starts printing your jewelry!
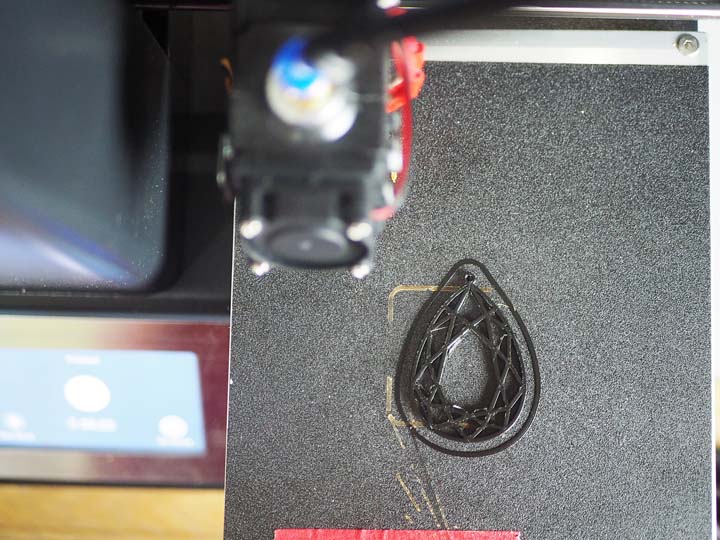
Each of my earrings, since I need two for a set, took about 30 minutes to print. The Monoprice MP Select Mini 3D Printer V2 has a handy button you can push to print another of whatever you just printed. So I printed one earring, took it off, and then pushed the button to print another.
If you’re unaware of how to use the printer upon arrival, you can read more on Monoprice’s website or reach out to their customer service team.
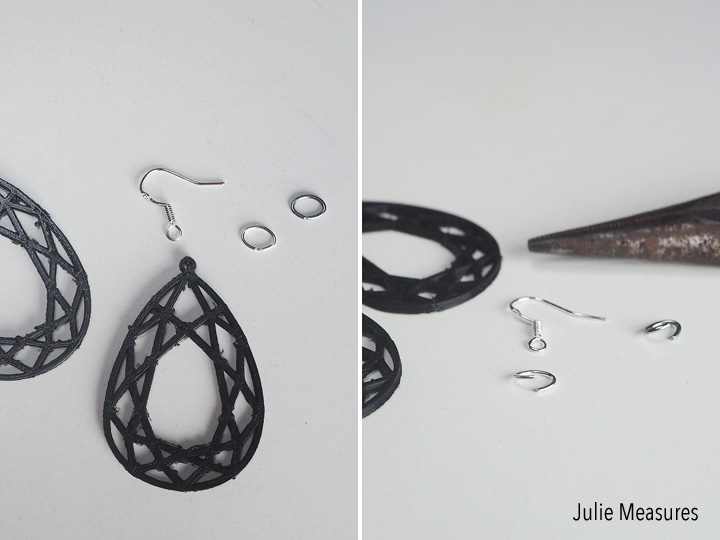
The final steps for making my own 3D print jewelry I needed just a couple of supplies: jump rings, ear wires, a necklace chain, and two pairs of pliers. When you are opening jump rings it is important to twist and not pull them open. I attached a jump ring to my print earring and the ear wire, closed them up, and my earrings were ready to wear.
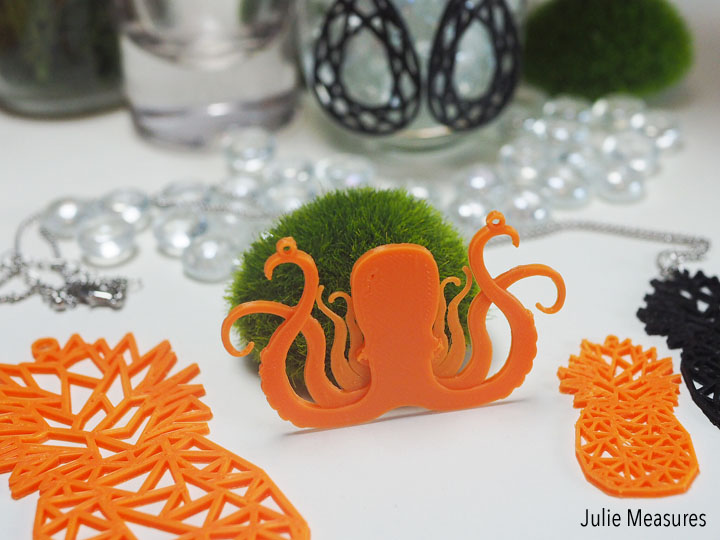
While I chose black PLA filament for my 3D print jewelry, you could chose any color your heart desires. That’s what I love about 3D printing, the possibilities are endless! I also played around with the size of the pineapple for my necklace. First printing one I decided was too small, and then one that was too big, before choosing a size right in the middle. While I chose a pineapple, you might prefer an octopus, or another fun design.
Don’t have a 3D printer? I’ve also got a crochet pattern to make a mini pineapple you can wear!
Our whole family loves our Monoprice MP Select Mini 3D Printer V2 and all the things we can make with it! What would you make with your own 3D printer?
This is soooo creative! Never would have thought about this but I love the pieces!