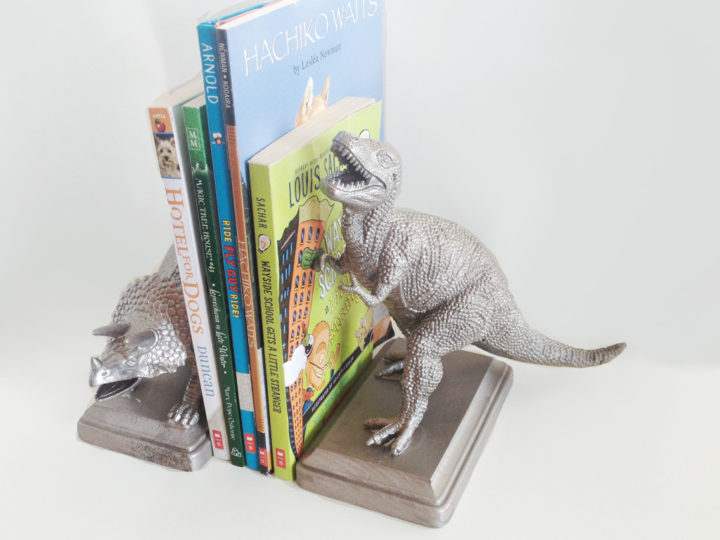
Anyone else get sentimental about toys that your kids outgrow? Rather than getting rid of a favorite toy use it to make these DIY Kids Toy Bookends.
Kids outgrow toys. It’s just part of life. But as a Mom there are certain toys that I find more sentimental than other toys. And a few that I just want to hang on to a little while longer.
I have created a DIY for doing just that. Turn some of your kids unused toys into DIY Toy Bookends for their bookshelf.
DIY Kids Toy Bookend Supplies
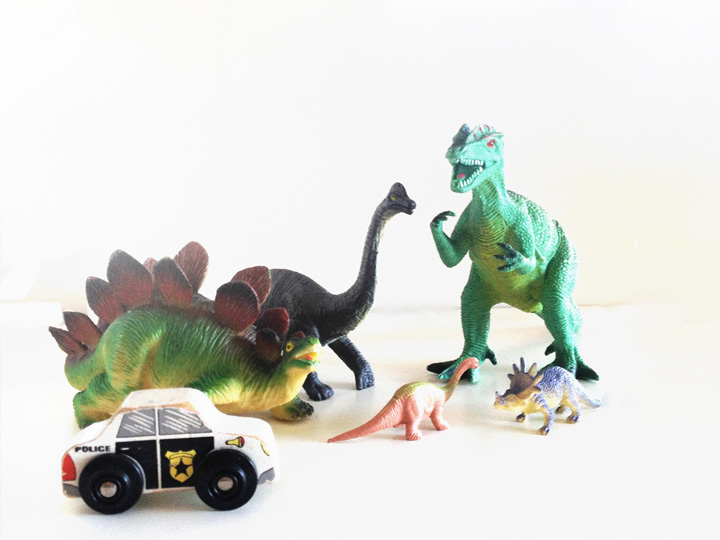
I’m taking some of their toy dinosaurs to turn into bookends. All you need is:
– Your chosen toy(s)
– A piece of wood (I found these wooden blanks already beveled)
– Epoxy glue
– Spray paint
How to Make DIY Kids Toy Bookends
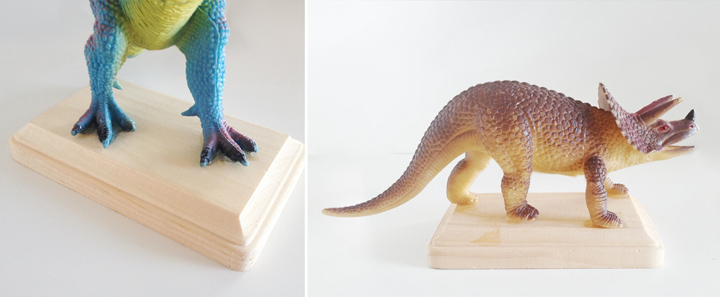
Start by attaching your toys to the wooden base using the epoxy glue. Follow the directions on the package for gluing your item and allowing it to dry completely.
Once your toys are securely attached you can start spray painting them. I chose a metallic finish spray paint for my dinosaur bookends.
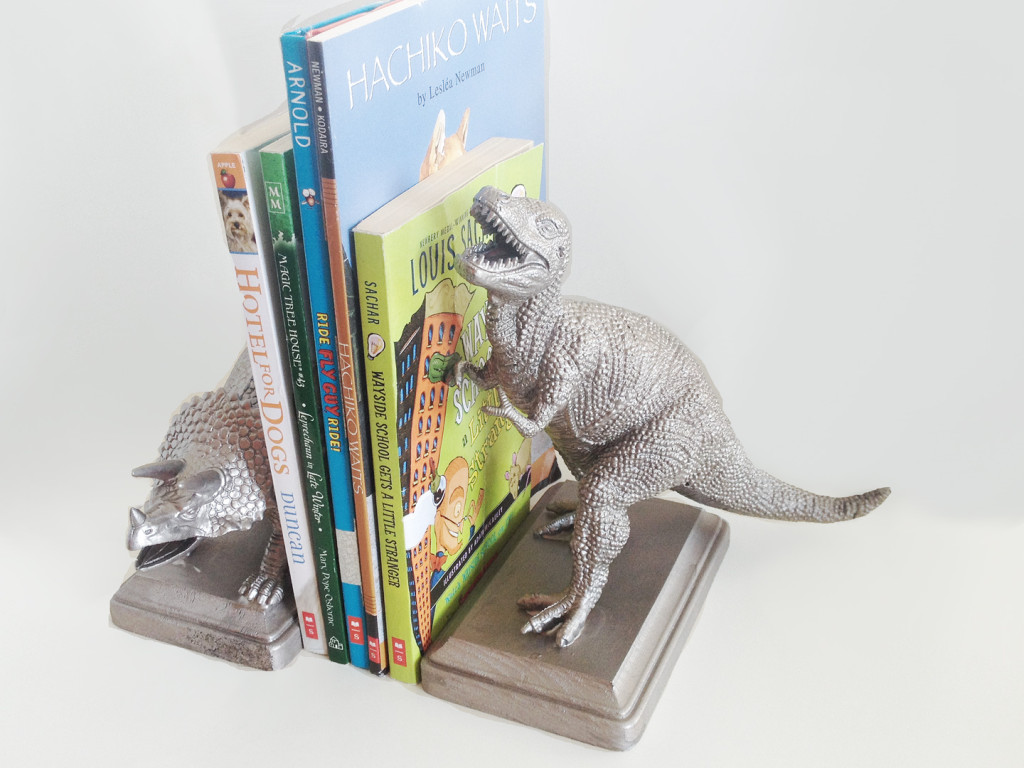
Apply several light coats of spray paint, allowing the paint to dry between coats, until your toys are completely covered.

Once the final coat of spray paint is dry your bookends are ready to be used.
The teenagers in particular thought that these ‘metal’ dinosaurs were really cool, even though it’s my younger son who has been playing with the dinosaurs most recently.
A small warning: Do be careful to make sure your child is really, completely finished with a toy before you turn it into a bookend. My youngest son wasn’t thrilled at first with the dinosaur bookends.
Once I started making toy bookends, I just couldn’t stop! So here is a second bookend option.
DIY Car Toy Bookends
Car Toy Bookend Supplies
For these bookends I used:
– Wooden toy vehicles
– Four 4.5”x4.5” wooden blocks
– Hammer and nails
– Black and yellow paint
– Epoxy glue
How to Make Car Toy Bookends
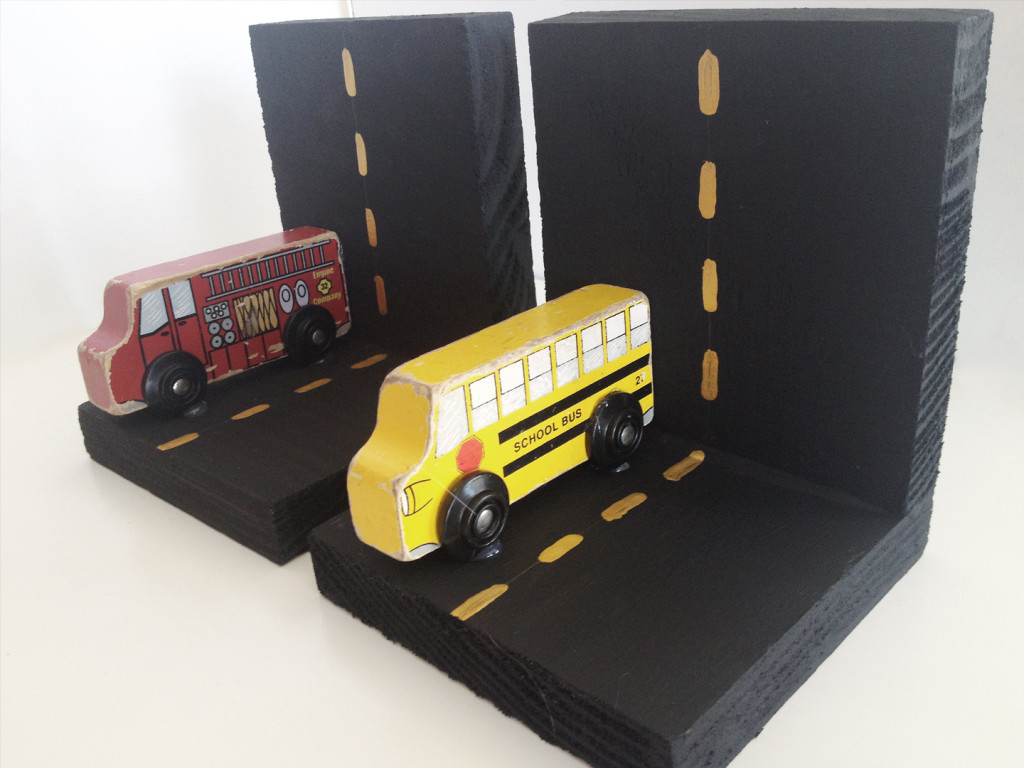
Nail two wooden blocks together to make each bookend. Then paint them black and allow them to dry.
Use your yellow paint to add the road lines on your blocks. My stripes are each ½” long.
Use the epoxy to attach your toy cars to the road on your bookends.
My youngest son in particular really liked these bookends. I think mainly because I didn’t do anything to alter the toys themselves. He liked the addition of the road for the cars to drive on.
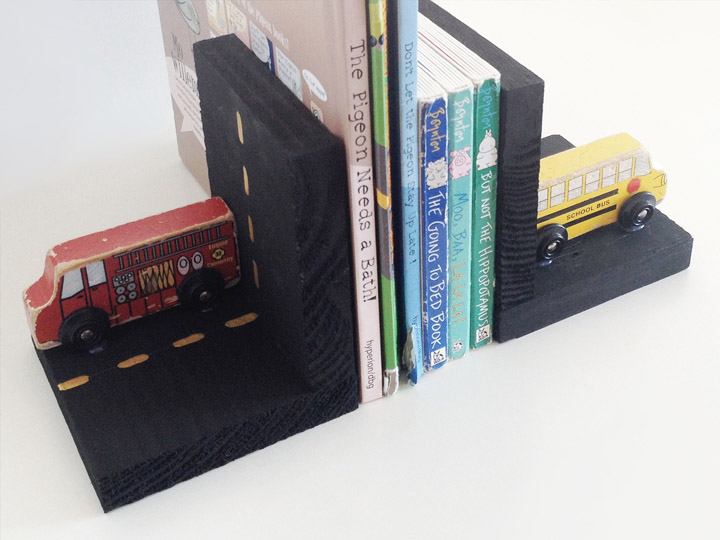
Now when your son or daughter is finished with a sentimental favorite you can give it new life as a bookend for their bedroom. (And if you don’t have any extra toys you can always grab some inexpensively from your local toy store.)
A simple way to add some fun to your bookcase!
Those are adorable!
These are darling! Thanks so much for sharing at Monday Funday! ox
So cute! love it!
Hi there
Just stopped by to let you know that I featured this on my Saturday Spotlight post this week!
Thanks again for linking up! Hope you have a great weekend!
Jill @ Creating my way to Success
Love it. Shared on Facebook also. Best wishes, Linda @Crafts a la mode