This post is sponsored by Welch’s® Fruit Snacks. I am being compensated for this post. All comments and opinions are my own.
Are your kids heading off to activities where they need to bring a snack? Make this easy No-Sew DIY Drawstring Bag for them to carry their snacks!
From summer camps to after-school activities; my kids participate in a lot of activities where they need to bring a snack.
During the summer I don’t want them to have to take an entire lunch bag for their snack. And during the school year, it’s important to keep their after-school snack separate from their lunch so they don’t accidentally eat it.
I’m not a seamstress, but I knew the solution to our snack situation was going to be a dedicated snack bag. Thankfully, I found a no-sew solution! I’ll show you how easy it is to make your own simple DIY no-sew drawstring bag.
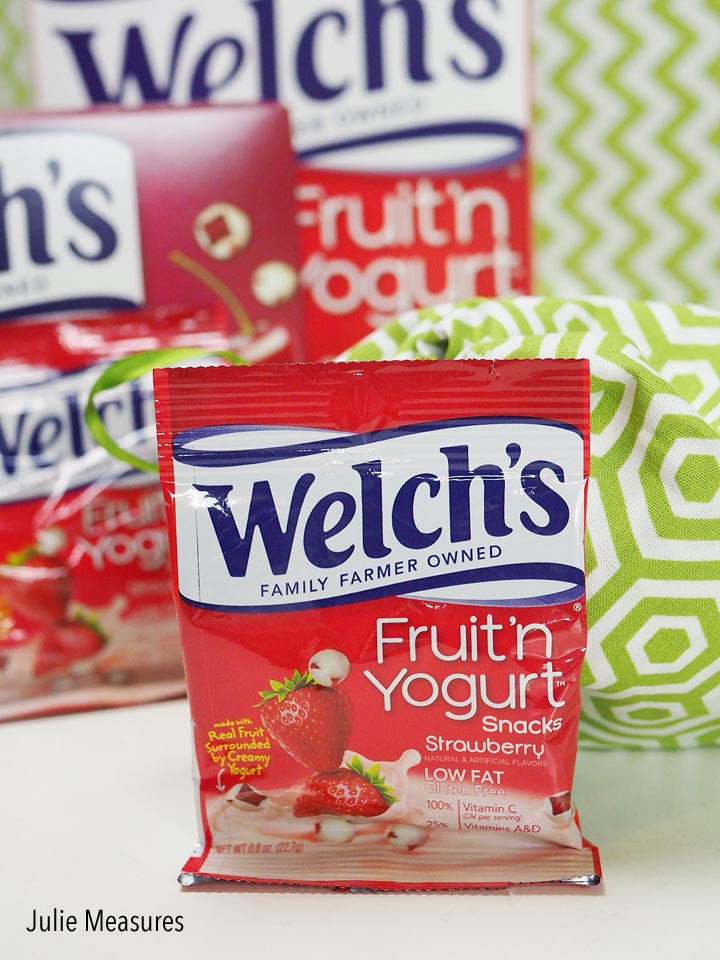
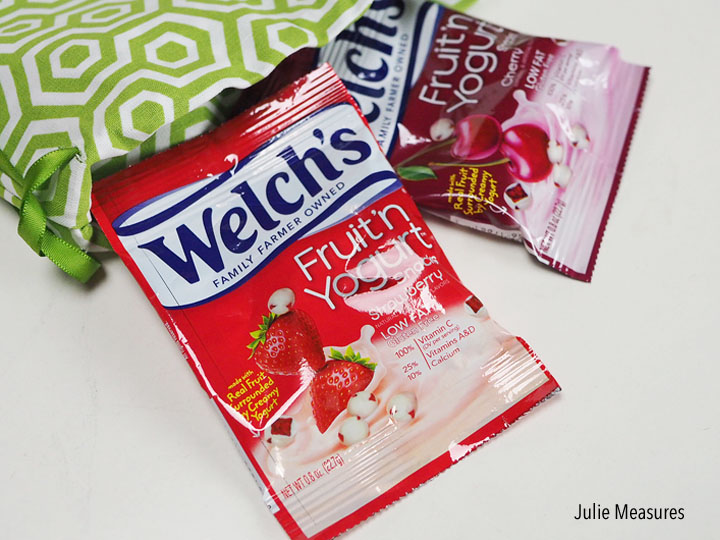
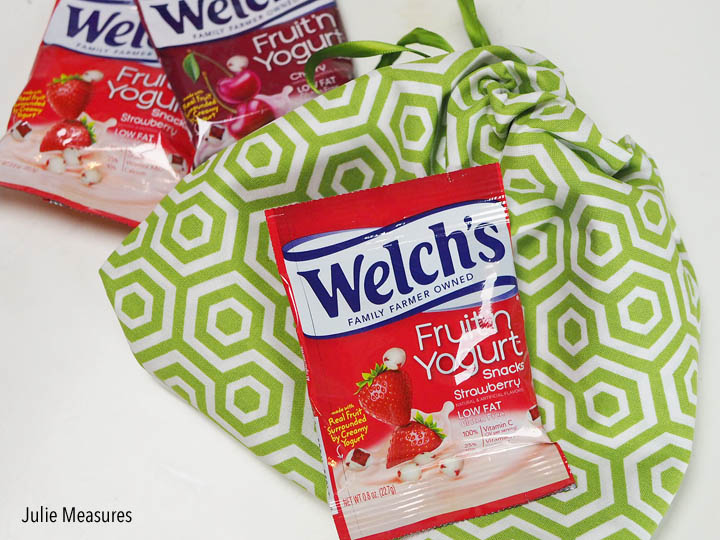
My kids love to enjoy the great taste of Welch’s Fruit ‘n Yogurt Snacks, so I’m making a bag that is sure to fit our go-to snacking choice. They are made with real fruit, and they are fun to eat with a delicious taste that kids love!
To create my no-sew snack bag the first thing I needed were a few supplies.
- Cotton fabric
- Iron-on adhesive no-sew hem tape
- Ribbon
- Scissors
You’ll also need an iron and an ironing board to make this no-sew bag.
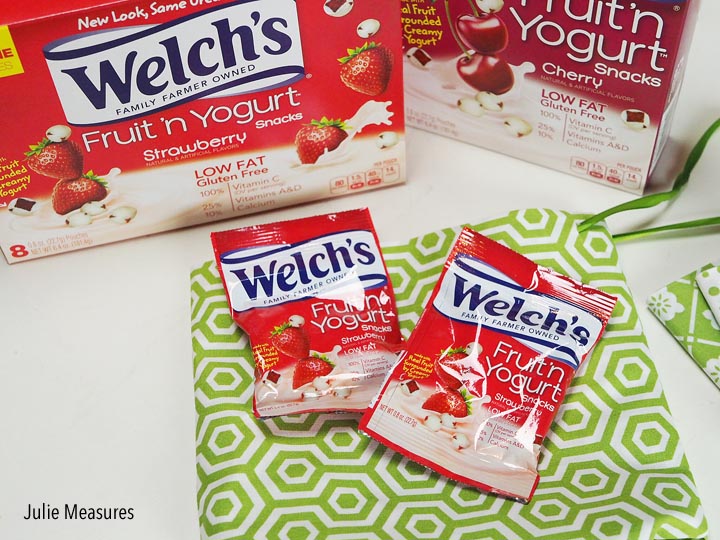
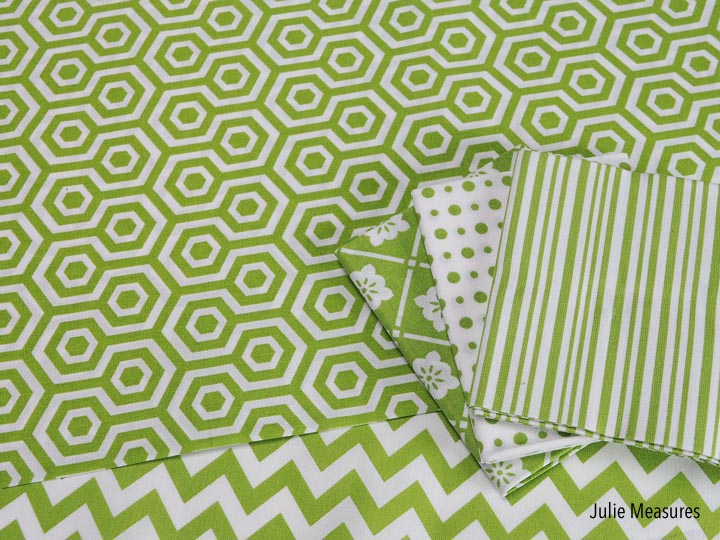
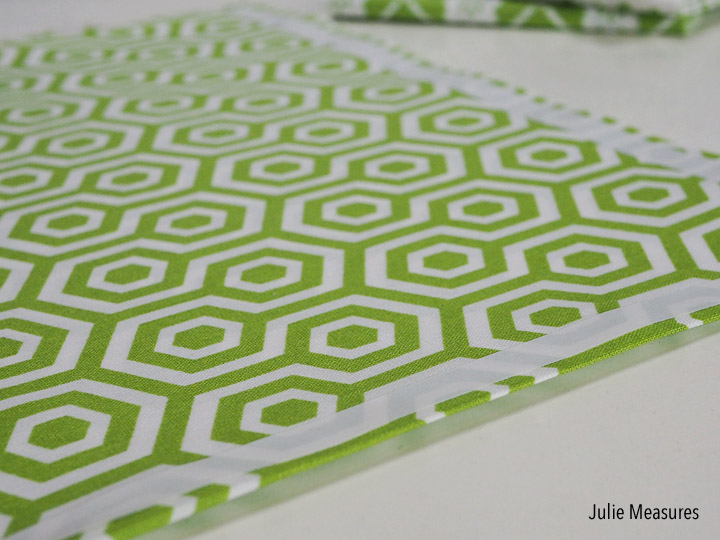
I picked up my fabric from Walmart, where I also grabbed two boxes of Welch’s Fruit ‘n Yogurt snacks. Green is my youngest’s favorite color, so this bag is for him. The fabric bundle I purchased had green patterned fabrics that were 18″ x 21″. I chose one of the fabrics for my snack bag.
Start by cutting your fabric slightly larger than the size you want for your finished no-sew bag. For my bag I used two 9″ by 10.5″ pieces of fabric.
Lay your fabric out when deciding how large to make your bag. You want to make sure it’s big enough to hold your snacks!
Place your fabric right side up and following the hem adhesive directions, add the adhesive around three sides of the fabric, leaving the top open. Attach the second piece of fabric on top of the first, with the right sides facing each other.
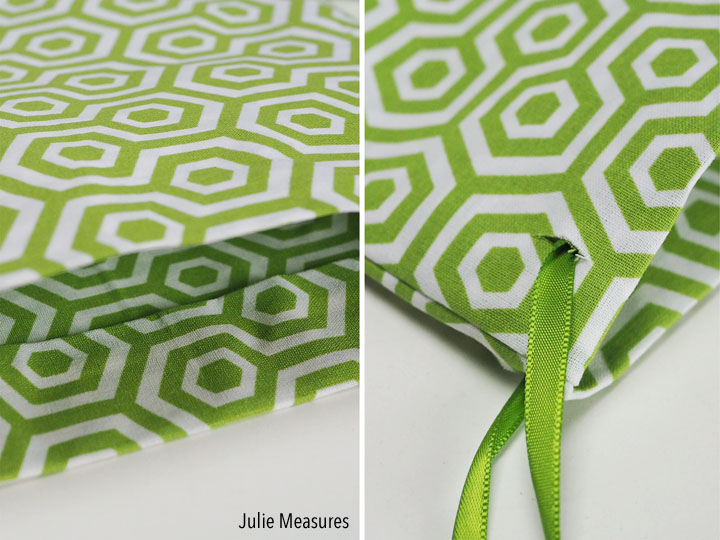
Once these two pieces of fabric are attached, you can fold down the top of the bag to create a hem. Place your ribbon near the top of the fold and use more hem adhesive to create the seam for your hem. Cut two slits in the outside of your bag for the ends of the ribbon to poke through. That’s how you’ll close your bag.
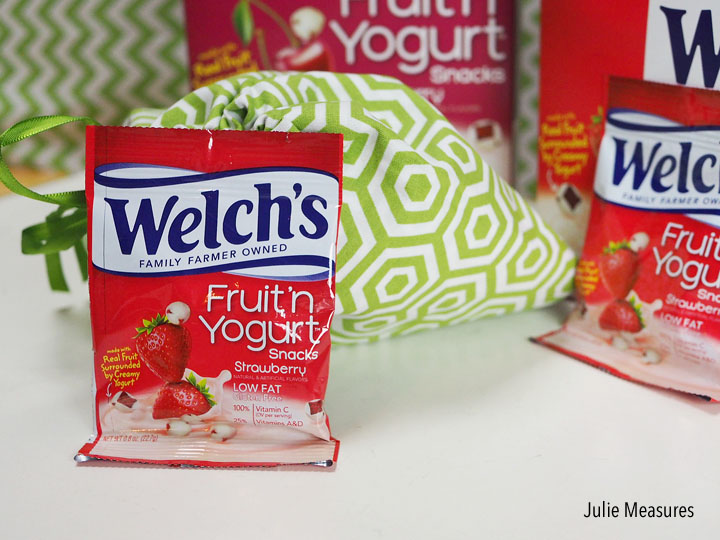
Now you’re ready to take your snacks on the go all-year round! In fact, the whole family can enjoy this delicious snack on the go.
Leave a Reply
You must be logged in to post a comment.